A Review of the SunFounder Pironman 5 MAX Raspberry Pi 5 Enclosure
Recently, SunFounder sent us a free review unit of their latest "Pironman 5 MAX" enclosure for Raspberry Pi 5 devices. While not directly related to SDR, we thought we'd accept the unit and review this product, as RTL-SDRs are often used together with Raspberry Pi 5 single-board computers. Depending on the number of SDRs connected and the software used, SDR applications can consume a significant amount of CPU, causing heat and throttling down of CPU speeds; therefore, adequate cooling may be necessary.
The Pironman 5 costs US$94.99 if purchased directly from the SunFounder website, and they advertise that US duties and EU VAT are included in the pricing. There is also the slightly lower Pironman 5 model available for US$79.99. The main difference between the 5 and 5 MAX is that there is only one SSD expansion slot vs two on the 5 MAX, and no tap-to-wake OLED functionality.
Overview
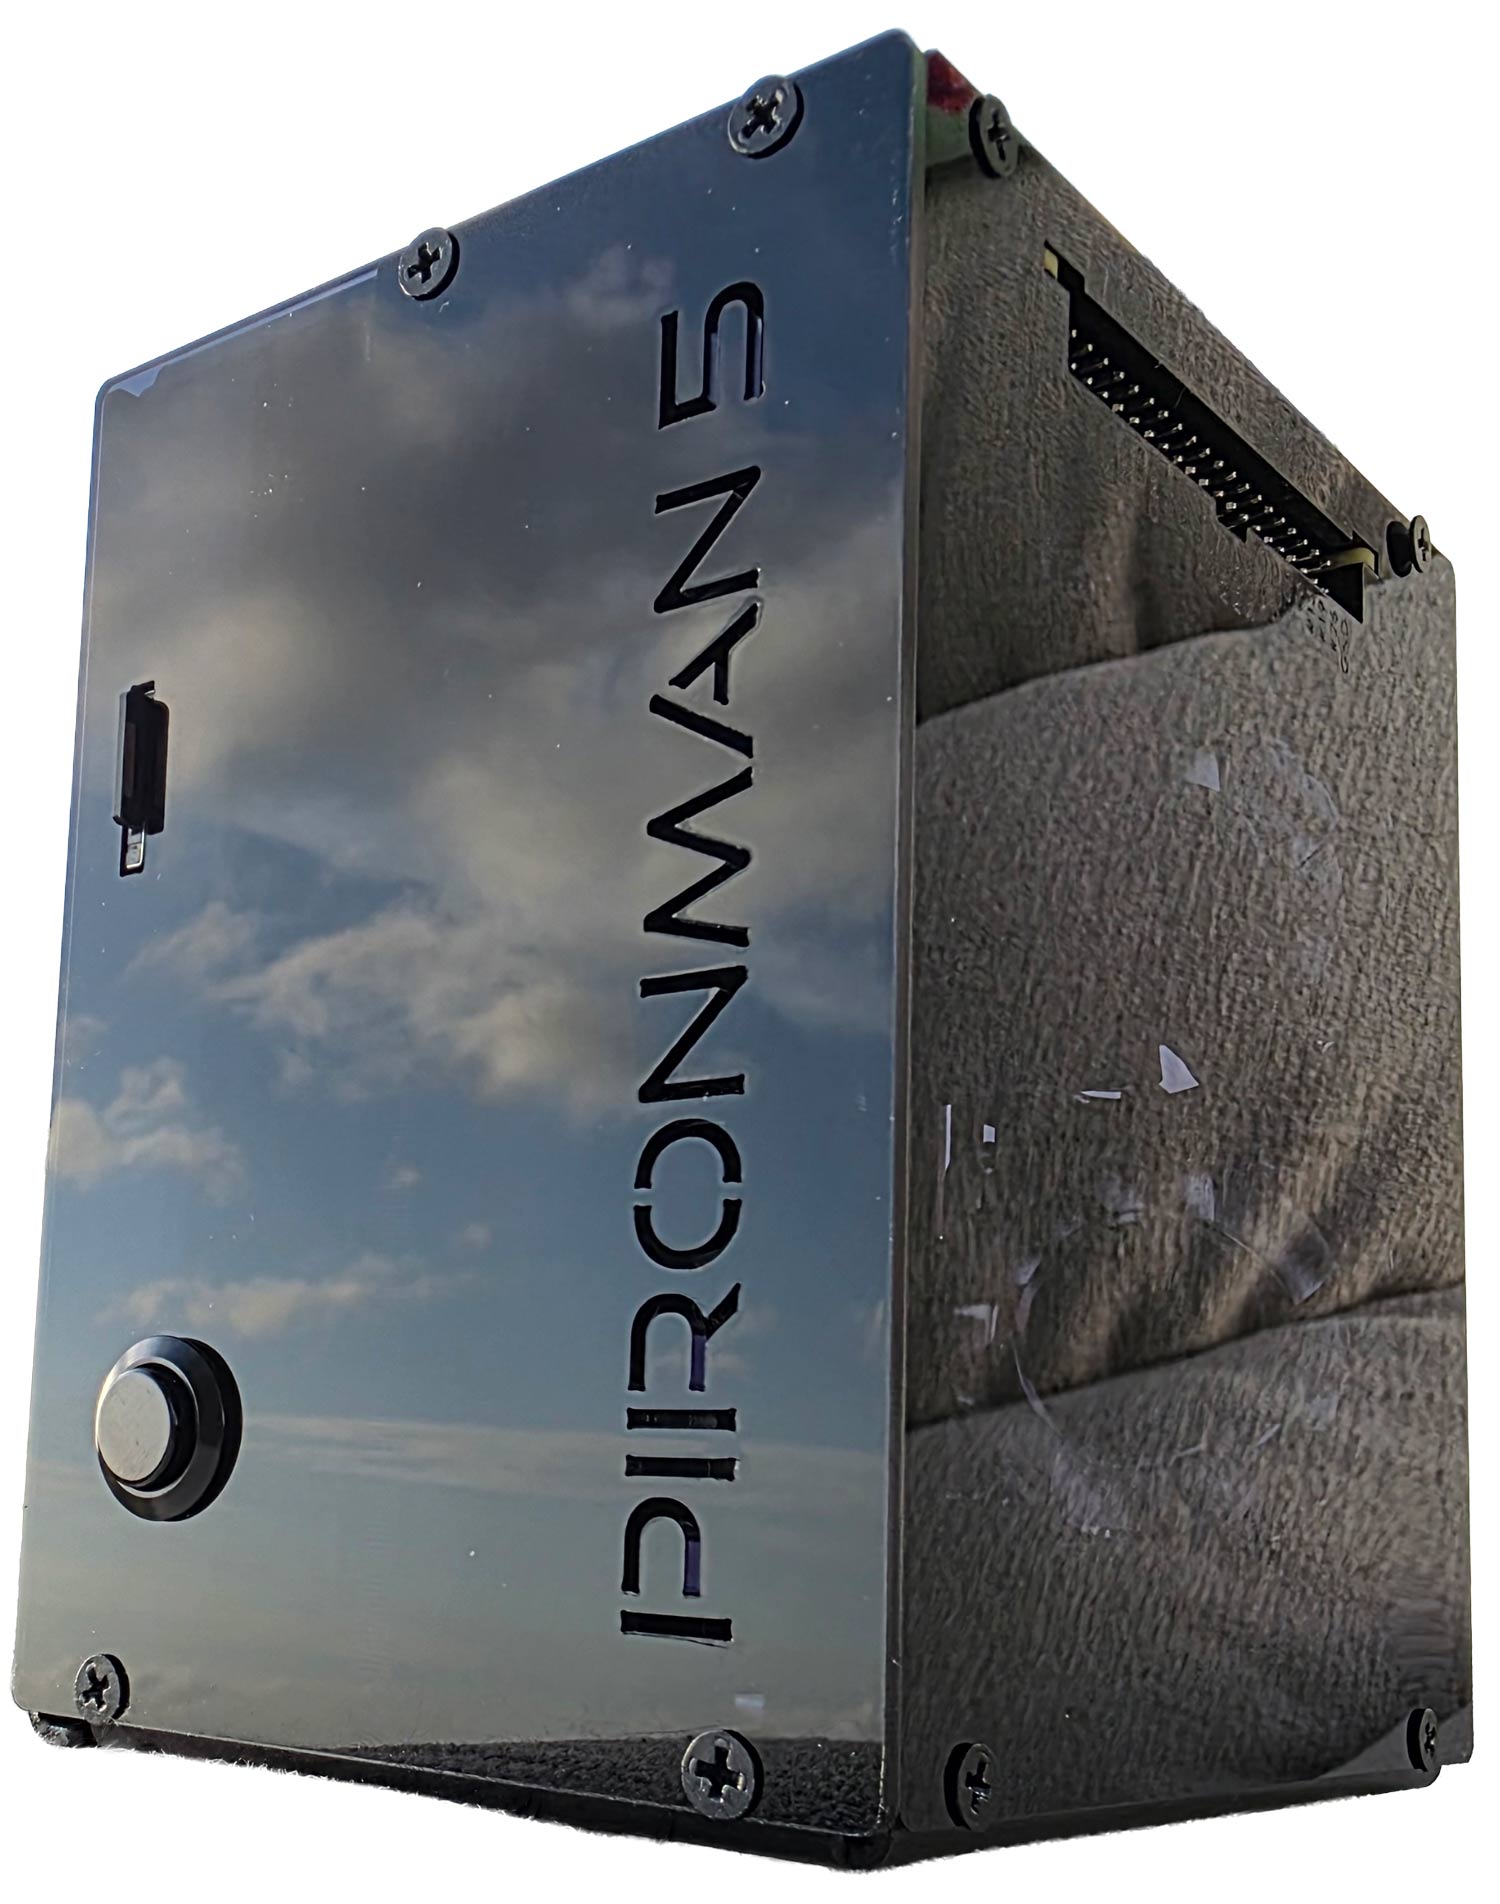
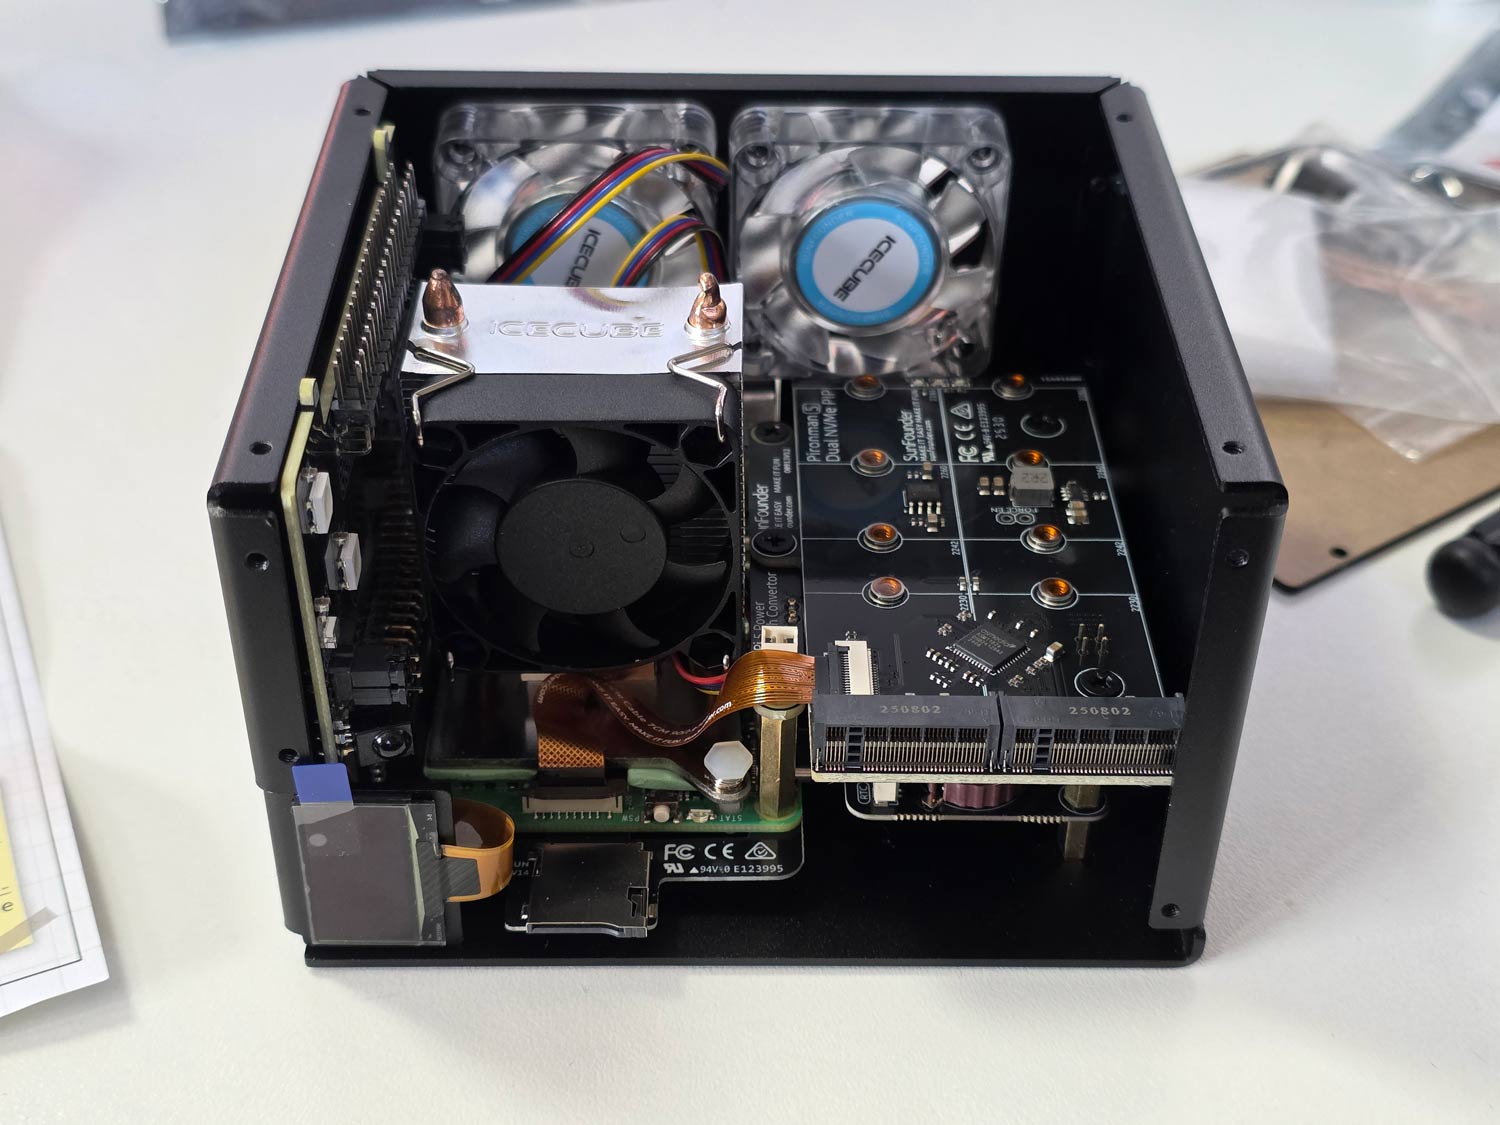
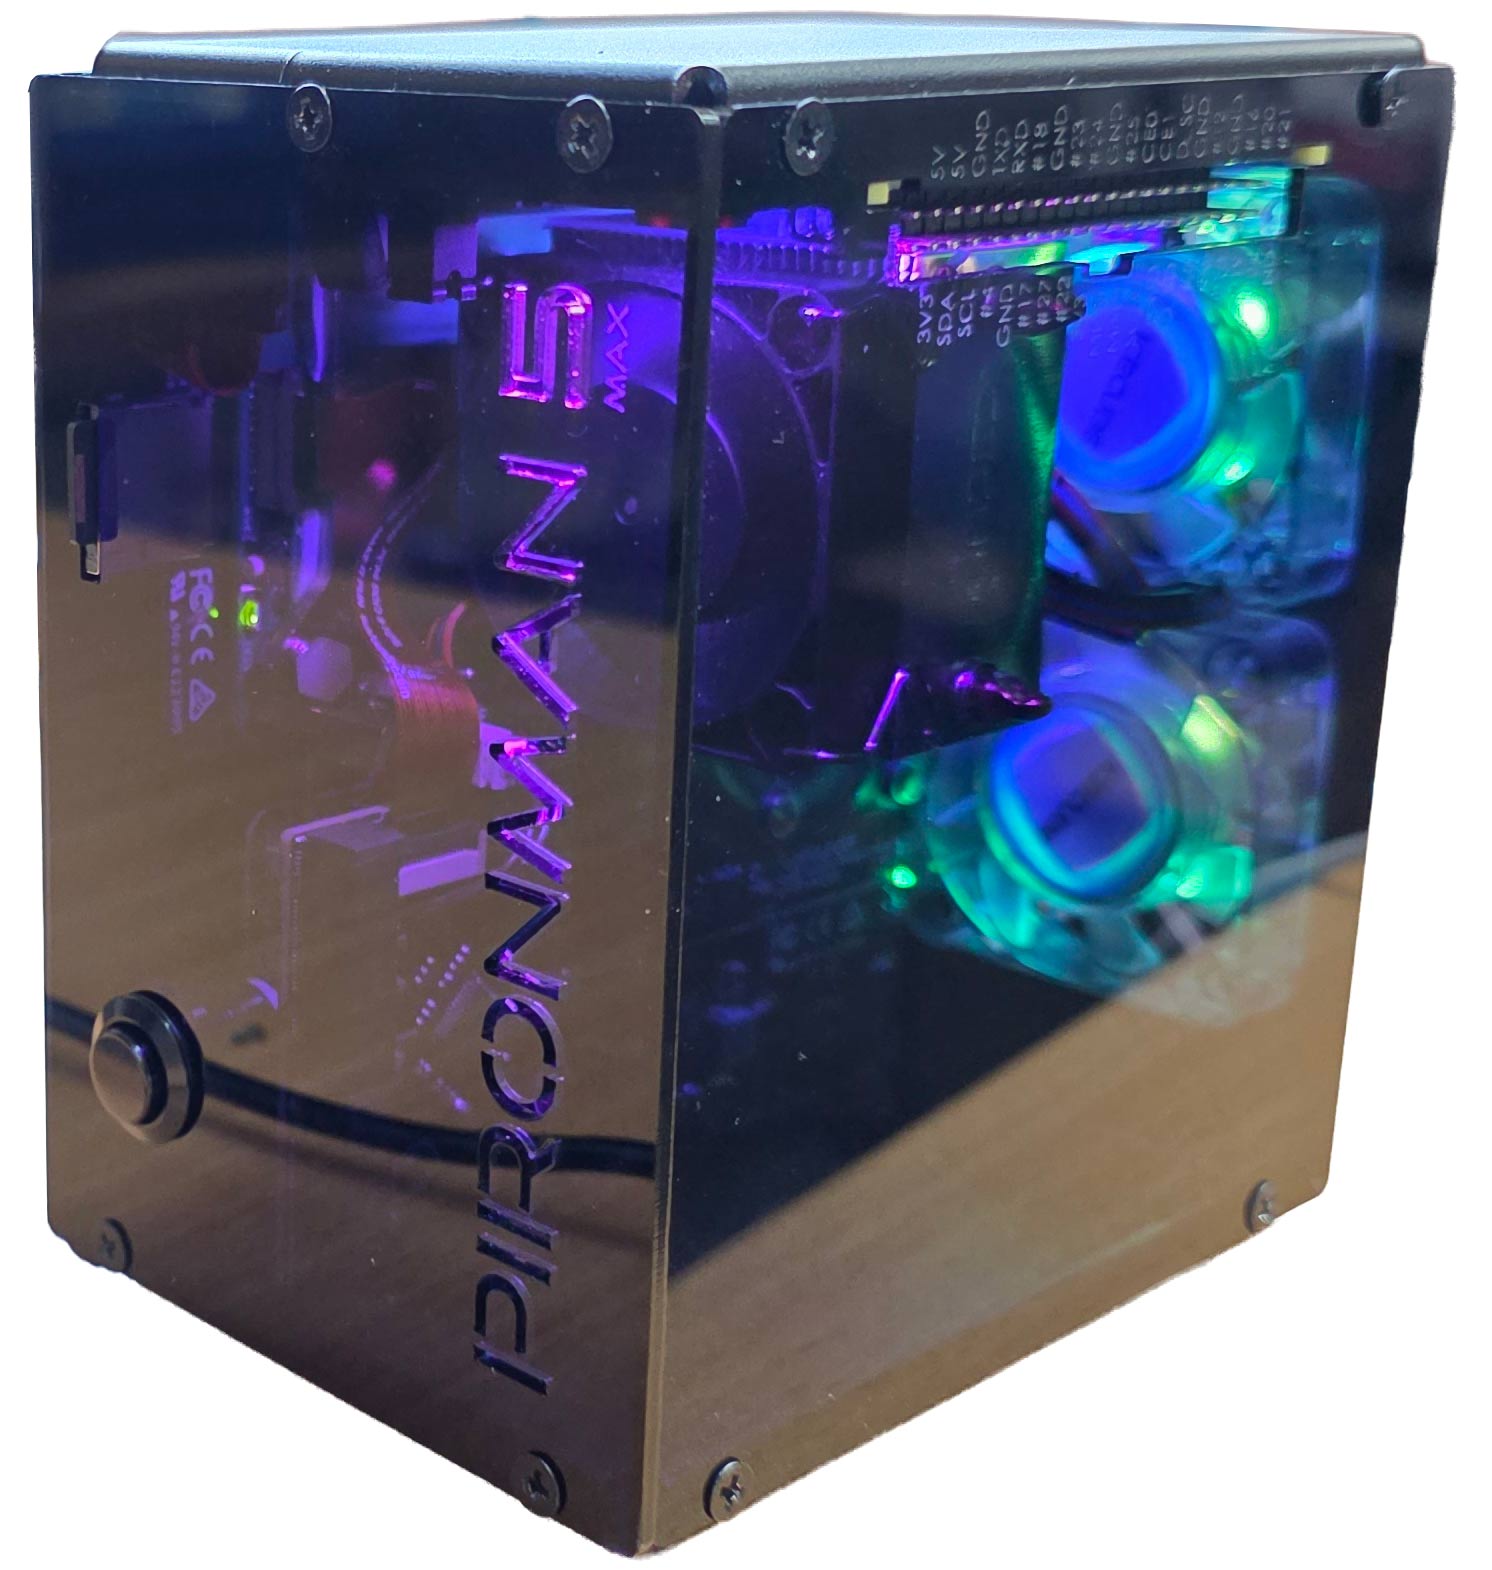
The Pironman 5 is what we would consider a high-end enclosure for the Raspberry Pi. It includes a large CPU tower cooling heatsink with a fan, along with two case fans to keep the internal temperatures down.
It also adds a dual slot NVME M.2 expansion board to the Pi 5, so that you can install two SSDs or one SSD and a Hailo AI accelerator module. SSDs might be useful for RTL-SDR users who are recording large amounts of IQ data, or saving many weather satellite images, for example. The Hailo AI accelerator module could turn a Raspberry Pi and RTL-SDR into an RF intelligence powerhouse. One advanced AI use-case might involve running local Whisper speech recognition to log voice communications to text, followed by using a local LLM to summarize daily received data (noting that you'll need to wait for the Hailo-10H model to run local LLMs).
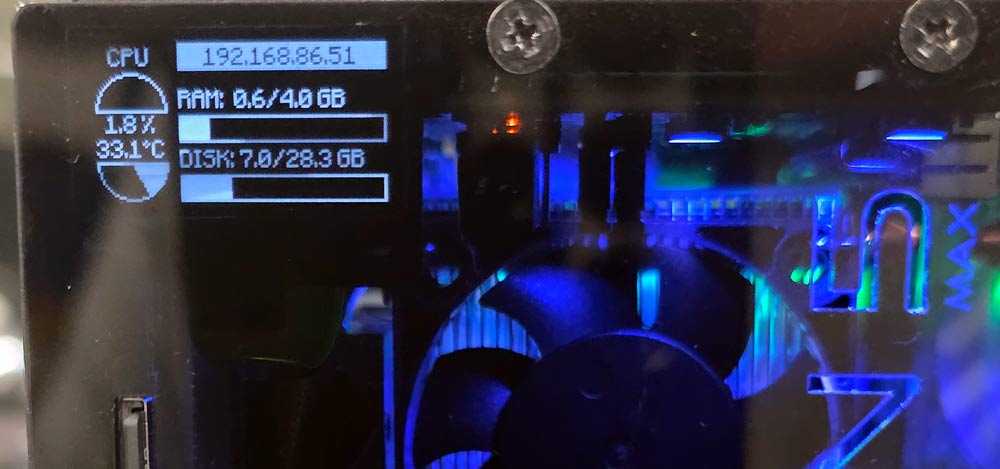
Finally, it also adds an OLED status display, which shows current CPU temperature and fan speeds, as well as an on off button.
Another plus is that the GPIO header remains accessible on the outside of the enclosure, thanks to an extender included in the design.
Assembly
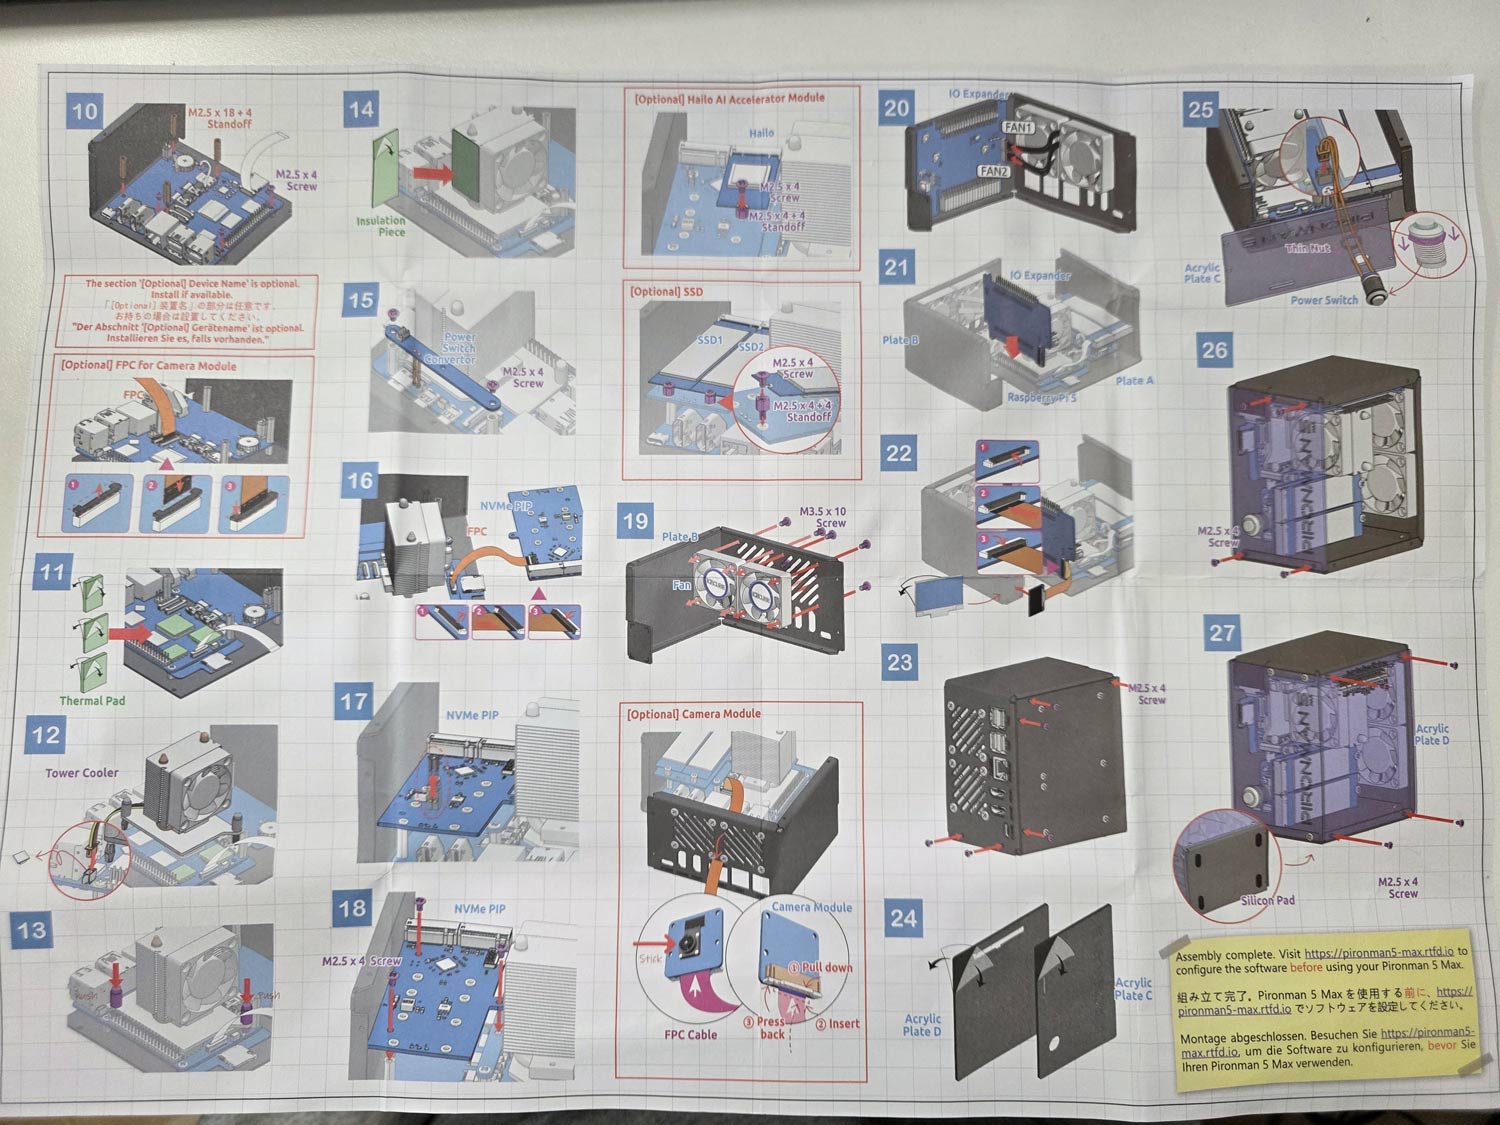
Assembly of the Pironman 5 took just over 30 minutes. It involves screwing in standoffs, seating the heatsink/fans, connecting jumpers and ribbon cables, and screwing down the panels. A nice color paper assembly manual is provided, making the installation easy to follow. Anyone who is mildly familiar with installing connectorized PC components should have no trouble.

Software Installation and Usage
After assembly, you can simply insert a freshly burned Raspbian image into the SD card slot and power on the unit.
At this stage, you now need to install some software to properly control the OLED, CPU fans, and case fans. This involves installing some software from their GitHub, but you can simply copy and paste the commands in the terminal one by one.
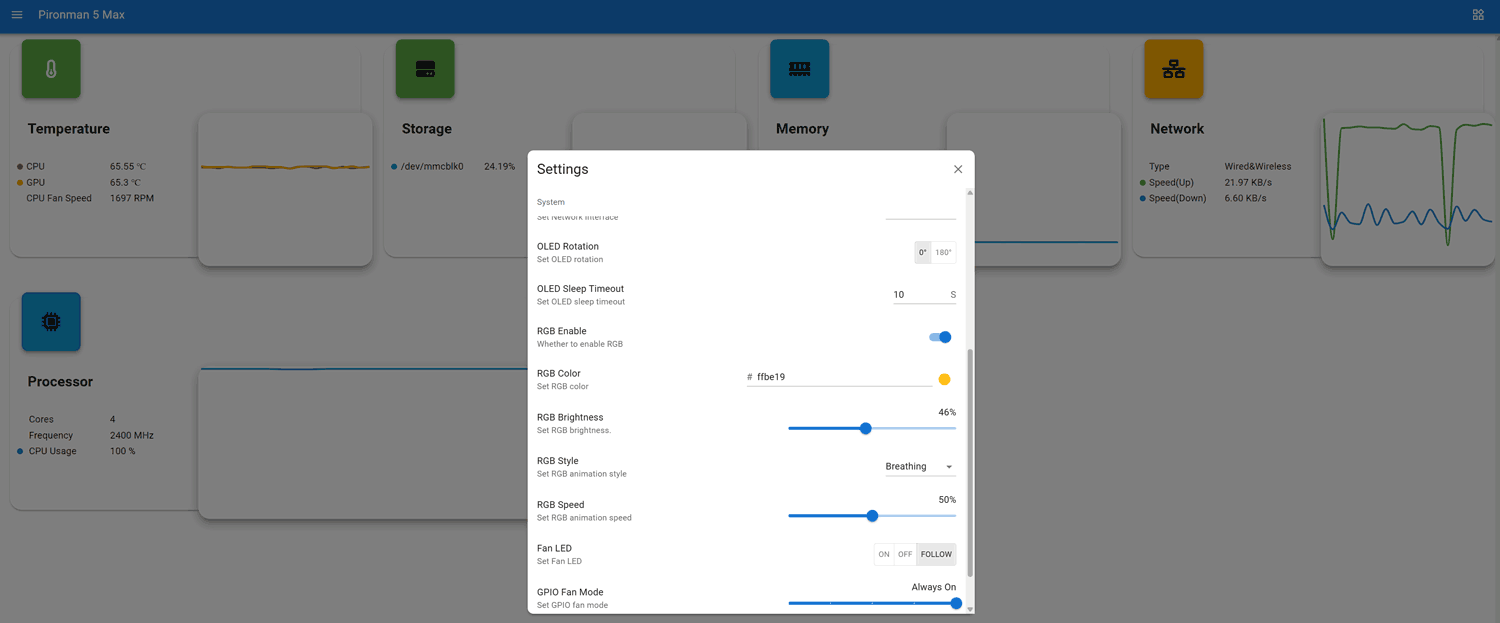
Once the software is installed a web UI is exposed at <IP_ADDR>:34001. Here you can monitor various stats including CPU temps, and make changes to the OLED, RGB and fan behaviour.
OLED QC Problems?
Unfortunately, our unit had a problem where the OLED screen wouldn't work. We attempted fresh software installs and reseated all cables and connectors, but had no luck. Upon contacting SunFounder, they immediately sent us a new OLED screen to try. But the replacement also did not work.
However, when trying the new screen, we noticed that the screen would briefly light up when we pressed on the FPC connector. Upon inspecting the FPC connector, we noticed that some pins on the PCB looked suspiciously low on solder compared to the others, so we applied flux and used a hot soldering iron to refresh them. After doing this, the OLED screen began working again.
Based on our dealings with SunFounder, we believe that they're support is good, and any customer facing similar issues would be supplied with replacement parts if required.
Usage and Performance with RTL-SDR
As expected, with the great cooling in place, the Raspberry Pi 5 never throttled down when running an RTL-SDR with SDR++. We also tested it with our KrakenSDR system, which requires more CPU, and found great performance too.
The rear GPIO fans are quiet enough, and the CPU fan makes almost no noise inside the enclosure. We ran a stress test using the 'stress' Linux package, which can push all four CPU cores to 100%. With the fans running in a room with an ambient temperature of 22 degrees, we saw that the CPU temperature never went above 55 degrees C.
While still running 'stress', we manually disabled the two GPIO fans, and the temperature stabilized at around 66 degrees C. So the rear fans may only be required to be on when you have an SSD or AI module installed.
Conclusion
If you're looking for a high-quality enclosure and cooling solution for the Raspberry Pi 5, the Pironman 5 MAX is probably the best high-end solution available. Not only does the enclosure protect the Raspberry Pi 5 completely, but the cooling performance is excellent, and the ability to add SSDs and AI modules is great too.
Disclaimer: We were given a unit for free in exchange for an honest review. We received no other compensation.


PCB looked suspiciously low on solder compared to the others ???????
And they put a “fake” QC stickers on board ?
Can you imagine to send back / contact the reseller like in all others chineses shop as most of them do not care to reply , so no thanks , no time to loose and custom fee for a so called premium low soldier pcb !
I can only imagine the poor soldering was causing intermittent connection issues, which allowed it to pass a quick 2 second OLED QC check. When researching the issue I saw their forums and they appear to have replaced a few faulty boards when customers complained, so I think they will handle any issues properly.
lmao now youre really dropped low, from reporting interesting stuff about 10y ago, to pushing very hard for you own products, and now just promoting random chinese products (and also defending that)
yuck!
oh yeah, and a referral link too of course
truly the american way.
There’s no referral links here, we don’t make any money from promoting it. Truly, they offered a free product only, and we thought it was at least adjacent as SDR users often need to buy a Pi and cooling system. We are also looking at writing a future post about the mentioned AI use-cases for SDR monitoring, and thought this product might help us with that.
80$ or 95$ for a Box ? Really 😂?
A box, M.2 expansion PCB, port/RGB/fan expansion PCB, two case fans, one cooling tower block with fan, OLED screen. You could buy all those bits separately for cheaper, but they won’t all fit together like this.
Really TOO TOO TOO EXPENSIVE !!