A few months ago the popular SDRTouch software for Android added support for the SDRplay RSP. The RSP is a $149 USD software defined radio with a tuning range of 100 kHz to 2 GHz and a 12 bit ADC.
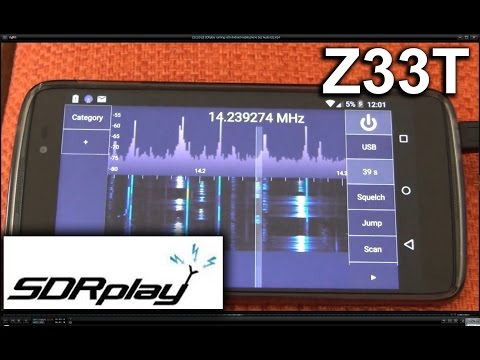
Over on YouTube user Mile Kokotov has uploaded a video showing the SDRplay RSP running in SDRTouch. He uses it to listen to the 14 MHz ham band in SSB mode and finds that reception is clear and that it is fairly easy to tune around.
In order to use the RSP with an Android device you will need a fairly modern phone and a USB OTG cable. Ideally try to get a USB OTG cable with an external power port as the battery can drain quite fast when using the SDR. SDRTouch also supports the RTL-SDR.
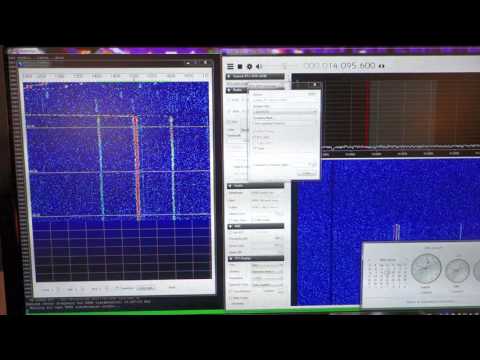
Over on YouTube user Veryokay has uploaded a video showing how he was able to receive WSPR (Weak Signal Propagation Report) signals at 14 MHz with his direct sampling modified RTL-SDR. WSPR is a HF mode designed to be received even if the signal is very weak. It is used to help determine radio propagation conditions. Direct sampling mode allows you to receive HF signals on an RTL-SDR without the need for an upconverter, but it is more difficult to implement and get good results with. To get the best results Veryokay built an add on PCB that fits onto the RTL-SDR which contains and LNA and single ended to differential operational amplifier to amplify and get correct impedance matching on the input.
His video mainly shows how to calibrate the receiver correctly to receive WSPR as incorrect calibration is the most common error when trying to receive WSPR for the first time. In the video he also explains that he is transmitting WSPR himself using his Raspberry Pi and a QRPi WSPR filter shield for use with Rpitx.
Receiving WSPR with the RTL-SDR in direct sampling mode and WSPR-X.
Receiving WSPR mode at 20m with RTL-SDR dongle in direct sampling
Over on YouTube user Mile Kokotov has uploaded a video showing him receiving a WPX CQ CW (morse code) contest on his SDRplay RSP. The SDRplay RSP is a $149 USD software defined radio with a tuning range of 0.1 – 2000 MHz, 8 MHz maximum bandwidth and 12-bit ADC.
In the video Mile shows that the SDRplay is capable of receiving many strong closely spaced CW signals at the same time as weaker ones without overloading. He uses the HDSDR software and a large 43.1m long delta loop antenna strung up in his backyard.
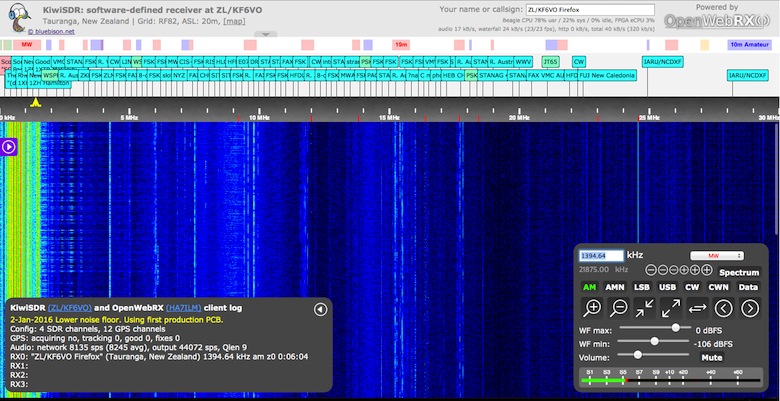
Back on February 8 we posted about the up and coming KiwiSDR, a software defined radio with 30 MHz of bandwidth and a tuning range that covers 0 – 30 MHz (VLF to HF). It is intended to be a low cost web based SDR that can be accessed from all over the world via a browser interface.
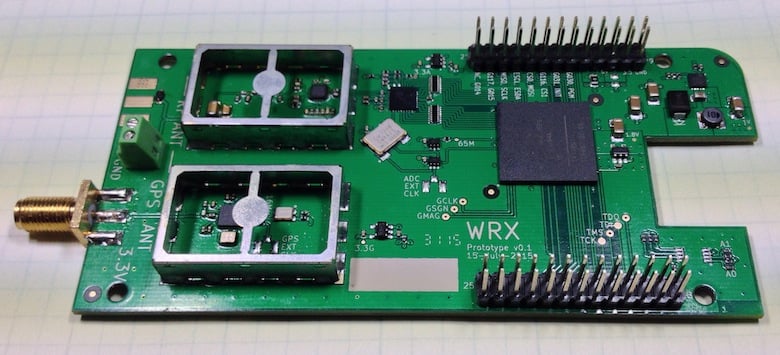
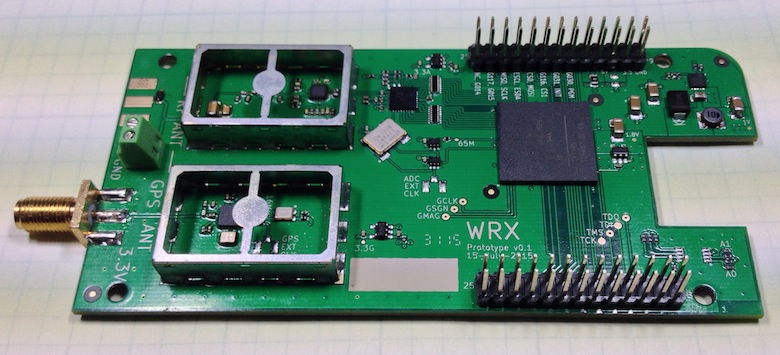
The KiwiSDR is designed as a cape for the BeagleBone Black mini embedded computer, and uses a LTC 14-bit 65 MHz ADC and Xilinx Artix-7 A35 FPGA. It also has an integrated SDR based GPS receiver which is used to automatically compensate for any frequency drift from the main 66.6 MHz oscillator. It runs on the OpenwebRX web based software, which many RTL-SDR users have already been using to stream live radio to the web.
Today the KiwiSDR started its crowd funding campaign on Kickstarter. A full KiwiSDR can be purchased for $199 USD, or for $299 including an enclosure, BeagleBone computer and GPS antenna. The fundraising goal is for $50,000 USD and if successful they estimate delivery in October 2016. The creators of the KiwiSDR write:
Sure, the world doesn’t really need another SDR. But we haven’t found one with this set of features. In cost and performance, KiwiSDR fits between RTL-SDR USB dongle-style, or fixed DDC chip devices ($20 – $400, 8-12 bit ADC, limited bandwidth), and full 16-bit SDRs ($700 – $3500) while offering better wide-band, web-enabled capabilities than the more expensive SDRs.
Our main motivation is to enable new applications which utilize a significant number of programmable, web-accessible SDRs world-wide. Direction finding remains one of the great under-solved problems of shortwave listening, particularly for utility stations. Given the GPS timing available on the KiwiSDR, could time-of-arrival techniques between cooperating SDRs be used? We’d sure like to find out.
Also, we’d like to see data decoders built directly into the web interface of KiwiSDR. There are many standalone programs that demodulate and decode data signals from SDRs. But these are computer- and OS-specific and often require a complicated interface to the data stream from the SDR. For example, we have a prototype of a WSPR decoder that is integrated into the KiwiSDR interface.
There are currently three KiwiSDR servers running publicly at the moment, and they can be accessed at:
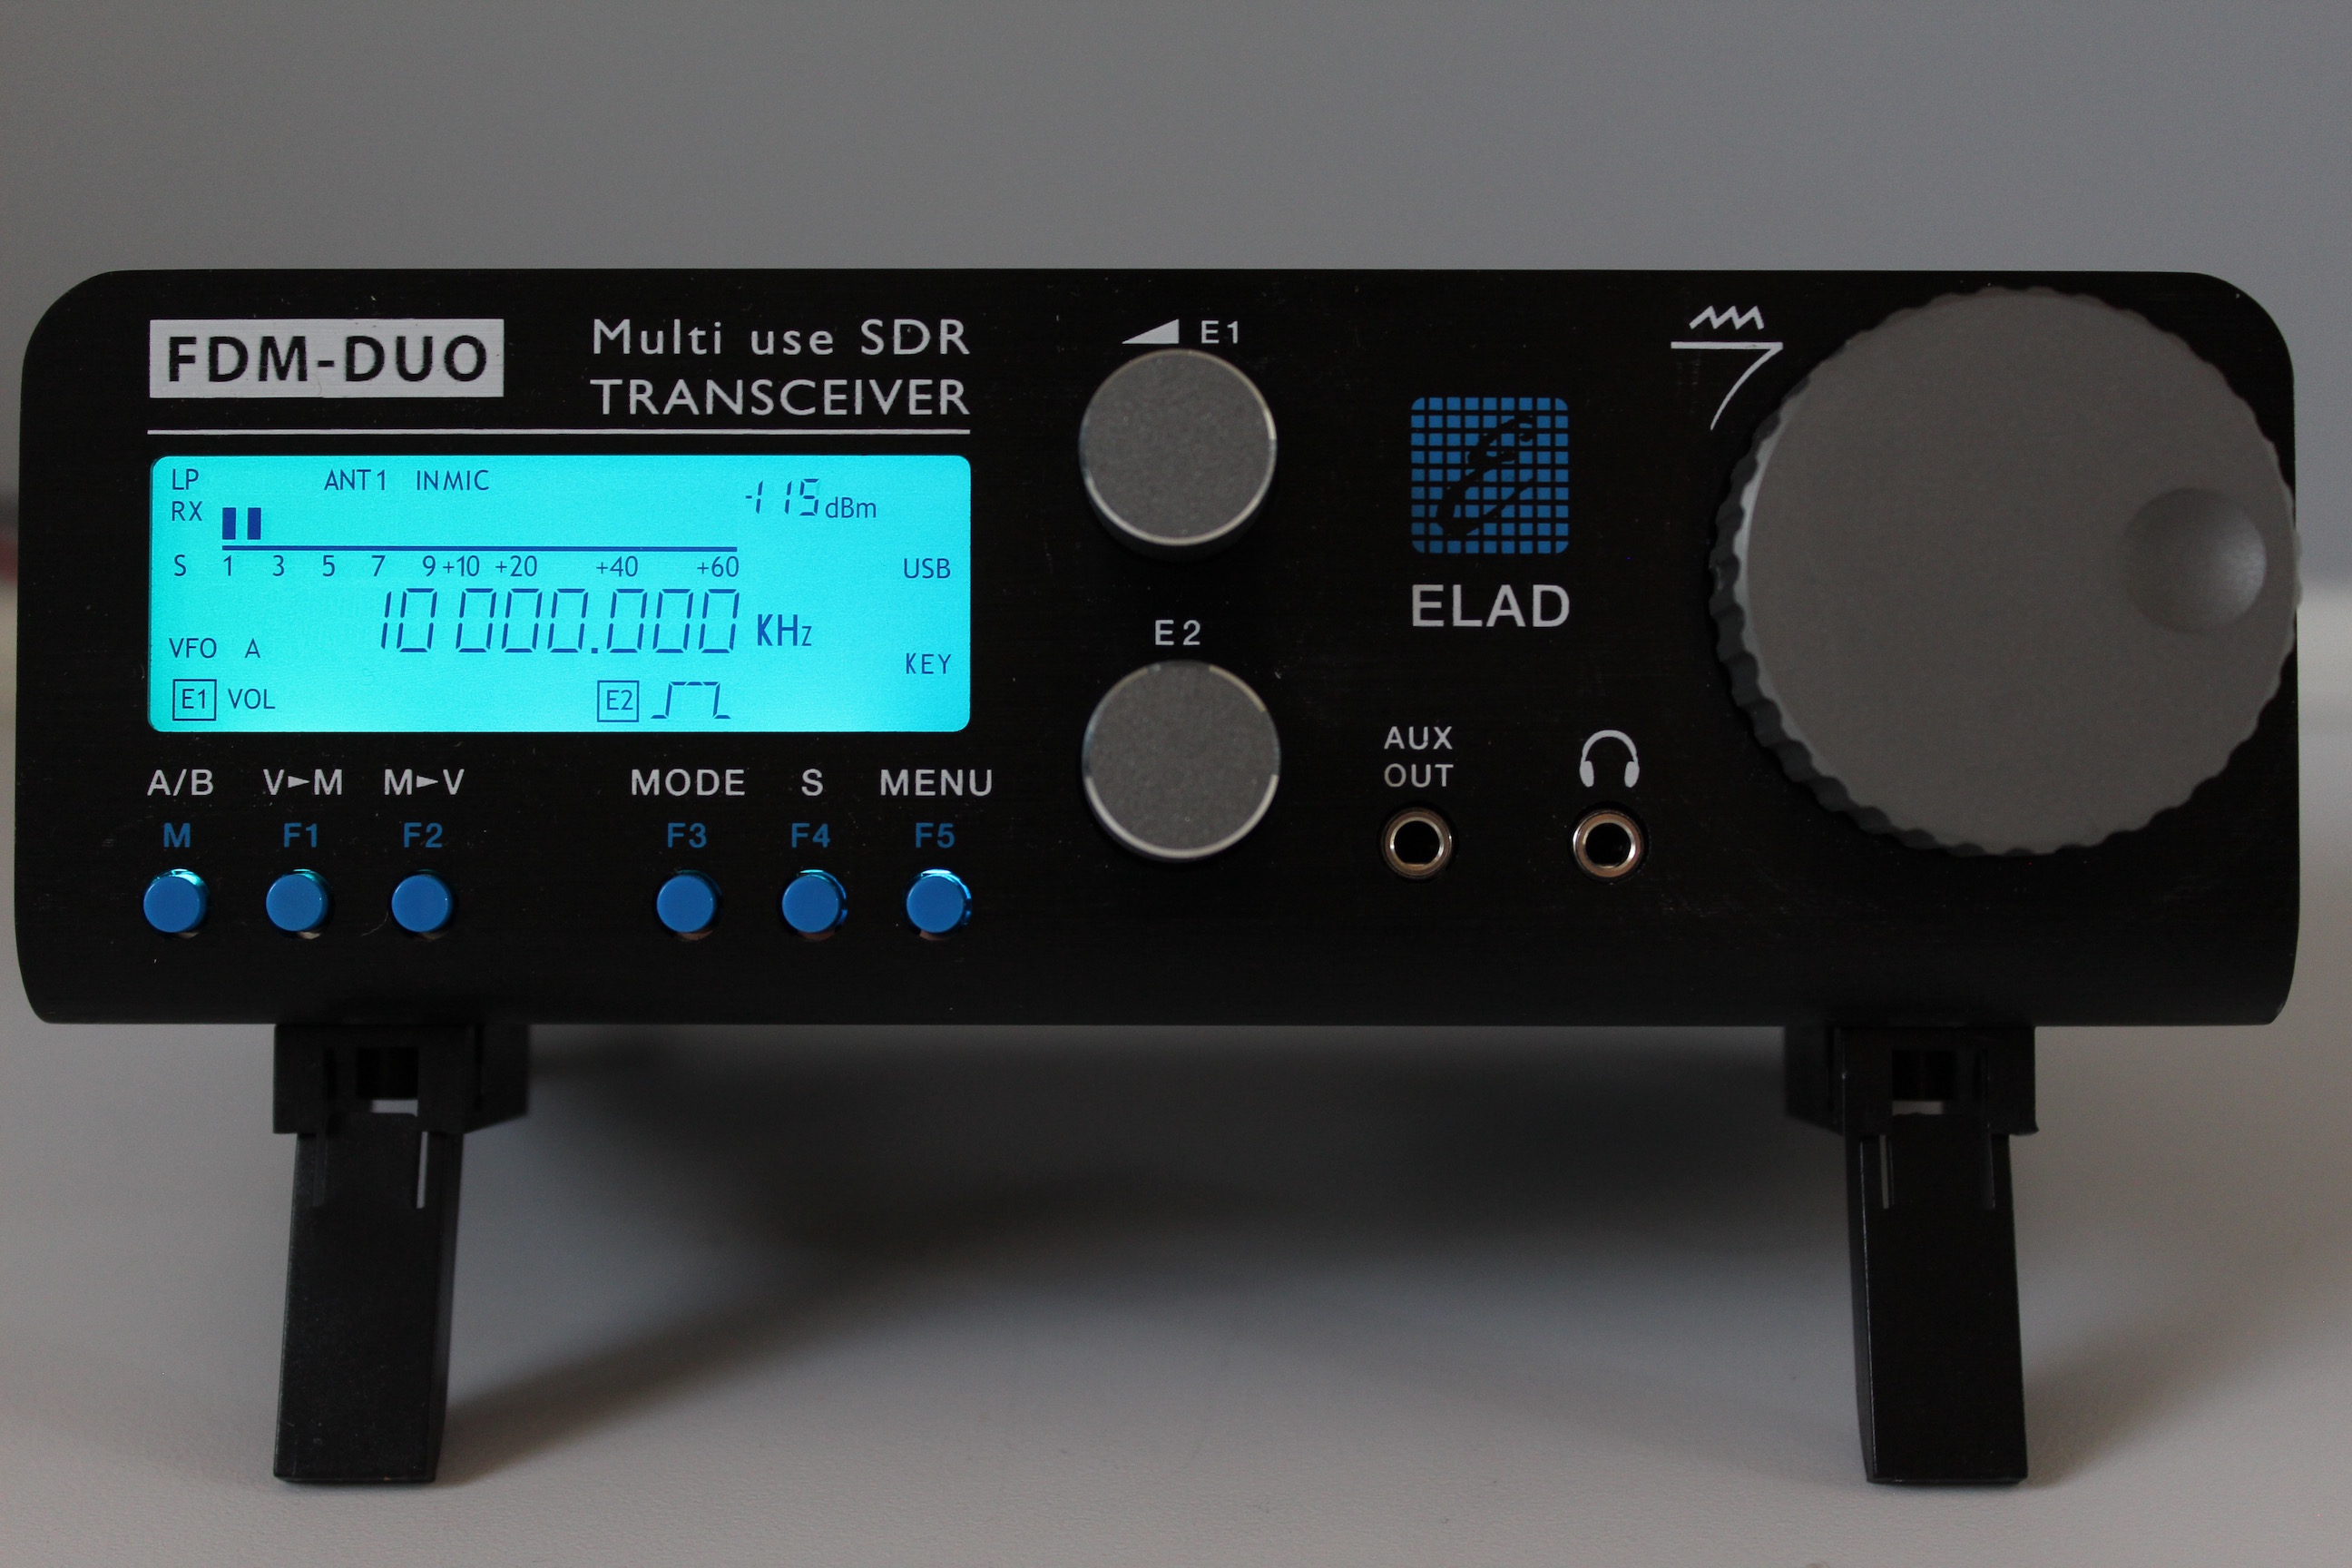
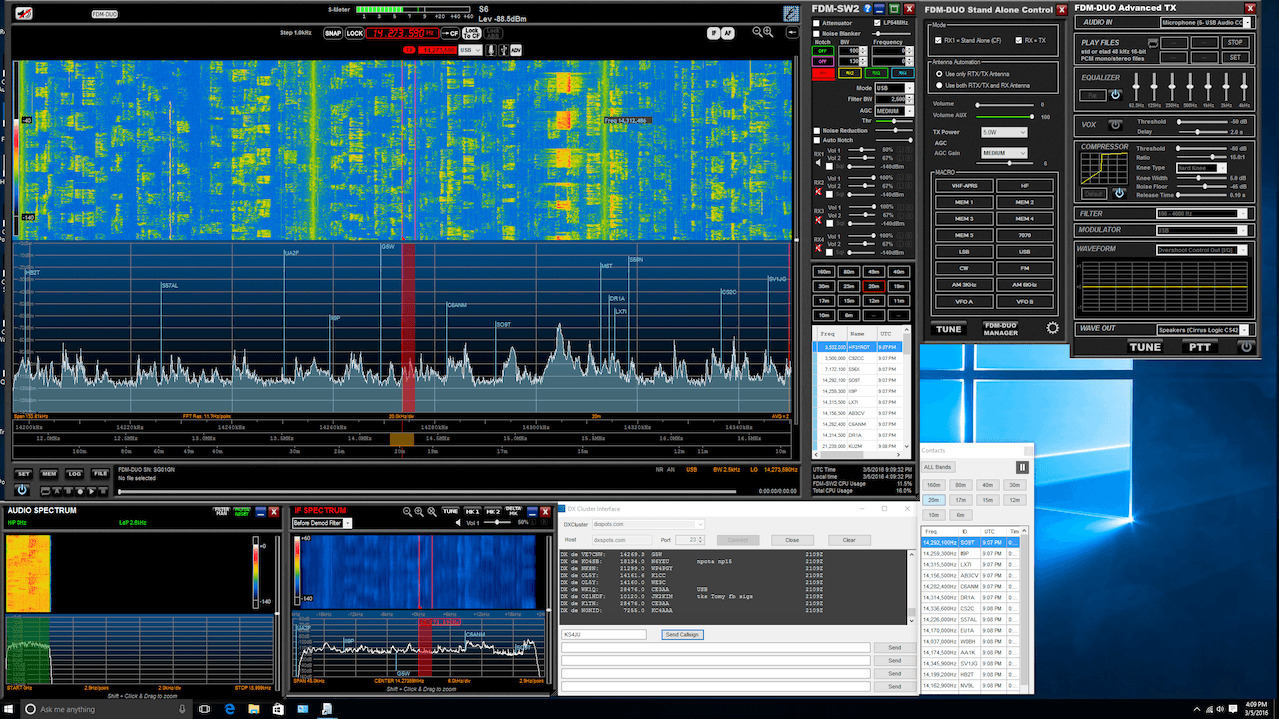
The Elad FDM-DUO is a high end $1149 USD Italian made software defined radio transceiver (transmit and receiver) with a frequency range of 10 kHz – 54 MHz, a 16-bit ADC, a bandwidth of up to 6 MHz and can transmit with up to 5 – 8 watts. It is a product targeted at ham radio enthusiasts who want a gradual transition into software defined radios. It can work in two modes: either as a standalone computer-less radio just like a regular hardware radio, or as a fully functional computer based SDR.
The Italian made FDM-DUO has to be the most versatile, well designed, and well thought out SDR system currently on the market.
The review by hamradioscience goes over several points such as explaining what all the connectors on the radio are for, reviewing the ergonomics, reviewing the radio in standalone mode and in PC based SDR mode and he also reviews the companion software package. The reviewer is especially impressed with the included software, basically making the point that this system is a full SDR transceiver package (all you need in terms of hardware AND software).
Generally we recommend more general purpose and lower cost wideband VHF/UHF SDR’s like the Airspy, SDRplay RSP or HackRF (see our review on those SDRs here), but if you are not limited by budget and want to use an SDR mostly for HF amateur radio purposes then the Elad FDM-DUO looks like a winner. The author concludes with the following comment.
Elad got so many things right with the FDM-DUO that it is hard find much to criticize. Unlike so many SDR systems available today, the FDM-DUO SDR system feels like less of a “science project” and more of a finished consumer product. For those who wants a SDR radio system that “just works” and easy to use, the FDM-DUO is a great choice. Also, kudos to Elad for providing such a well done SDR program. The program was very stable over the review period. No, crashing at just the wrong time say during a contest. Heck even if it did, it wouldn’t matter much since you could just continue on using the FDM-DUO as a standalone rig. With some of the larger radio manufacturers dipping their toes in the SDR area, they should take note of what Elad has done with the FDM-DUO. Elad has truly created a very flexible multi-use system with the FDM-DUO and a darn fine SDR radio system at a very good value.
The KiwiSDR is an up and coming VLF/LF/MF/HF capable SDR that has a large 30 MHz of instantaneous bandwidth and coverage from 10 kHz to 30 MHz. It is designed to be low cost and used as an online internet based SDR in a similar way to how WebSDR is used, however KiwiSDR is designed to be used with the OpenWebRX software from András Retzler, HA7ILM. It uses a LTC 14-bit 65 MHz ADC and Xilinx Artix-7 A35 FPGA, and also has an integrated SDR based GPS receiver which is used to automatically compensate for any frequency drift from the main 66.6 MHz oscillator. The features of the KiwiSDR include:
100% Open Source / Open Hardware.
Includes VLF-HF active antenna and associated power injector PCBs.
Browser-based interface allowing multiple simultaneous user web connections (currently 4).
Each connection tunes an independent receiver channel over the entire spectrum.
Waterfall tunes independently of audio and includes zooming and panning.
Multi-channel, parallel DDC design using bit-width optimized CIC filters.
Good performance at VLF/LF since I personally spend time monitoring those frequencies.
Automatic frequency calibration via received GPS timing.
Easy hardware and software setup. Browser-based configuration interface.
The KiwiSDR is currently in beta testing and has released two OpenWebRX beta test sites which can be used at:
Recently Tim Havens (NW0W) wrote in to use to let us know about his work in connecting the Airspy and Spyverter to a very accurate GPS disciplined oscillator (GPSDO). Usually the drift on the Airspy and Spyverter is completely negligible, however Tim uses them together with his Yaesu FTDX-5000 for monitoring CW signals. He wanted to be able to click on a CW signal and have his FTDX-5000 tune to the signal perfectly every time, so even very small oscillator drift offsets could affect his tuning.
To get a high accuracy clock signal from a device such as a GPSDO can be used for both the Airspy and Spyverter. Tim was able to find a very nice GPSDO from Leo Bodnar that comes with two clock separate outputs that can be configured to output any frequency between 450 Hz and 800 MHz.
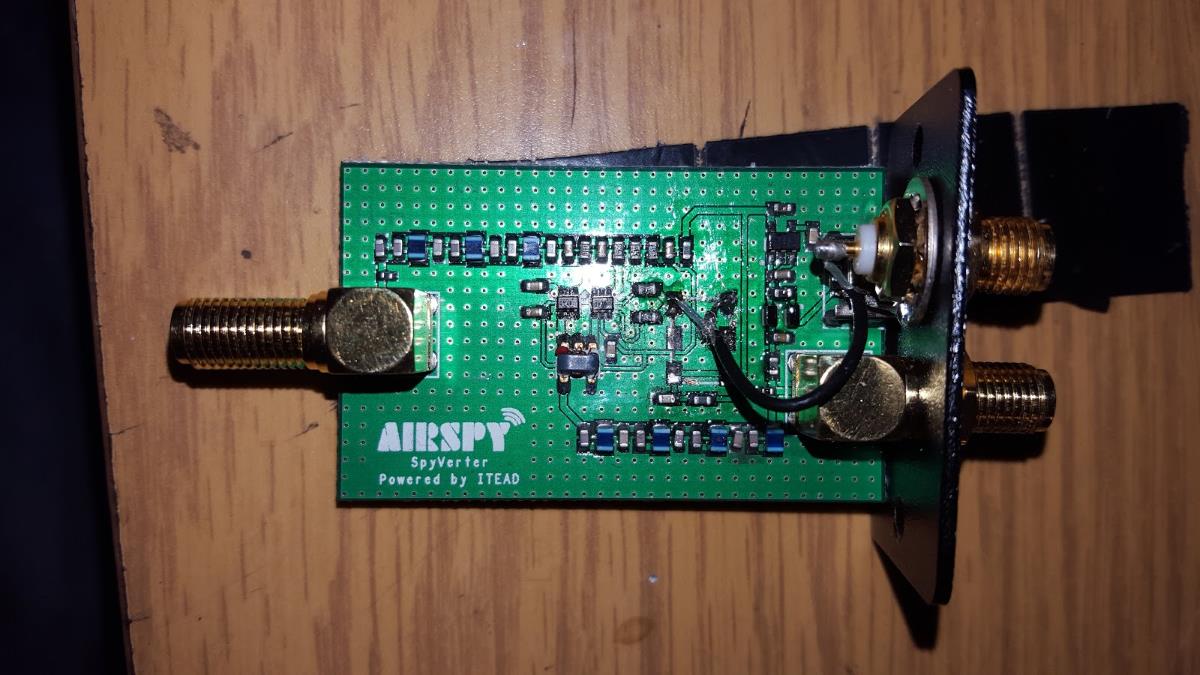
The Airspy already contains an external clock input for 10 MHz, however the present version of the Spyverter contains no such external input. To get around this Tim carefully removed the oscillator on the Spyverter and then added a second SMA connector to connect to the GPSDO.
His final setup consists of the Leo Bodnar GPSDO outputting a 10 MHz and 120 MHz GPS disciplined clock signal that feeds the Airspy and Spyverter respectively. With this Tim found that he needed no initial offset and zero drift was noticed over two days of testing.
Finally Tim also writes that this Leo Bodnar GPSDO could just as easily be used to create a 28.8 MHz clock signal for an RTL-SDR, or any other SDR or upconverter that needs it.
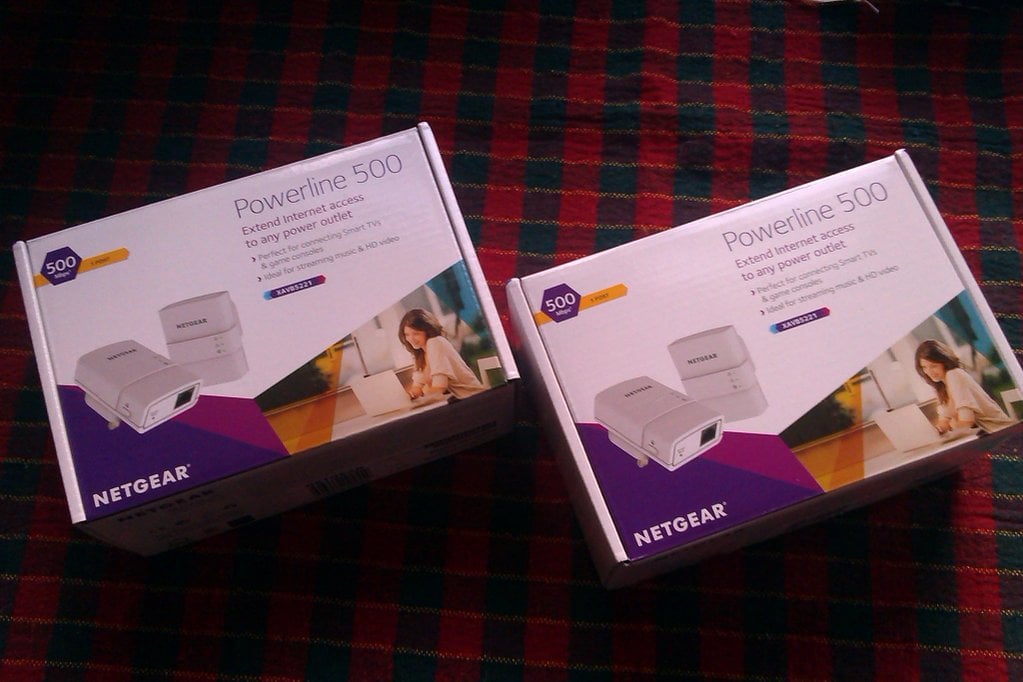
Over on his blog Andrew has posted a good writeup where he determines the QRM (interference) effects of a PLT (power line transmission) device. PLTs are also known as ethernet/internet over powerline devices and they are devices that plug into an electricity socket and use household electricity wires to create a computer network, thus eliminating the need for ethernet cables or WiFi. However, many hams and radio hobbyists hate these devices because they believe that they can cause significant amount of radio interference, especially on HF.
In his investigation Andrew bought a pair of Netgear Powerline 500 PLTs. He then plugged the PLTs in and started streaming a movie over the powerline network connection to cause maximum radiation. Then using his Funcube dongle and SDR# he investigated ham bands to see if these devices brought any noise.
In his results Andrew writes that he barely saw any interference caused by these devices. Some interference was noticed at 17 meters and 12 meters, but he notes that the amateur portion was left relatively unaffected. Many hams believe these devices can completely wipe out HF, but it seems that this is untrue, at least for this particular PLT model.