Feedback Request: New RTL-SDR Product, Ideas and Interest Check
We are considering building a new multi-purpose RTL-SDR product. The idea is to make several difficult to achieve applications and projects much more accessible. We are looking to implement the following ideas:
- 3x on-board coherent RTL-SDRs built into the PCB
- 4x SMA inputs: 3x individual inputs, 1x common input (switched between the two).
- All RTL-SDRs connected to the same clock source – enables coherent experiments
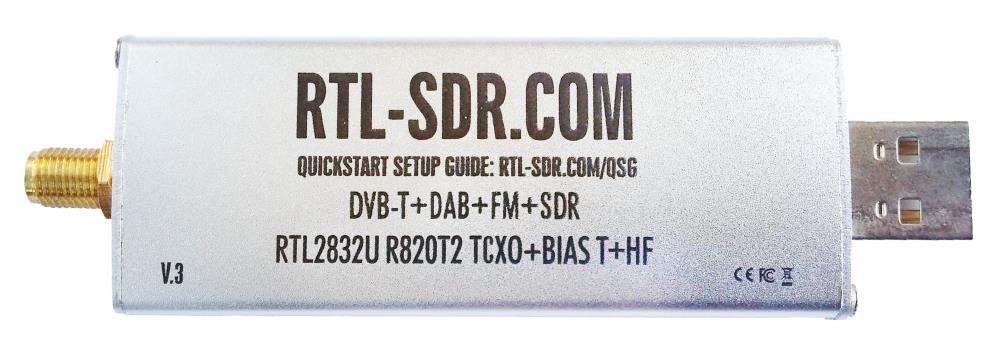
- All RTL-SDR feature sets and performance equivalent to RTL-SDR V3 or better
- On-board noise source and directional coupler
- Useful for correlation with rtl_coherent
- Measure filter characteristics, and get rough SWR antenna readings.
- Noise source able to be switched in and out via silicon switches
- Useful with rtl_coherent and other coherent experiments for cross correlation timing correction. This allows for accurate direction finding.
- Ability to mount onto a Raspberry Pi 3, and provide an ESD protected, buffered and filtered output for RpiTX transmissions. (a PCB plugin filter specific to the transmission frequency would need to be installed onto PCB to use this feature)
- With a filter installed the board can be connected to an antenna and used with RpiTX for simple transmissions.
- Go portable with an Raspberry Pi 3 compatible HDMI LCD screen and a battery pack. Possible HackRF portapack alternative.
Possible applications:
- Multi-band RTL-SDR applications
- One RTL-SDR receiving NOAA, one receiving ADS-B, one scanning the air band.
- Easy trunk tracking with 2x RTL-SDR. Third RTL-SDR used for something else.
- One streaming NOAA weather, one scheduled to receive NOAA/Meteor sats and weather balloons, one receiving Outernet weather updates.
- Coherent applications
- RF direction finding
- Passive radar
- Possible radio astronomy applications?
- Noise source applications
- Characterize filters
- VSWR meter with directional coupler
- Raspberry Pi mount applications
- Replay attacks and security analysis of ISM band devices with RpiTX and an ISM band filter.
- Transmitting WSPR with WSPRpi.
- Portable if used with a small HDMI screen and battery pack.
- Possible control of board via an Android app.
- Similar applications to the HackRF Portapack idea.
- Multi-band noise locator if a GPS is added to the Pi. e.g. See Tim Havens’ ‘Driveby’ concept.
The idea is still in the concept stages so we’re looking for any feedback from the community to see if this is even something that people would want.
Would a receiver board like this interest anyone? We would also work on providing basic ready to go software on a downloadable image file for the Raspberry Pi 3 so starting an app would be as easy as using a launcher. We would also provide various tutorials as well.
The target price would be $99 USD. If you think this is too much, please let us know what you would expect to pay in the comments.
Are there any additional features that anyone requests? Please let us know in the comments.