Tagged: raspberry pi

SDRRecorder – A Linux Script for Recording an IQ Stream at a given Date and Time

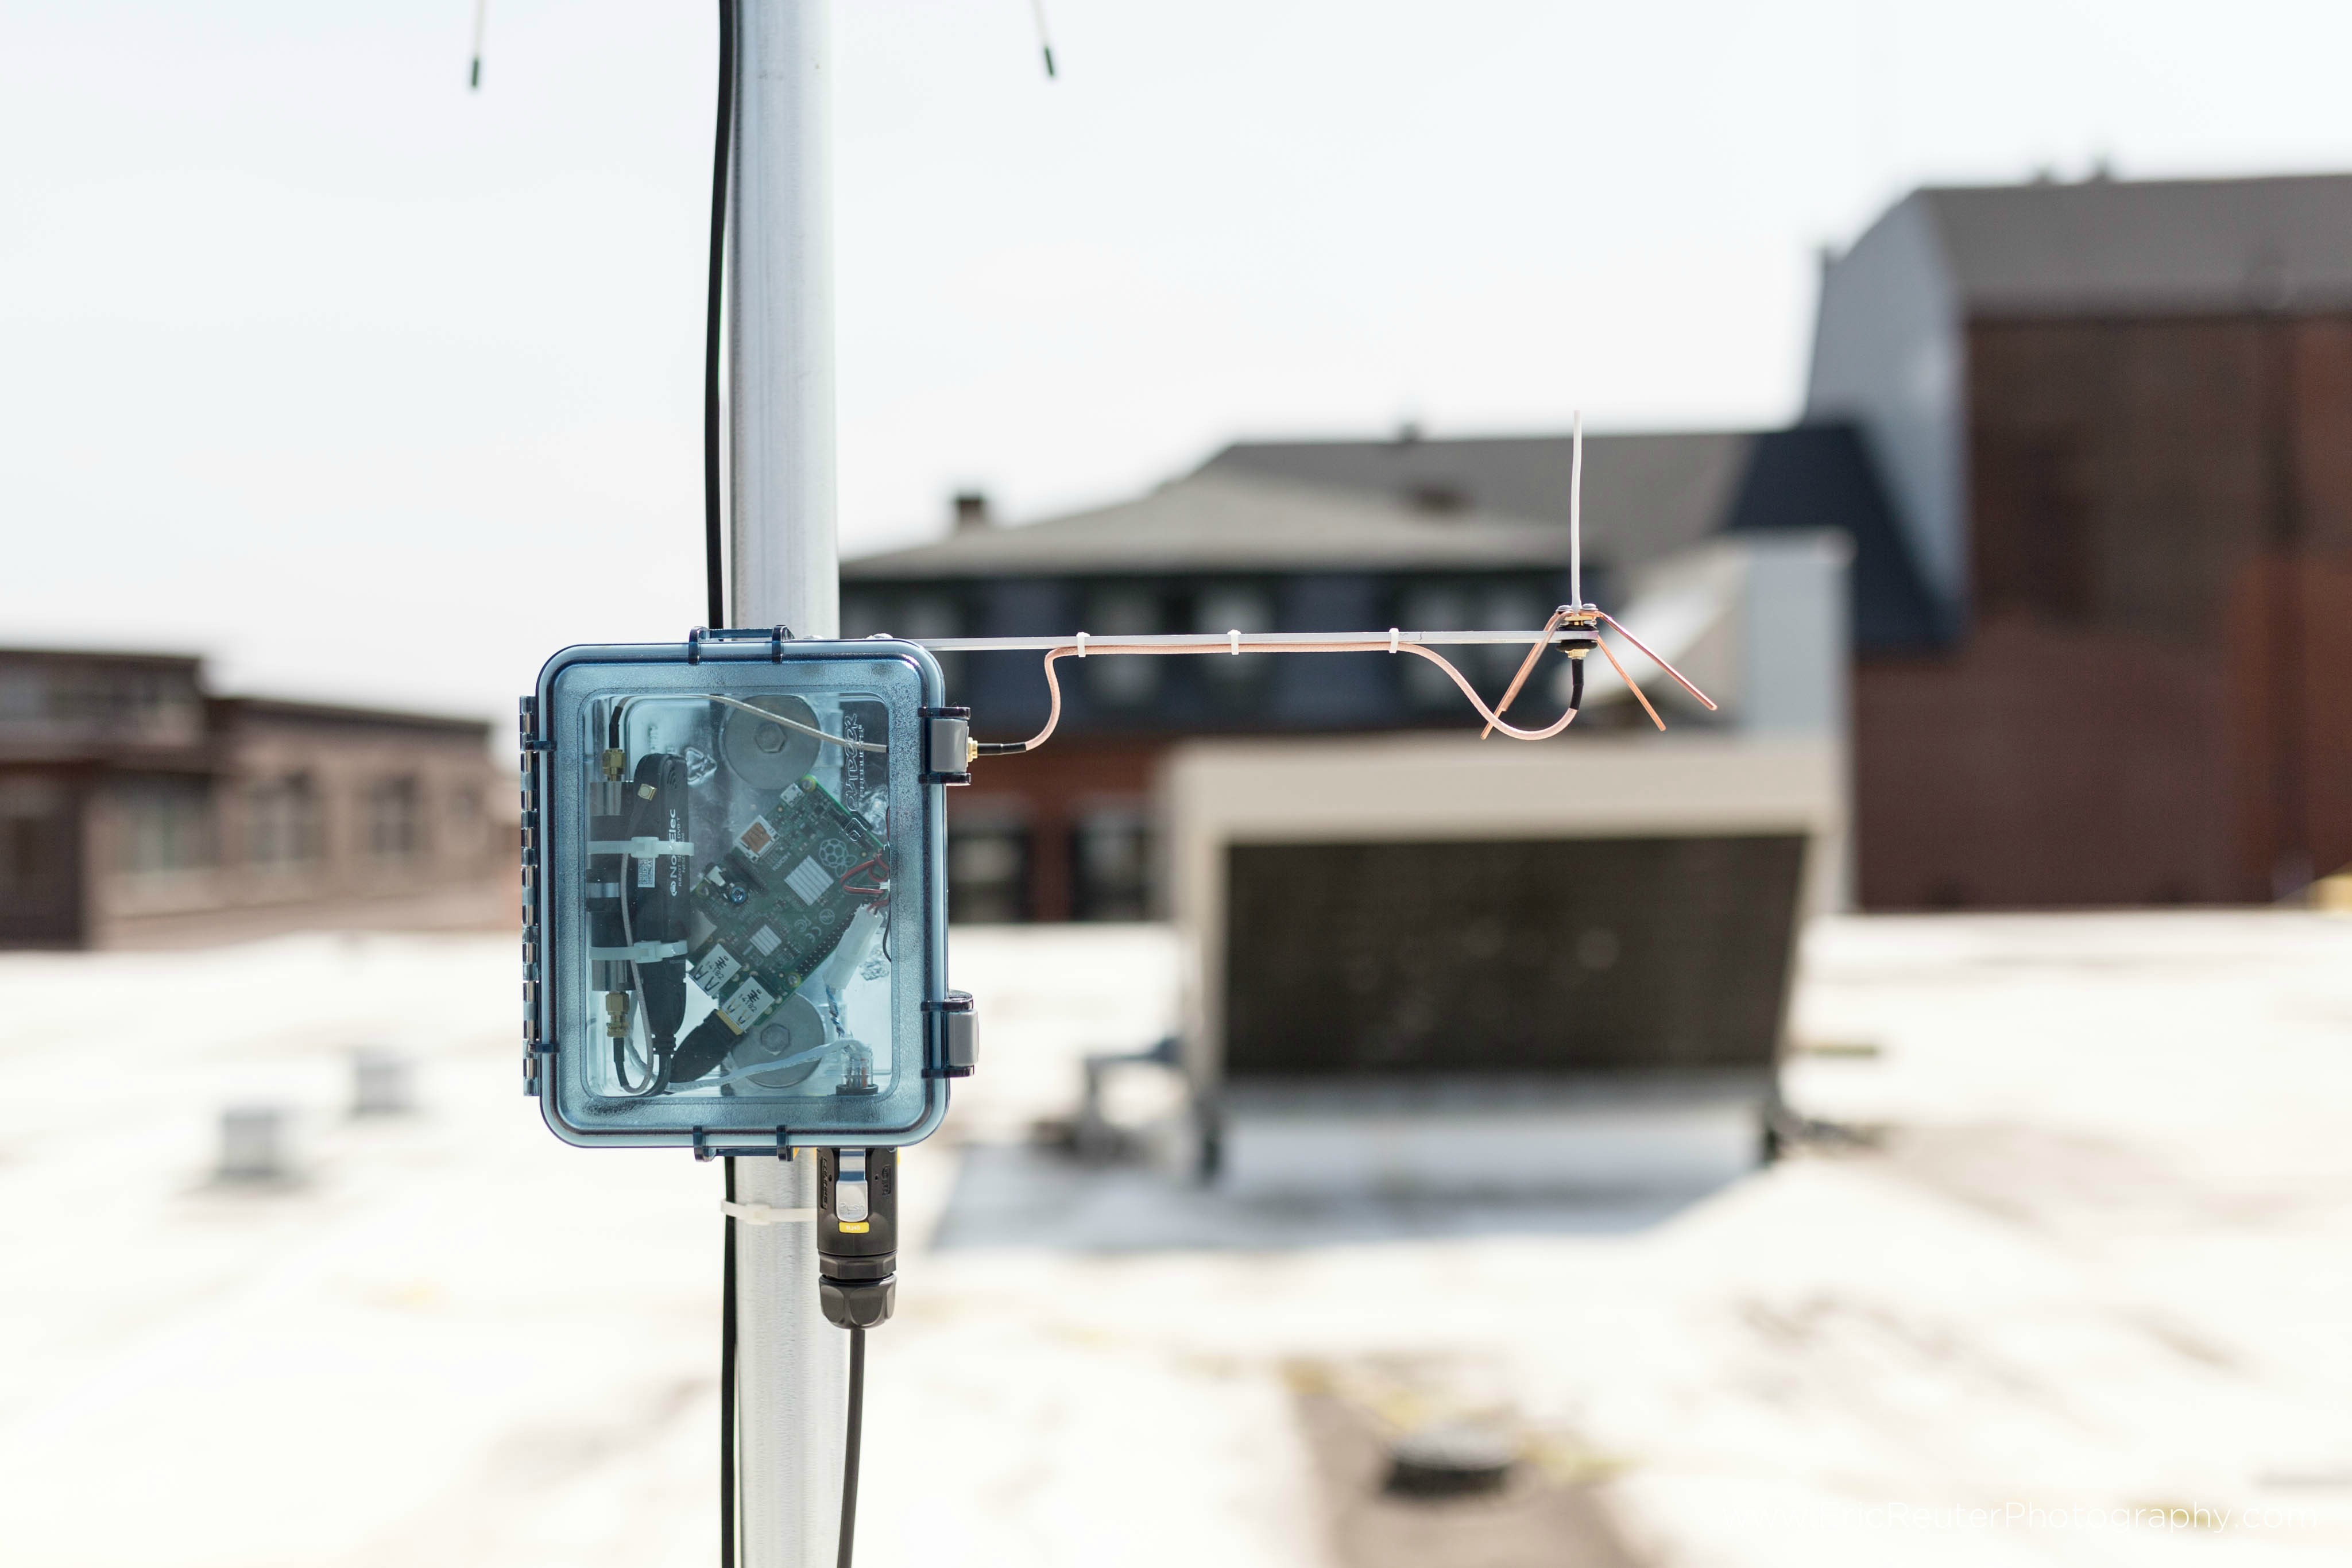
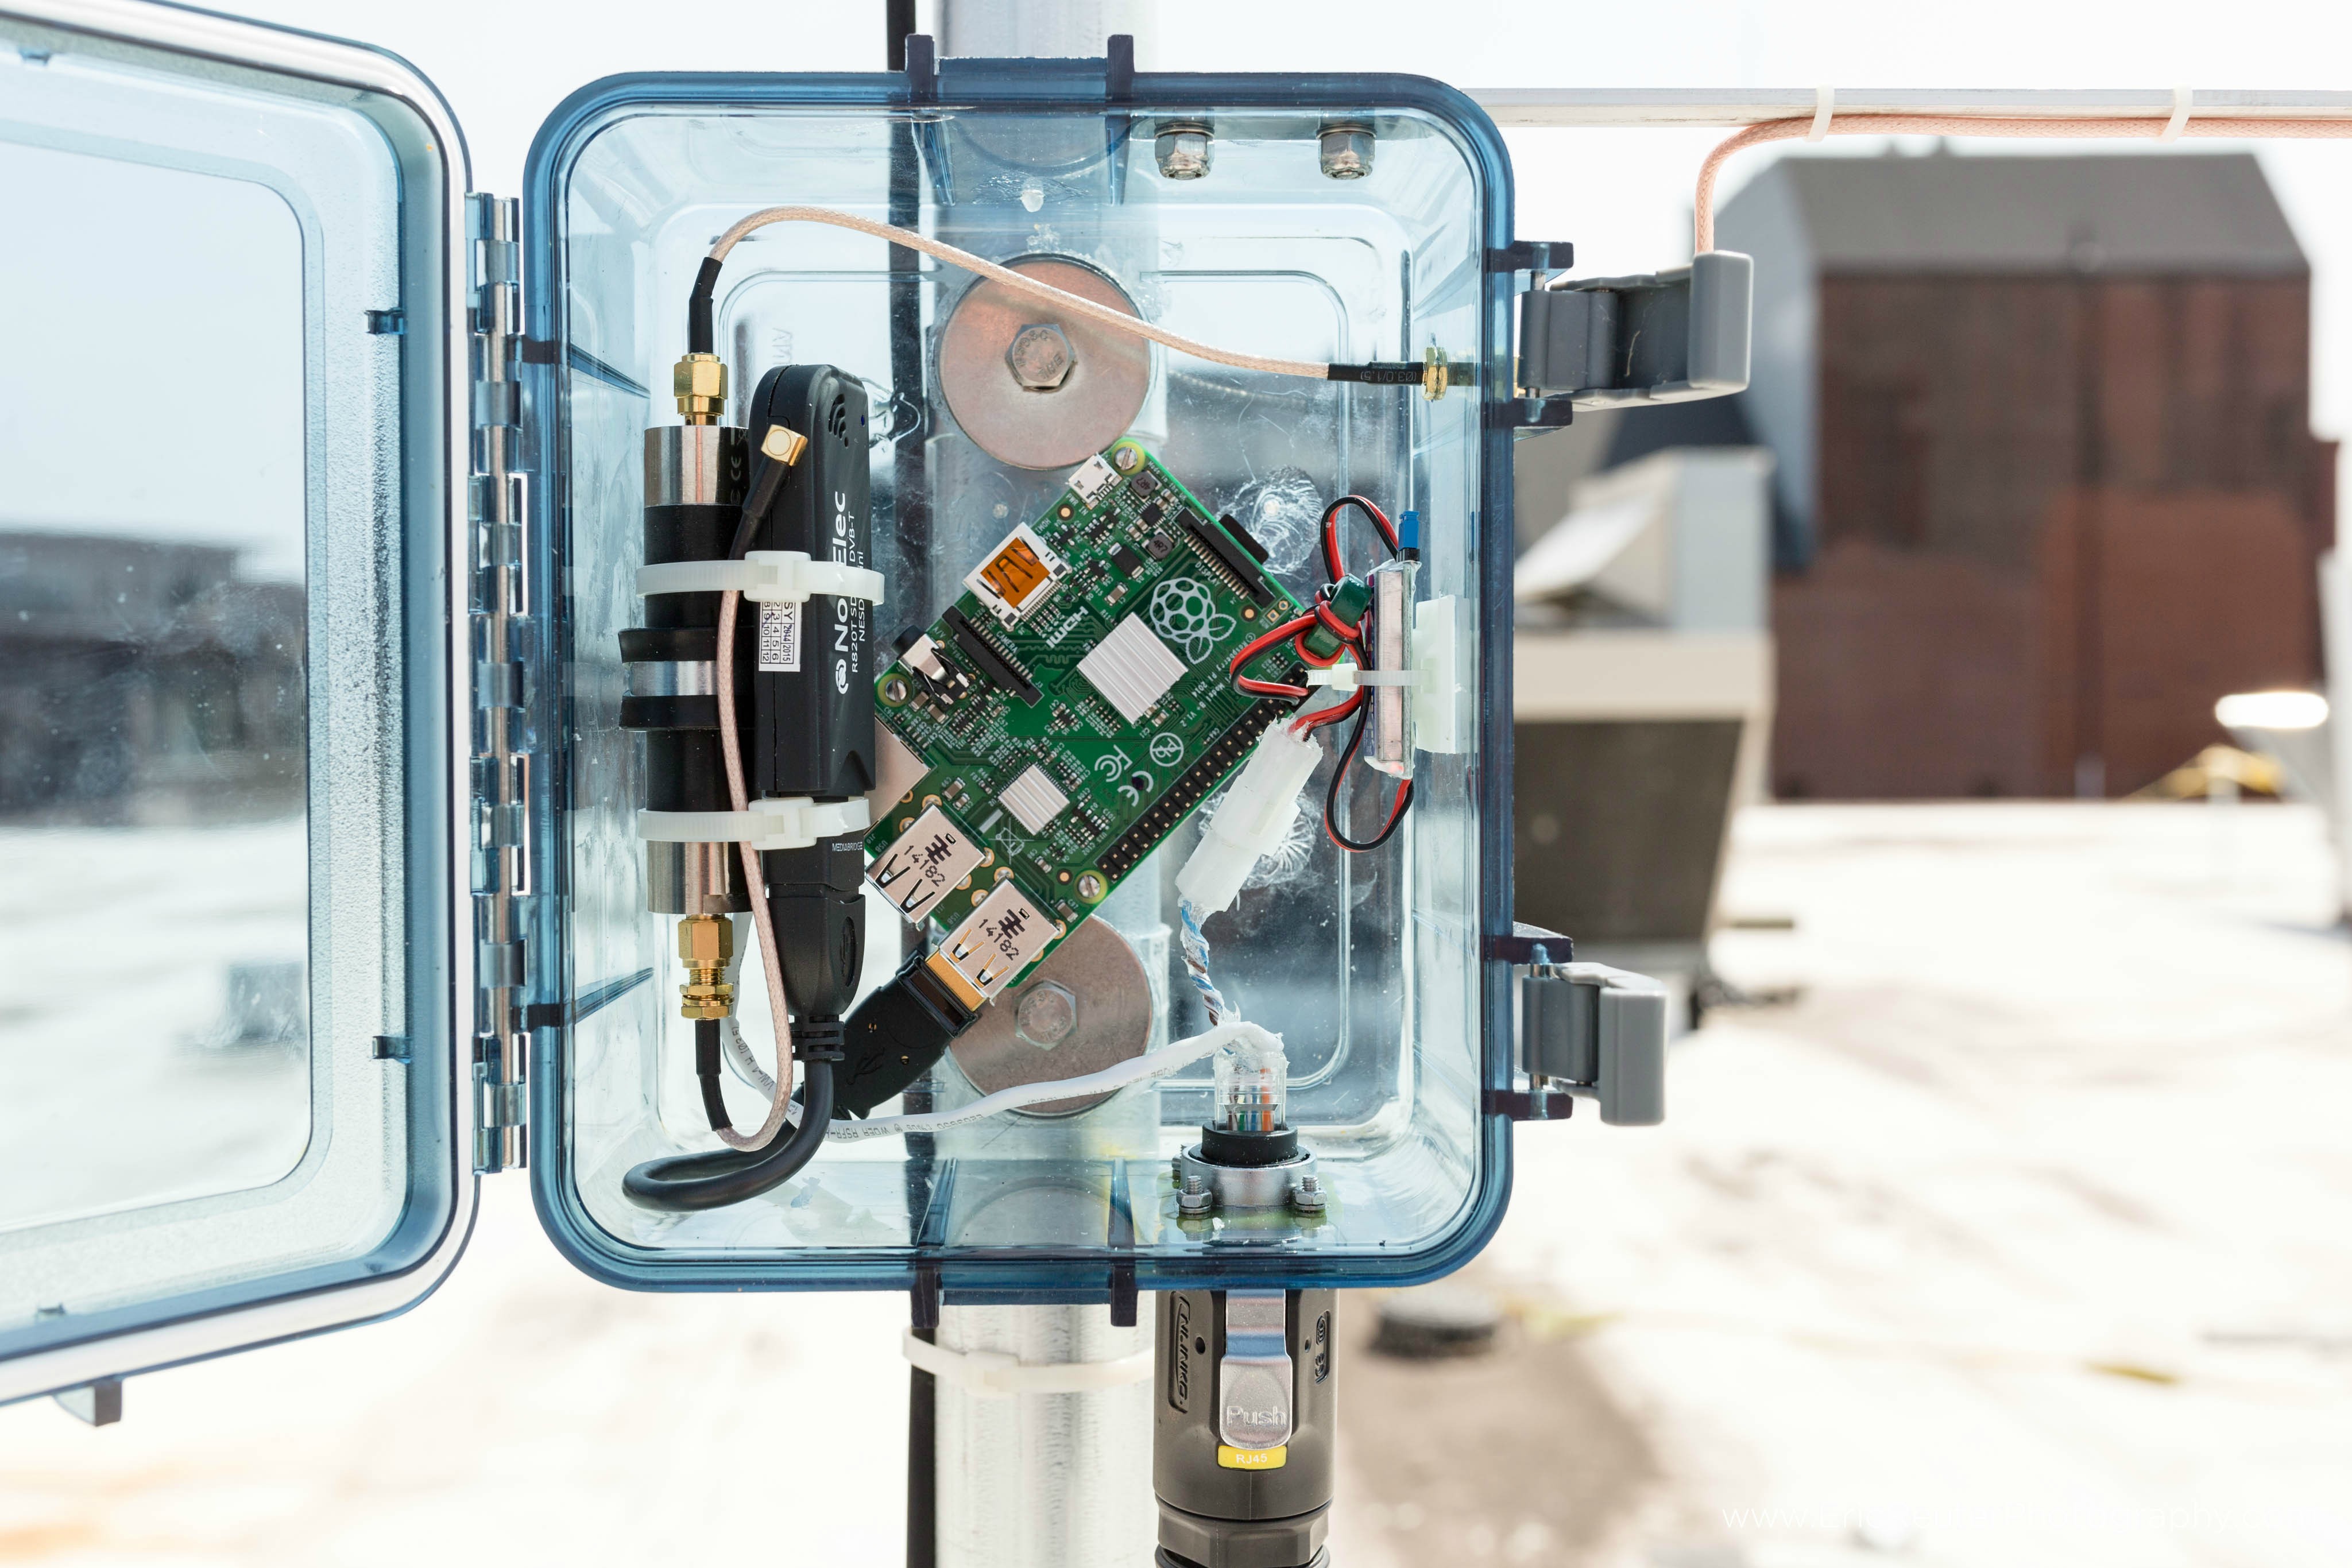
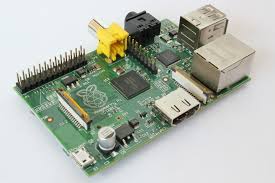
Programmer MichelinoK has just released another one of his projects. This one is called SDRRecorder and is a Linux bash script that can be used to automatically record an IQ stream of any frequency and length at a given date and time. MichelinoK writes that he uses this script to automatically record International Space Station (ISS) passes at 145.8 MHz on his Raspberry Pi which is always powered on.

The script can easily be run by first editing the script to specify the frequency, dongle number, gain, PPM offset and destination folder. It can then be run by calling is with the start time, date, length and output file name. He also writes that you must be careful to not record for too long as long IQ files can use up a lot of disk space. To overcome this he uses a networked attached storage (NAS) device which is similar to an external hard drive.

A self contained ADS-B Receiver using a Raspberry Pi and RTL-SDR

Over on the Raspberry Pi Reddit discussion board user spfoamer has posted about his Raspberry Pi + RTL-SDR based outdoor ADS-B receiver. ADS-B stands for Automatic Dependent Surveillance Broadcast and is a signal broadcast by aircraft that contains information about their locations. With a receiver like the RTL-SDR and correct software you can make an aircraft radar.

In his design the Raspberry Pi transmits location data back to a PC via an Ethernet cable. In addition the Raspberry Pi is also cleverly powered via power over Ethernet (POE) which uses unused wires in the Ethernet cable itself to carry the power. Since he uses a 12V power source, to obtain the needed 5V to power the Raspberry Pi spfoamer uses a UBEC (Universal Battery Elimination Circuit) which is an efficient device that converts voltages from up to 23V down to 5V. Additionally, he uses a 1/4 wave ground plane antenna and a 1090 MHz bandpass filter to eliminate out of band interference.

On the Pi itself he runs PiAware and contributes his data to the FlightAware network.

ADS-B with a Raspberry Pi, RTL-SDR, Bandpass Filter all powered via Ethernet cable.
Close up of the inside of the box.

New Raspberry Pi Image with RTL-SDR Drivers and GNU Radio Built In

A new image for the Raspberry Pi containing RTL-SDR software has been made available by tech enthusiast Gareth Hayes. The image contains all the software and drivers needed to get started with the RTL-SDR or HackRF on a 512MB Raspberry Pi. It is very useful as compilation of large software like GNU Radio is slow and problematic on an embedded PC like the Raspberry Pi. The image contains the following software:

  • GNU Radio V3.7.5 built from source, including GNU Radio Companion
  • Osmocom GNU Radio Source (and Sink) Blocks
  • Support for DVB-T USB dongles
  • Support for HackRF One (and Jawbreaker)
  • RTL-SDR Suite
  • Gqrx

A few months ago we also featured a similar image for the BeagleBone Black.

Raspberry Pi Mini Linux Computer

Raspberry Pi RTL-SDR Spectrum Analyzer Scanner

Adafruit has released a tutorial showing how to build a portable TFT screen based Raspberry Pi RTL-SDR spectrum analyzer that was inspired by the HackRF portapack. Construction of the project is very simple and the “FreqShow” python software is provided as a simple download that is ready to run once the RTL-SDR is installed on the Raspberry Pi.

The FreqShow software appears to be fully featured with the ability to change the center frequency, sample rate, and gain.  It can show on the TFT screen the real time RF spectrum of the currently tuned area or it can be switched to show a waterfall of the spectrum as well. Below is a video of the finished project that shows the software in action.

"Freq Show" Software in action on a Raspberry Pi
“Freq Show” Software in action on a Raspberry Pi with TFT Screen

FlightAware Introduces PiAware for use with RTL-SDR and dump1090 on a Raspberry Pi

FlightAware is an online service providing real time flight tracking. The flights are primarily tracked by volunteers who run ADS-B decoding hardware which is networked through the internet to the FlightAware servers.

Now FlightAware have written in to RTL-SDR.com to let us know about their new PiAware software which enables a Raspberry Pi running dump1090 to contribute data to the FlightAware network. Dump1090 is a popular RTL-SDR compatible ADS-B decoder program for Linux systems.

A major perk for running their software and contributing data is that FlightAware will buy you a licensed copy of PlanePlotter.

The press release provided is quoted below.

If you are running an inexpensive Raspberry Pi ADS-B receiver with dump1090 then you can install the PiAware Package from FlightAware to freely view nearby flight traffic and transmit this data to FlightAware’s tracking network.  Most aircraft within Europe by 2017 and USA by 2020 will be required to have ADS-B transmitters onboard.
FlightAware’s user-hosted worldwide ADS-B receiver network tracks about 90,000 unique aircraft per day and feeds this live data into the FlightAware website in combination with other public/private flight tracking data sources.  FlightAware has over 500 user-hosted ADS-B sites online across 60 countries, with top contributors tracking over 10,000 aircraft per day.  To see how ADS-B data is put to use, check out the FlightAware Live Map.
The PiAware installation process takes only a few minutes.  If you don’t have PlanePlotter, you can download it and then send FlightAware your installation’s serial number and we’ll buy you a license.  FlightAware will also give users a free Enterprise Account ($90/month value) in return for installing PiAware.
flightaware
FlightAware Real Time Map Example

RTL_POWER Heatmap Viewer

Back in June we posted about DE8MSH’s rtl_power based heatmap viewer which was automatically generated every day from a Raspberry Pi. The browser based heatmap display provides a way to view the frequency and time of where the mouse pointer is allowing you to easily identify signals.

Back then the code was unavailable but now DE8MSH has released his code on GitHub. An example heatmap generated by the code can be found here.

RTL_POWER Heatmap Viewer

Automatic Heatmap Logging on a Raspberry Pi using an RTL-SDR and RTL_POWER

Amateur radio hobbyist DE8MSH recently wrote in to let us know about a project he has been working on. His project involves using a Raspberry Pi B and RTL-SDR to automatically log a wide band heatmap using rtl_power. Rtl_power is a command line tool that will log signal strengths to a csv file using the RTL-SDR over a very large definable bandwidth.

To do the automatic logging the Raspberry Pi runs rtl_power for 23 hours constantly writing data to a mounted hard drive. After 23 hours the heatmap image is calculated and then uploaded to a webpage at http://qth.at/de8msh/listheatmaps.php. The scheduling is performed by a cron job.

DE8MSH has also been working on a second related project over at http://www.qth.at/de8msh/hm/pic.html. The heatmap on this page shows various transmissions from weather balloons. As you mouse over those transmissions, the QTH (location) of those weather balloon transmissions is shown as well as the frequency and time of where the mouse pointer currently is.

Raspberry Pi Automatic Heatmap Logging with rtl_power

Transmitting DVBT HDTV from a Raspberry Pi to an RTL2832U

Over on his blog, OZ9AEC has uploaded a post showing how he was able to create a live HDTV transmitter out of a Raspberry Pi, a Raspi Cam module and a UTC DVB-T Modulator adaptor. As he does not want to interfere with commercial DVB-T broadcasts, he sets the module to transmit at 1.28 GHz, aka the 23 cm licenced ham radio band.

On the RTL2832U dongle side, he modified the RTL2832U Linux DVB-T drivers (not the SDR drivers) to work on the 1.3 GHz band. The intention of this camera is for it to fly on a rocket mission. In the YouTube video below he has uploaded some sample footage with the RTL2832U dongle receiving the stream from 300 meters away.

Rocketcam 1 test 3 (20140531_142625)