CNxROOT Two Posts: How to Build an RTL-SDR Server with OpenWRT, Creating a GSM BaseStation with OpenBTS and a USRP
Recently security researcher cnxroot wrote in to let us know about two of his posts that may be of interest to readers. The posts are written in Chinese, so please use Google Translate to read them in English – it translates okay to some extent.
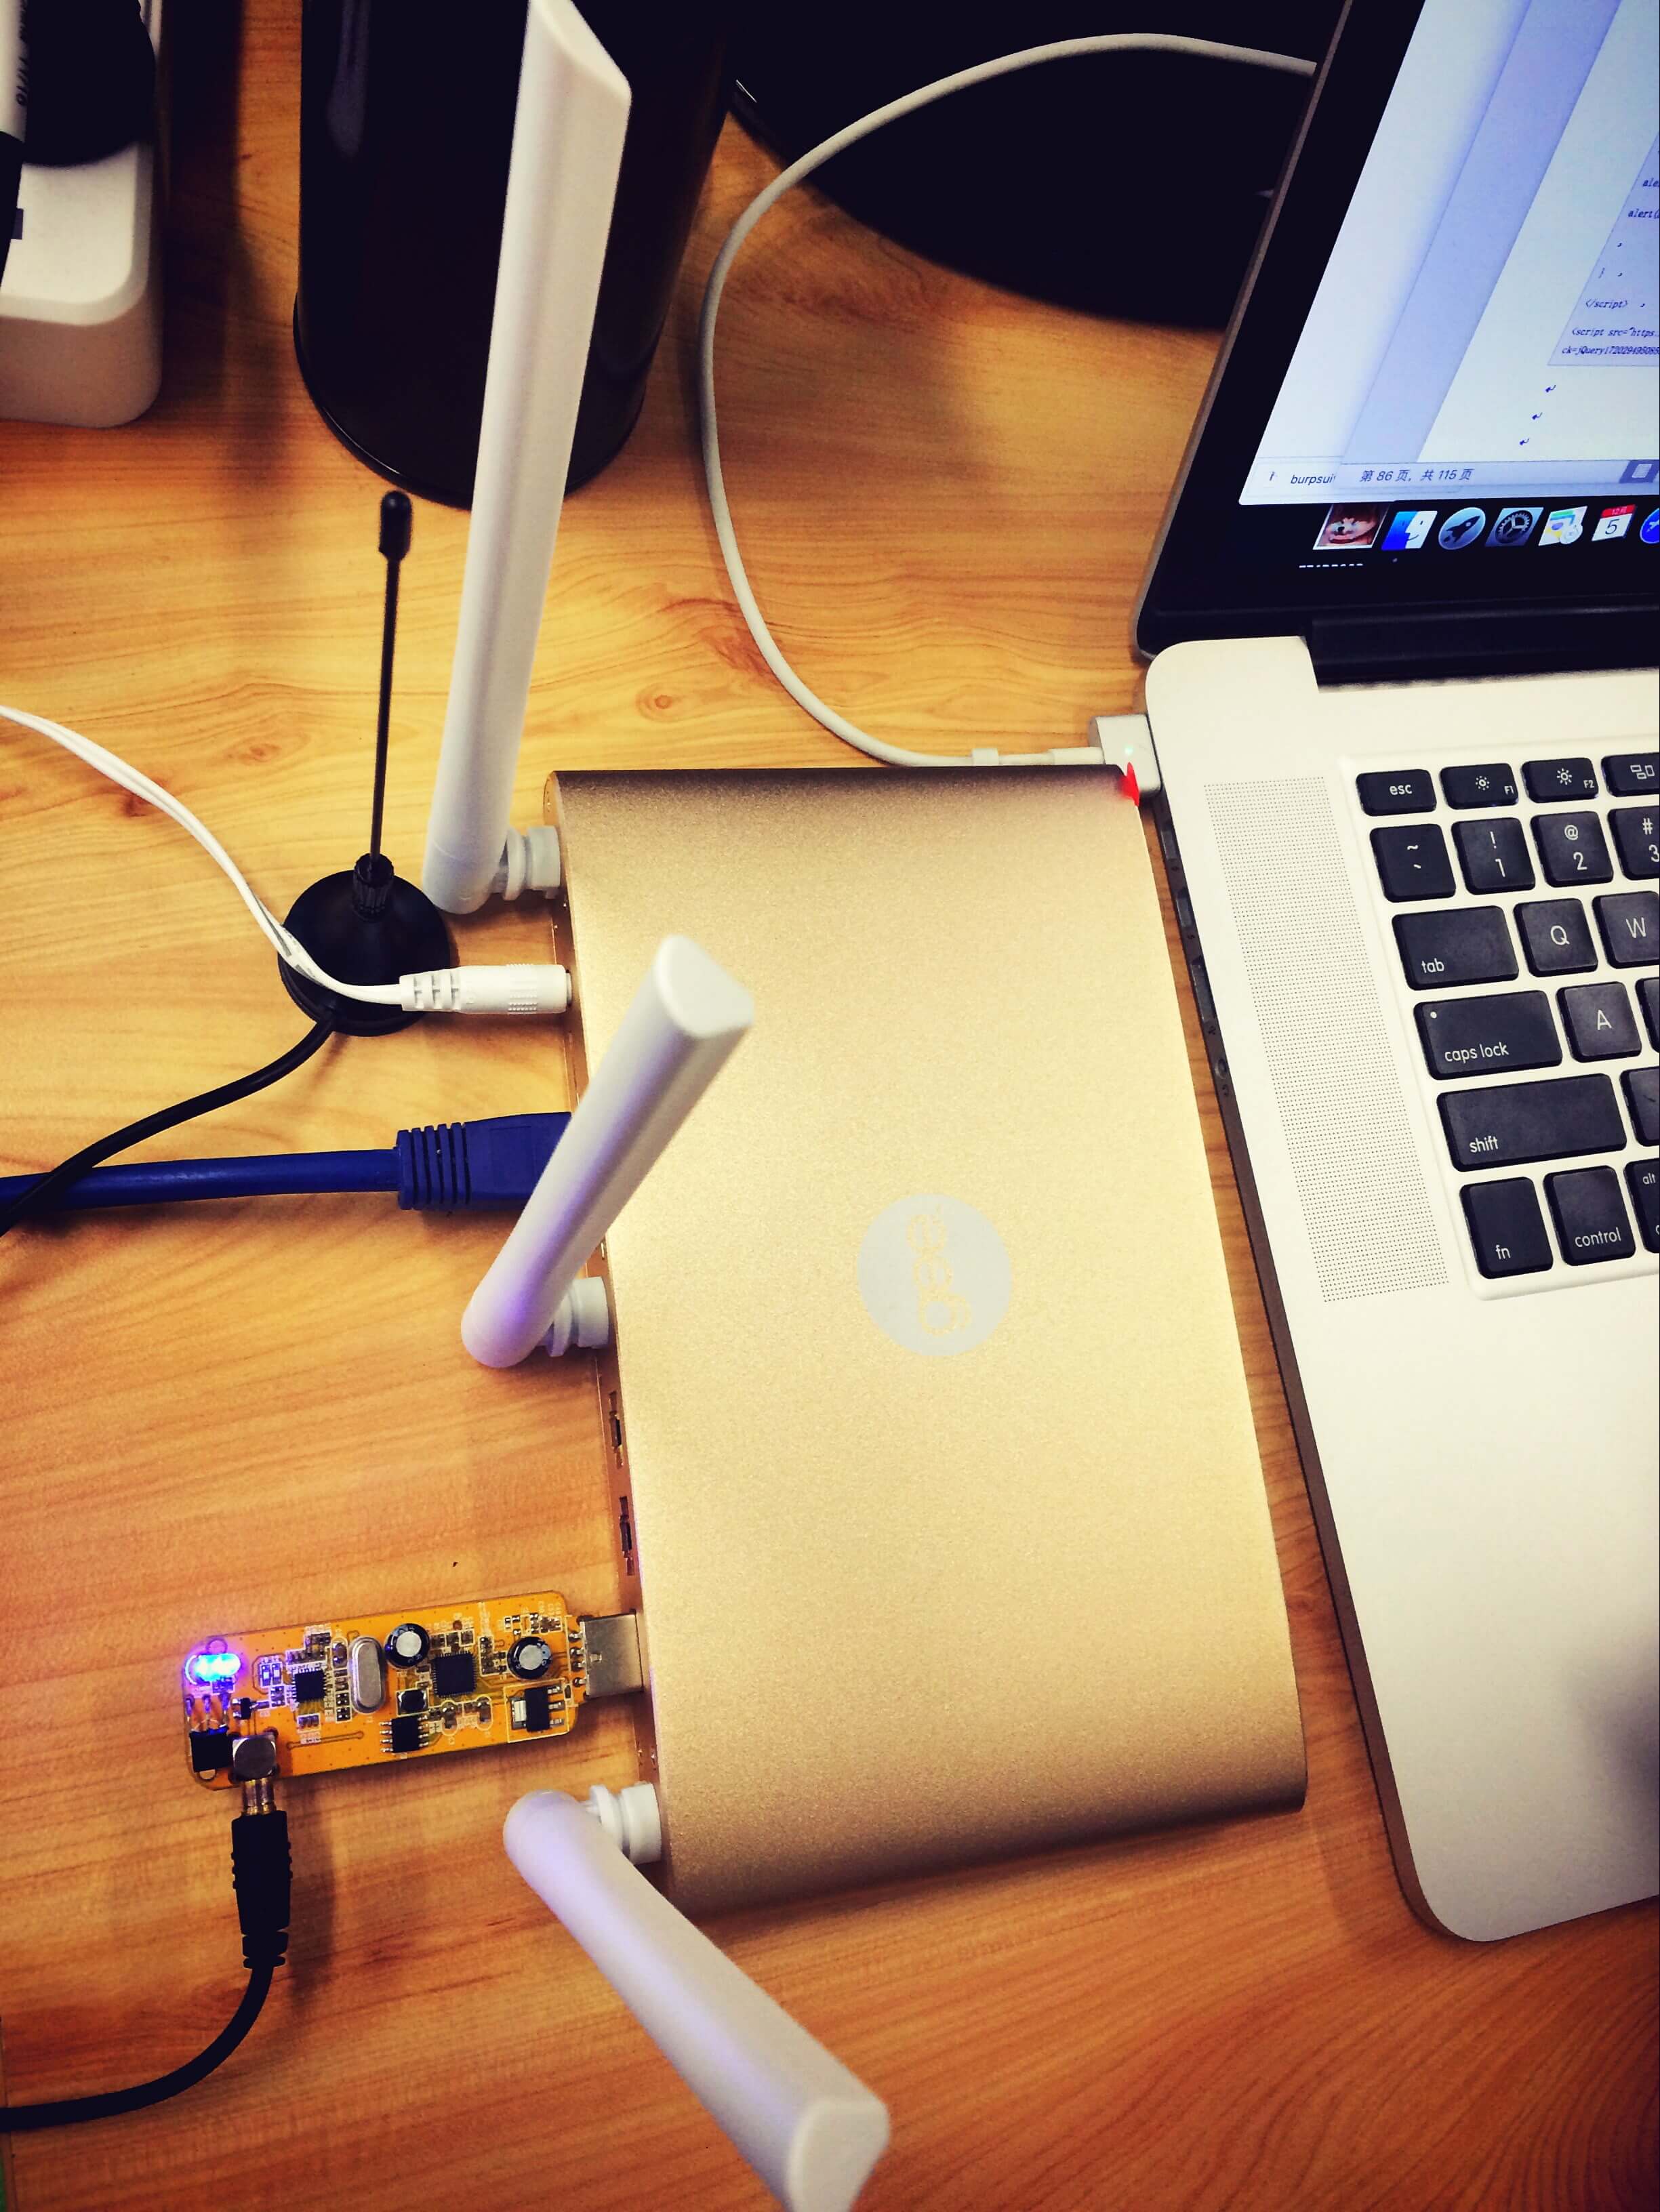
The first post shows us how to run the RTL-SDR on an OpenWRT capable router server. OpenWRT is a Linux firmware/OS that can be installed on several compatible router devices which extends the usefulness and features of the router. Since it is running Linux the RTL-SDR drivers can be installed onto it, and then rtl_tcp can be run, providing a remote RTL-SDR.
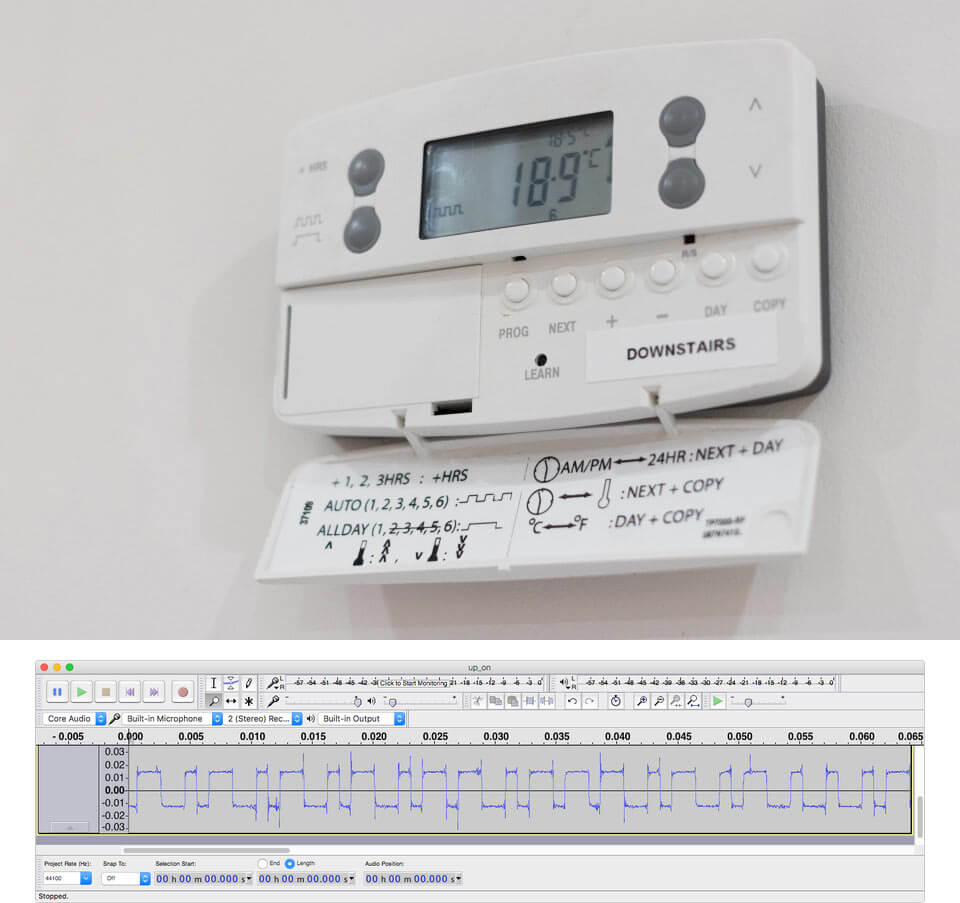
The second post is a bit more advanced. It is about creating a pseudo GSM base station with a USRP SDR and intercepting IoT devices which connect over GSM/GPRS. The post shows how to set up OpenBTS which can be used to create a base station.