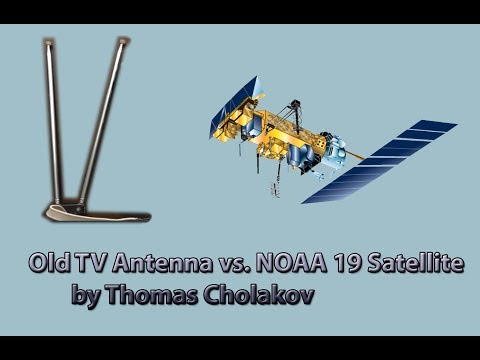
Over on YouTube icholakov has uploaded a video showing how effective a simple old TV bunny ears antenna can be at receiving NOAA satellite images. The old TV antenna is telescoping so it can be adjusted to be resonant for many frequencies, and for NOAA satellites about 20 inches makes it resonant. Using the antenna as a V-Dipole and placing it in a North to South direction optimizes the radiation pattern towards the sky, allowing for good reception of the NOAA satellite. Using it this way also helps to null out strong vertically polarized stations. More information on the V-Dipole can be found on our previous post where we posted about Adam 9A4QV’s idea to use the V-Dipole for satellite reception.
2017: TV Antenna vs. NOAA Satellite
Also related to this post is a sneak preview on our new product: We’ve also caught onto the idea that TV antenna dipoles are extremely versatile, and are in the final stages of releasing a simple telescopic dipole product similar to the TV antenna used in this video. It will be released as an antenna set that comes with some portable mounting solutions like a suction cup and bendy tripod, and 3M of RG174 coax so that the antenna can be used anywhere. Target price is $10 -15 USD incl. shipping from China. This will probably also replace the stock telescopic whip antenna currently used in our dongle sets since the telescopic dipole is simply much more versatile.
About two weeks ago we posted our review of the Dreamcatcher, a new RTL-SDR and full ARM based computing platform built onto a single PCB. Back then the only OS available for it was a standard Armbian build, and no Outernet decoder was available. So we reviewed the Dreamcatcher with the Armbian OS and tested to see how well it worked as a general purpose RTL-SDR and computing platform.
Recently the Outernet team released a new build of ‘Skylark’ for their Dreamcatcher board. Skylark is their customized Outernet signal specific operating system that was available on the C.H.I.P. Skylark is essentially turnkey as it is much easier to setup and use. Just burn the image to an SDcard, insert the card, connect to the automatically generated Outernet WiFi hotspot on a PC or mobile device, and then browse to outernet.is to see the Skylark interface.
Unfortunately it is unclear how long some of the high bandwidth features such as the nice weather app may last. The Outernet Inmarsat L-band signal runs at a bandwidth of almost 20mB a day and appears to cost quite a bit of money to operate, so Outernet appear to be considering moving to a lower bandwidth signal in the near future. This will probably reduce content to data like text articles (news/APRS/Wikipedia/books) only. But even if it is text only it will still continue to be a very useful and interesting service.
Thank you to Silvia P. for writing in and letting up know about the SatNOGs “No-Rotator” project, which looks a lot easier to build compared to their motorized rotator. SatNOGs is an idea and organisation that is trying to make it easier to set up a low cost networked RF ground stations for monitoring various satellites. The idea is to increase satellite ground station coverage all over the world and collect and share received satellite data over the internet so that anyone in the world can view and make use of up to date satellite data.
An original SatNOGs station is built as a motorized antenna rotator, with directional antennas that point and track satellites as they pass over the ground station location. The gears and most internal plastic parts are 3D printed, with the rest of the items like bearings, frames and motors being available on eBay. The problem is that building the rotator is quite a big project, and takes a lot of research, purchasing and building to get started.
Recently over on their Wiki a new type of non-rotator ground station has appeared. The no-rotator ground station still consists of the basic SatNOGs electronics including an RTL-SDR and Raspberry Pi. But instead of using high gain directional motorized antennas this ground station uses a much simpler turnstile antenna tuned to about 137 MHz. Unlike the rotator, the turnstile probably doesn’t have enough gain to pick up some of the weaker amateur satellites, but should be good enough for NOAA/Meteor weather satellites and ISS APRS etc.
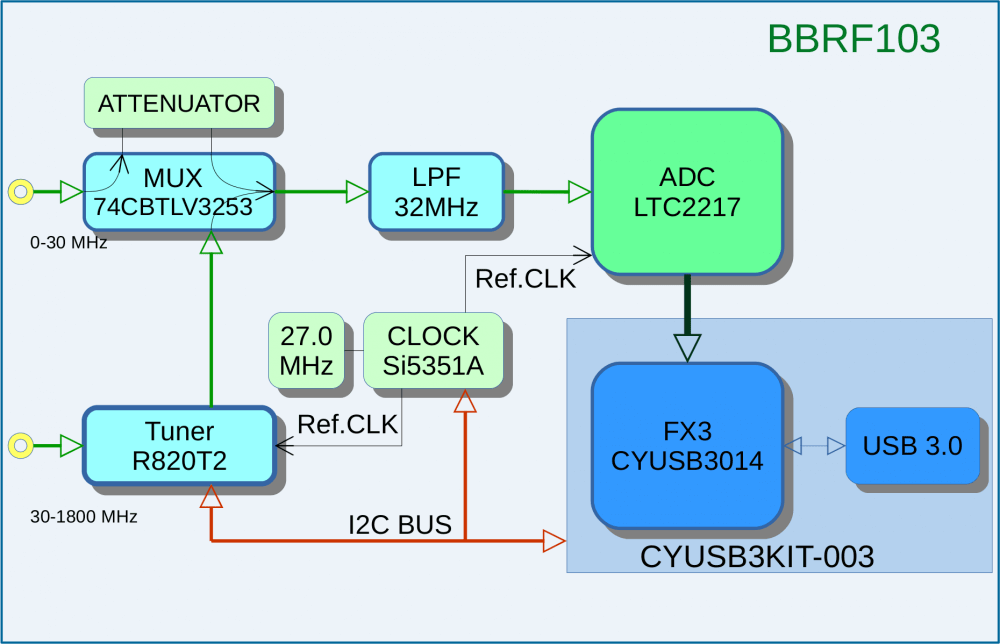
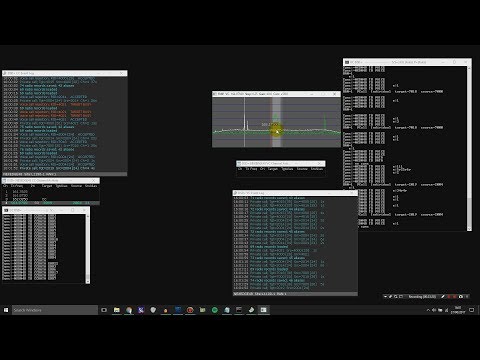
Over on his blog IK1XPV has been writing about his experiments in trying to create a new SDR which he calls the ‘BreadBoard RF103’. His SDR is based on a FX3 SuperSpeed Explorer Kit which is a development platform that has an ARM9 processor on board, USB 3.0 connectivity and various expansion headers. Connected to that board is an LTC2217 16-bit ADC which can sample at up to 105 Msps. An R820T2 is used as the tuning chip to enable reception from 30 – 1800 MHz, and reception from 0 – 30 MHz is handled in direct sampling mode. The R820T2 is the same chip used on most RTL-SDR dongles, as well as on the higher end Airspy. It is a very good tuning chip, but it is held back by the 8-bit ADC on the RTL2832U chip. So the 16-bit ADC on the LTC2217 should be able to really show it off.
BreadBoard RF103 Block Diagram
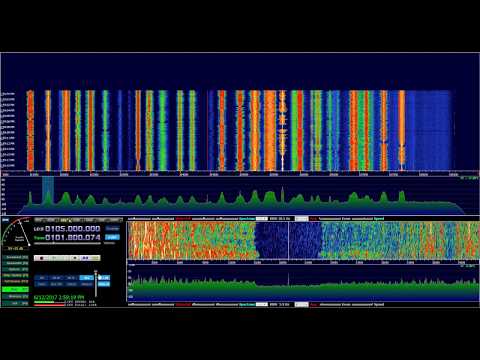
IK1XPV’s BreadBoard RF103 is currently running on HDSDR with 10 MHz of bandwidth. He writes that a modern and powerful PC with USB 3.0 is required to to handle all the data coming through. In the videos below he shows it receiving the FM band with what looks to be about 10 MHz of bandwidth.
HDSDR v2 76 ExtIO sddc dll SRate 8000000 OS 10 0 14393 CPU Intel Core i5 3350P @ 3 10G
BB103 VIDEOFM 012
So far the BreadBoard RF103 doesn’t seem planned to be a commercial device. The LTC2217 ADC is a $115 USD part, and the FX3 dev board is $49 USD. So while not a budget unit, it may still end up as as interesting SDR to home build and could contend with Airspy and SDRplay devices in the $100 – $300 USD range.
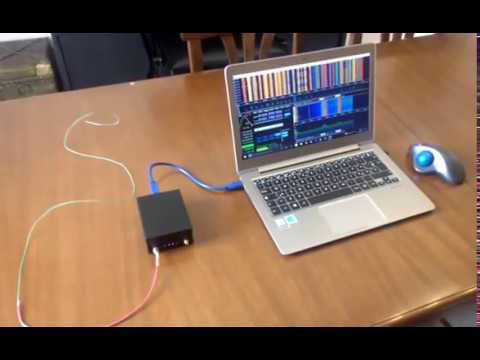
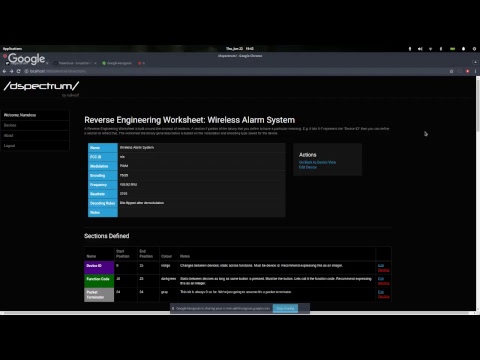
Over on YouTube a talk from the author of DSpectrum has been uploaded from his talk during the 13th Cyberspectrum Melbourne meetup. In his talk he goes through the full process of reverse engineering a wireless alarm system in DSpectrumGUI. DSpectrum is a reverse engineering tool that aims to make it trivial to demodulate digital RF transmissions using data captured from SDRs like an RTL-SDR or HackRF.
In the video he shows how to create a project, import a capture and create an overlay on Inspectrum and bring the waveform back into DSpectrum. DSpectrum was then able to automatically detect that the encoding used was PWM and convert it into a bit string. Then by importing multiple captures from various buttons on the alarm he shows how easy it is to see the differences in the bit strings from within DSpectrum. From these differences he uses DSpectrum to help identify what the function of each byte of the bitstring is. Finally he shows how to perform a replay attack with RFcat or similar hardware using the data gathered.
This is a really good talk to watch if you’re interested in getting started with reverse engineering simple digital signals, like those from ISM band devices.
Cyberspectrum Melbourne #13: Introduction to DSpectrum for reverse engineering signals
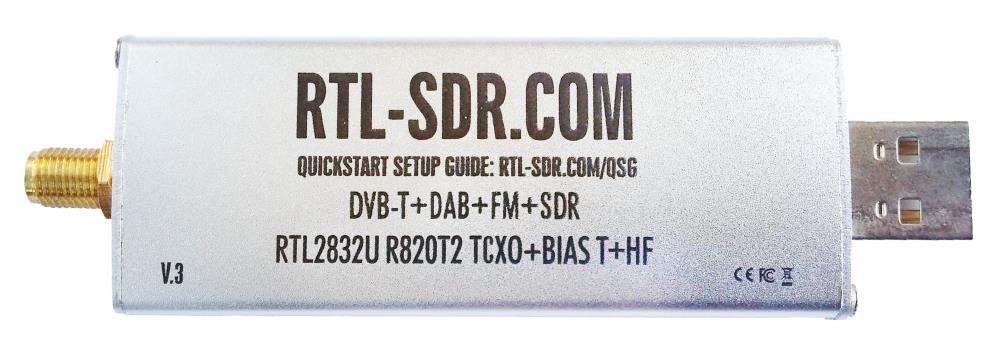
A few people have been asking for a RTL-SDR.com V3 data/info sheet, so we have written one up here (PDF). The datasheet explains the improvements made to the V3, and how to use some of the special features like the direct sampling mode and the bias tee.
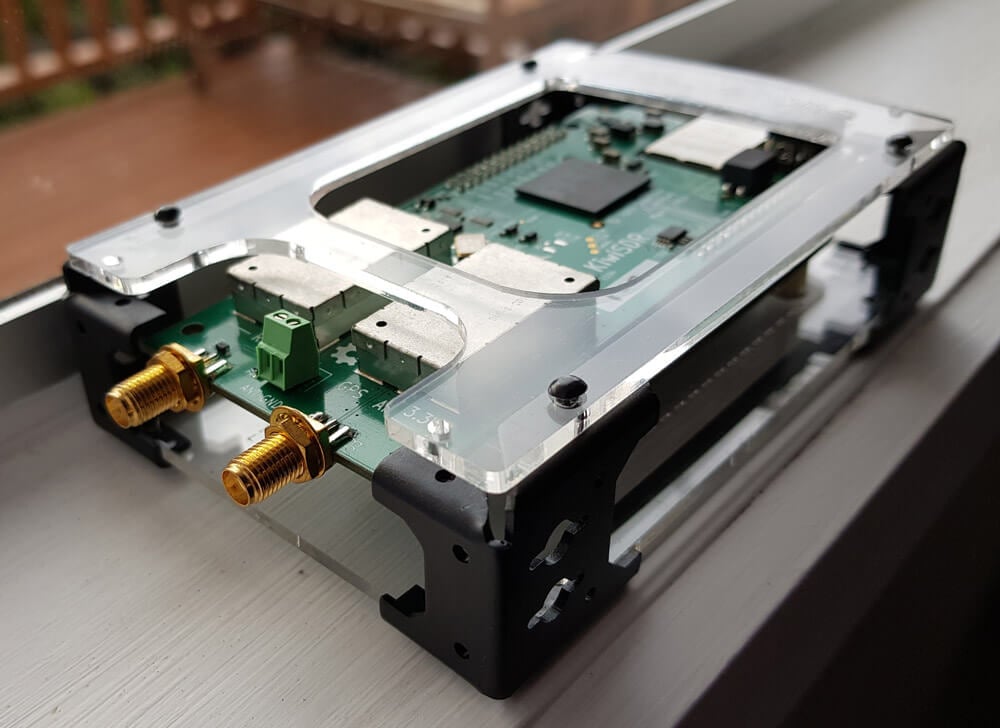
The KiwiSDR is a 14-bit wideband RX only HF software defined radio created by John Seamons (ZL/KF6VO) which has up to 32 MHz of bandwidth, so it can receive the entire 10 kHz – 30 MHz VLF/LF/MW/HF spectrum all at once. However, it is not a typical SDR as you do not connect the KiwiSDR directly to your PC. Instead the KiwiSDR is a cape (add on board) for the Beaglebone single board computing platform. If you’re unfamiliar with the Beaglebone, it is a small computing board that is similar to a Raspberry Pi. The KiwiSDR is designed to be a low cost standalone unit that runs 24/7, connects to your HF antenna and internet network, and shares your 10 kHz – 30 MHz reception over the internet with up to 4 simultaneous users.
The KiwiSDR
The KiwiSDR kit retails for $299 USD (Amazon) (Direct from Seeed Studio), and with that price you get the KiwiSDR cape, a Beaglebone Green board, an enclosure, microSD card and a GPS antenna. If you already have a Beaglebone lying around, then you can purchase the KiwiSDR board only for $199 USD.
Because the KiwiSDR is a network SDR, instead of connecting it to your PC it connects to your home internet network, allowing you to access it from any computing device via a web browser. Direct access to the SDR is not possible (actually it seems that it is, but it’s not easy to do), and all the computing is performed on the KiwiSDR’s on board FPGA and Beaglebone’s CPU before being sent to the network. Thus raw ADC or IQ data is never touched by your PC, your PC only sees the compressed audio and waterfall stream. So a powerful computer is not required to run the SDR. In fact, a mobile phone or tablet will do just fine.
In comparison, a $299 USD wideband non-networked SDR such as the LimeSDR uses a 12-bit ADC and can do up to 80 MHz of bandwidth over USB 3.0. But even on our relatively powerful PC (i7-6700 CPU, Geforce GTX 970 and 32 GB RAM) the LimeSDR can only get up to about 65 MHz on SDR-Console V3 before performance becomes too choppy.
But the real reason to purchase a KiwiSDR is that it is designed to be shared and accessed over the internet from anywhere in the world. You can connect to over 137 shared KiwiSDRs right now over at sdr.hu which is a site that indexes public KiwiSDRs. To achieve internet sharing, the KiwiSDR runs a modified version of András Retzler’s OpenWebRX software. OpenWebRX is similar to WebSDR, but is open source and freely available to download online. The standard OpenWebRX is also designed to support the RTL-SDR. Of course if you don’t want to share your receiver over the internet you don’t have to, and you could use it on your own local network only.
Some applications of the KiwiSDR might include things like: setting up a remote receiver in a good noise free location, helping hams give themselves propagation reports by accessing a remote KiwiSDR while they are TXing, listening to shortwave stations, monitoring WSPR or WEFAX channels, education, crowd sourced science experiments and more.
Over on YouTube user radiosification has uploaded a video tutorial that shows how to decode, follow and listen to NXDN/IDAS trunking radio signals. NXDN/IDAS is a narrowband digital voice protocol commonly used with handheld radio terminals.
In the tutorial radiosification explains how to set up DSDPlus and its frequencies text file to automatically listen to and track conversations using the control channel. SDR# is initially used to find the NXDN control and voice channels, which are then entered into the text file. Using this method only DSDPlus and its corresponding receiver FMP is used. Trunking software like Unitrunker is not needed.
Radiosification also notes that the method he presents can also be used for other digital trunking systems such as P25 as well.