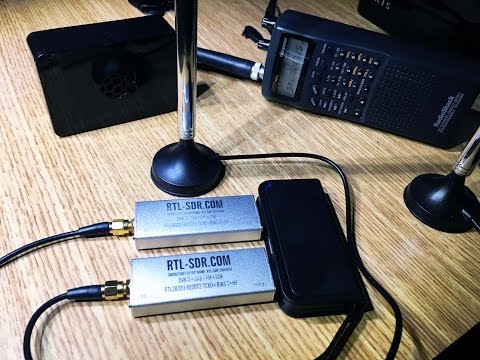
In his last video, Corrosive from the SignalsEverywhere YouTube channel showed us a quick guide on setting up a Phase 1 P25 digital voice decoder with two RTL-SDR dongles and the DSDPlus Fastlane decoder.
Now in his latest video Corrosive continues with the DSDPlus tutorial and this time explains how to set up priority and groups. On a trunked radio system there may be many different agencies using the same system simultaneously. Without priorities and groups, you would be listening to all communications in the system, and following a conversation within a particular agency would be difficult. Setting up priorities and groups allows you to filter out the conversations that you are not interested in, allowing you to focus on listening in to a particular agency only.
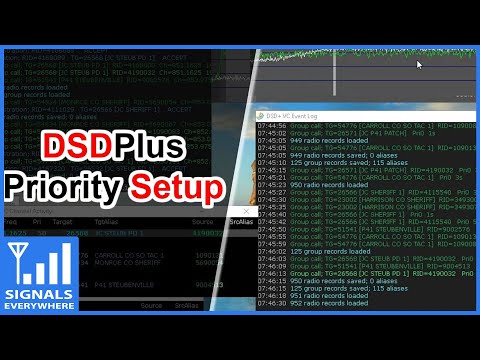
RTL SDR Digital Radio Scanning Priority and Groups With DSDPlus Fastlane Setup Tutorial
DSDPlus is a popular piece of software often used with RTL-SDR dongles to listen to unencrypted digital voice signals such as P25 and DMR. Digital voice is now commonly used by many Police and emergency services as well as business radio. DSDPlus fastlane is DSD's paid upgrade which allows subscribers to access to the latest releases of DSDPlus early.
Over on the SignalsEverywhere YouTube channel, Corrosive has uploaded a quick video guide that shows how to use DSDPlus Fastlane and two RTL-SDR dongles to set up a Phase 1 P25 voice decoder that automatically follows a P25 trunking channel. The basic process involves running two FMP instances which is a program in the DSDPlus suite that connects to the RTL-SDR's and receives the signal. One DSDPlus instance monitors the trunking channel, and this tunes the second FMP+DSD instance to the frequency currently active in the trunking system.
Corrosive also explains how people who are subscribed to RadioReference can download pre-populated data files that will allow the DSDPlus event log to display talkgroup information so that you can see who is talking to who.
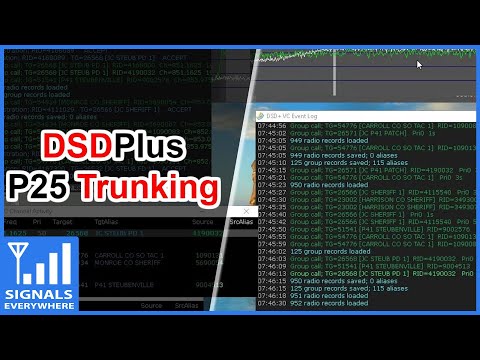
RTL SDR Digital Radio Scanning With DSDPlus Setup FastlaneTutorial
Over on YouTube user knoxieman has uploaded a video that provides a few tips on using DSD+ and an RTL-SDR for listening to DMR digital voice signals. The video is designed as a companion to Tech Minds' video which shows a full set up procedure for DSD+.
Knoxieman's video includes some tips on SDR# settings, virtual audio cable setup, and using a program called "DisplayFusion" to keep the DSD+ event windows permanently on top of the SDR# window.
Tips on using SDR Plus and DSDPLUS to listen to DMR/DIGITAL conversations.
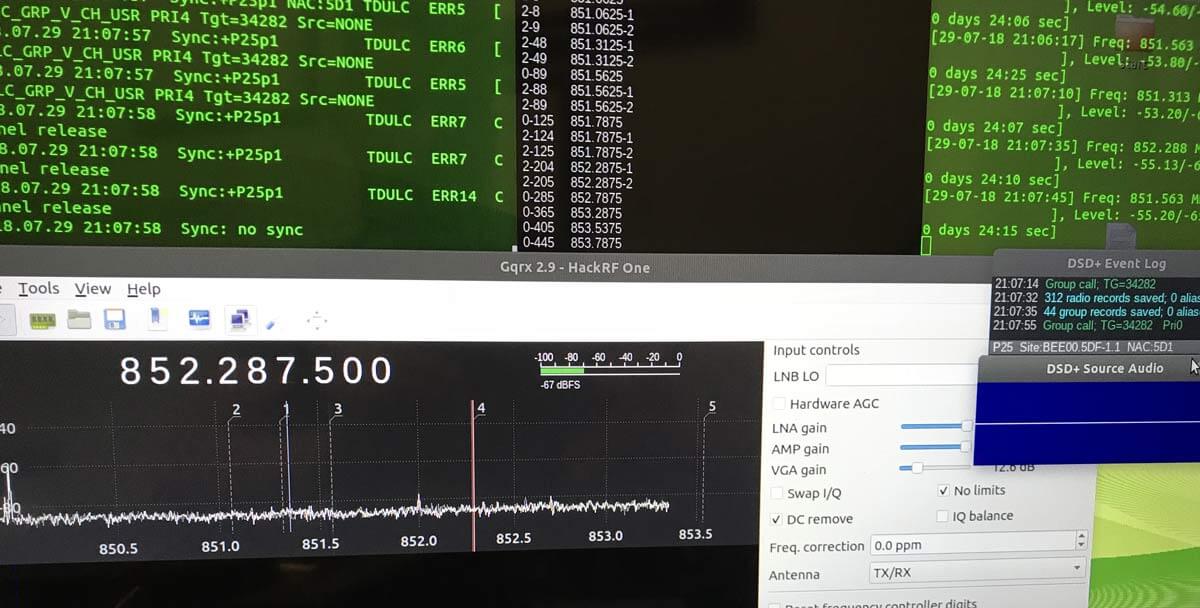
Thanks to Tony C who wrote in and wanted to share a method that he's found to listen to multiple DMR digital voice channels in Linux. DSD+ is a Windows program that can be used to decode DMR. Although for Windows it is possible to use in Linux via the emulator known as Wine, and pipe the digital audio to it from GQRX. In the quote below, DSD+ "FL" is short for "Fast Lane" which is DSD+'s paid beta service that you can join to get newer code with more features. Tony writes:
I believe that can bridge the gap between using Linux with the ease of use programs of windows. As I am sure we both can attest that setting up trunk tracking / anything SDR is not as easy on Linux as it is on windows. For example, DSDplus FL makes it extremely easy to identify/decode DMR networks. There are similar things that can be done on Linux, but as I stated, it isn’t as easy to setup.
So the method that I setup and have been using successfully, using Ubuntu and a HackRF, setting up DSDplus 2.98 on wine, that gets audio piped from GQRX using a virtual sink as outlined in https://www.hagensieker.com/wordpress/2018/04/29/dsd-in-ubuntu-18-04/. It was a great blog, but I felt that it was incomplete when trying to get all the voice traffic passed on a network, as it only works on 1 channel at a time.
So I found the control channel for the network and created 5 bookmarks in GQRX and gave them the tag “DMR”. From there I downloaded gqrx scanner https://github.com/neural75/gqrx-scanner followed the install and setup instructions. From there I activated the scanner and GQRX will cycle through the frequencies and when voice traffic is passed, it will stop, and DSDPLUS via wine will decode and record the audio.
[The screenshot] example was for P25, but it has worked in connect+ as well, the only thing is that you cannot bookmark the control channel. I know other options exist out there such as SDRtrunk / op25 which I have used, but I believe this provides a good alternative to those who have used windows and are comfortable with the ease of use of dsdplus FL but want to be on the Linux OS.
At the end of last month we uploaded a post highlighting the SDRAngel software, which is a general purpose SDR program with some interesting features such as built in digital speech decoders for DMR, D-Star and Fusion. This avoids the need to pipe audio into a separate digital speech decoder program such as DSD+. SDRAngel also has transmit capabilities which makes it useful for SDRs such as the HackRF, PlutoSDR, LimeSDR etc.
Now over on YouTube and his blog K2GOG has uploaded a video tutorial about using SDRAngel. The tutorial starts with installing SDRAngel and explaining that you'll need a 64-bit system and OS to run it. He then goes on to show how to do FM reception and finally how to do digital speech decoding.
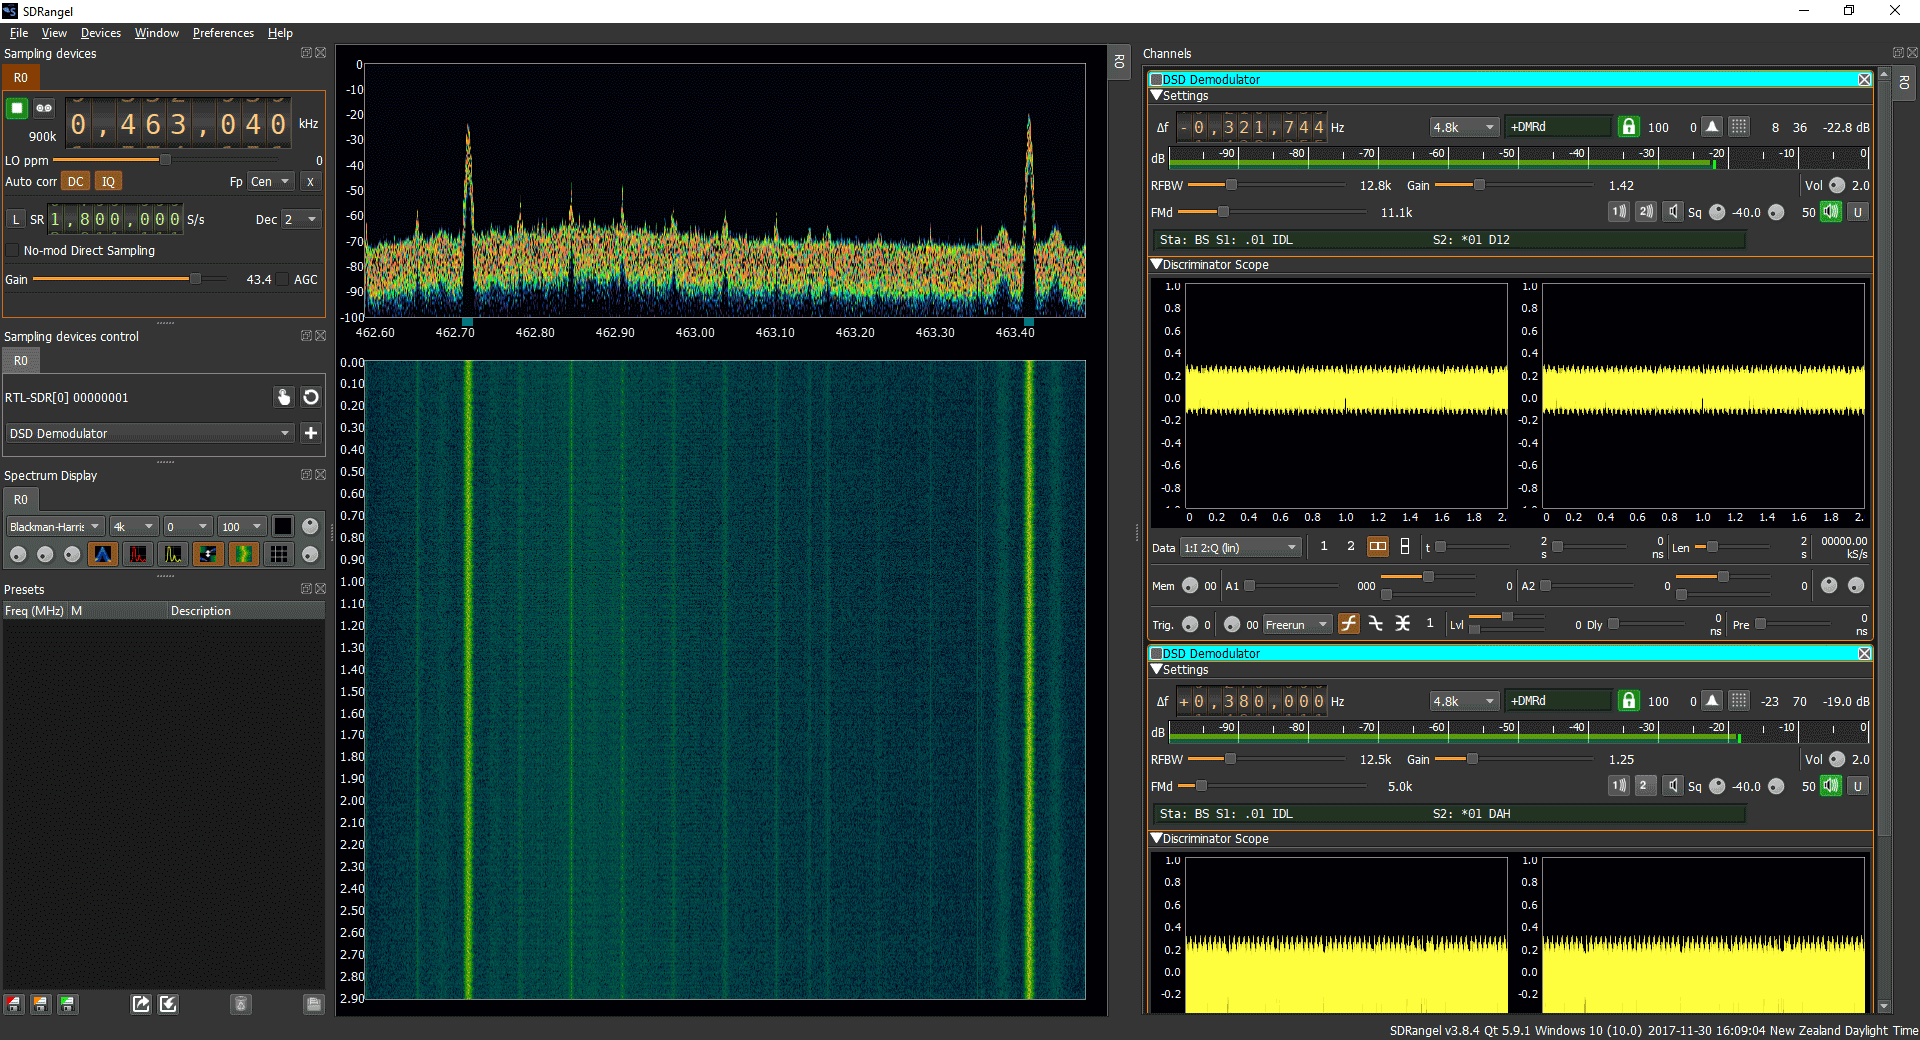
SDRAngel is a general purpose SDR program similar to other programs like SDR#, HDSDR and SDR-Console. It is compatible with Windows and Linux systems. However, SDRAngel has certain features that make it a good program to have in your SDR software arsenal.
One good feature is that if you have a TX capable SDR like a HackRF, PlutoSDR, BladeRF or LimeSDR then SDRAngel can also be used for TXing. Marty Wittrock has done a lot of previous work figuring out how to TX with LimeSDR and SDRAngel.
If you're only interested in RXing then SDRAngel also has some convenient features such as a built in DSD decoder which can be used to easily decode DMR/MOTOTRBO, dPMR, D-STAR and Yaesu System Fusion (YSF). The decoder is based on the DSDcc library which is a complete rewrite of the original open source DSD software. It is not quite as developed and feature rich as DSD+, but still does the job decently. SDRAngel also has LoRa and analogue TV (ATV) decoders built in as well, although the ATV decoder kept crashing the software for us.
SDRAngel also supports multiple VFO's on the same bandwidth, has built in decimation, a nice phosphor effect RF spectrum display and a frequency manager. There is also the ability to run multiple SDRs in the same software instance at the same time.
We gave SDRAngel a try on Windows and were able to easily get it up and running with an RTL-SDR. Regular WFM, FM, AM, SSB etc modes all work fine and so does the DSD decoder which we tested on a DMR signal. Getting it to decode was extremely simple, just add a DSD Demodulator channel, then click on the signal and you should be instantly decoding. It is probably the easiest way to get started on decoding a non-trunking digital voice channel, but for trunking channels and P25 signals you should probably still use Unitrunker and DSD+ or SDRTrunk.
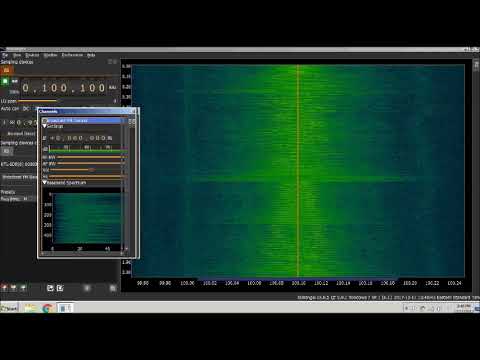
SDRAngel Screenshot
Below is a brief tutorial on getting up an running with SDRAngel on Windows with an RTL-SDR:
Download the latest version of SDRAngel from the releases section of the GitHub. Only a build for Windows x64 is available and this has the filename sdrangel64_v3.8.4.7z (version number may change in the future). Linux .deb files are also available for various Ubuntu versions.
Using 7zip, extract the 7z file to a folder on your PC.
Plug in your RTL-SDR dongle, and run sdrangel.exe. We assume zadig has already been previously run to install the RTL-SDR drivers.
On the left under 'sampling devices control' click on the small hand icon. A drop down box will pop up, and from here you should be able to select the RTL-SDR. Press ok.
Now you can click the green play button on the top left to start the SDR.
By default the display bandwidth is zoomed in very closely with x16 decimation and a sample rate of 1 MSPS. So in the top left box change "Dec" to 1, and increase the sample rate to 2 or 2.4 MSPS if you like.
We suggest also clicking on the 'DC' button in the top left to remove the DC spike.
Now you can tune around just like in other software by using the frequency numbers in the top left.
If you want a spectrum analyzer display, go to the bottom left box, and click on the blue spectrum icon.
Unlike most other software you need to add a demodulator first before you can click on a signal and listen to it. The list of available demodulators can be found in the second box on the left, just below the hand icon which you used to add the RTL-SDR.
Select the correct demodulator for your signal of interest (e.g. WFM, NFM, AM, DSD, LoRa etc...), and then click the "+" icon. This will add the demodulator to the right of the SDRAngel window. You may want to drag the right window a little large if you cannot see all of the demodulator option as well.
Now you can click on the signal in the spectrum window to move the VFO and begin demodulating the signal. You can explore the demodulator options on the right.
Multiple demodulators can be added if desired, just repeat steps 8 - 10. If you add more than one demodulator, the VFO's will need to be dragged.
If you're having trouble getting a digital voice signal with DSD to be recognized, try zooming in with the decimation feature or reducing the sample rate. It doesn't seem to work too well with higher bandwidths.
Over on YouTube user AVT Marketing has uploaded a five part video series that very clearly and slowly shows how to use an RTL-SDR to set up trunking and digital voice monitoring. In the videos he uses SDR#, Unitrunker, DSD+ and VBCable for the monitoring.
The first video in the series shows a brief overview of the digital trunking voice set up, and explains a bit about digital voice communications. The second video shows how to install an RTL-SDR, and walks you through downloading Unitrunker and DSD+. The third video is a tutorial about SDR# and also explains how trunking radio systems works. The fourth video shows how to install Unitrunker, DSD+, VBCable, and how to configure each program. Finally the fifth and last video in the series shows the final steps in using Unitrunker and DSD+.
This looks like a very good video series, especially for those that like to see every step in the process played out in full.
Cheap Digital Trunked Scanning Using SDR for the Absolute Beginner
Last week we posted about how Matthew Miller deomnstrated that he was able to get the Windows digital speech decoder (DSD+) software running under OSX with WineSkin. DSD+ allows you to decode digital voice signals such as P25 and Motorola DMR. A few users asked how to actually use WineSkin to create a wrapper, so now Matthew has uploaded a new tutorial video showing how to use WineSkin to get DSD+ running on OSX.
In the video he shows how to download and install WineSkin, and how to create a wrapper that allows DSD+ to run on OSX. The process is relatively simple and only involves using GUI based tools.