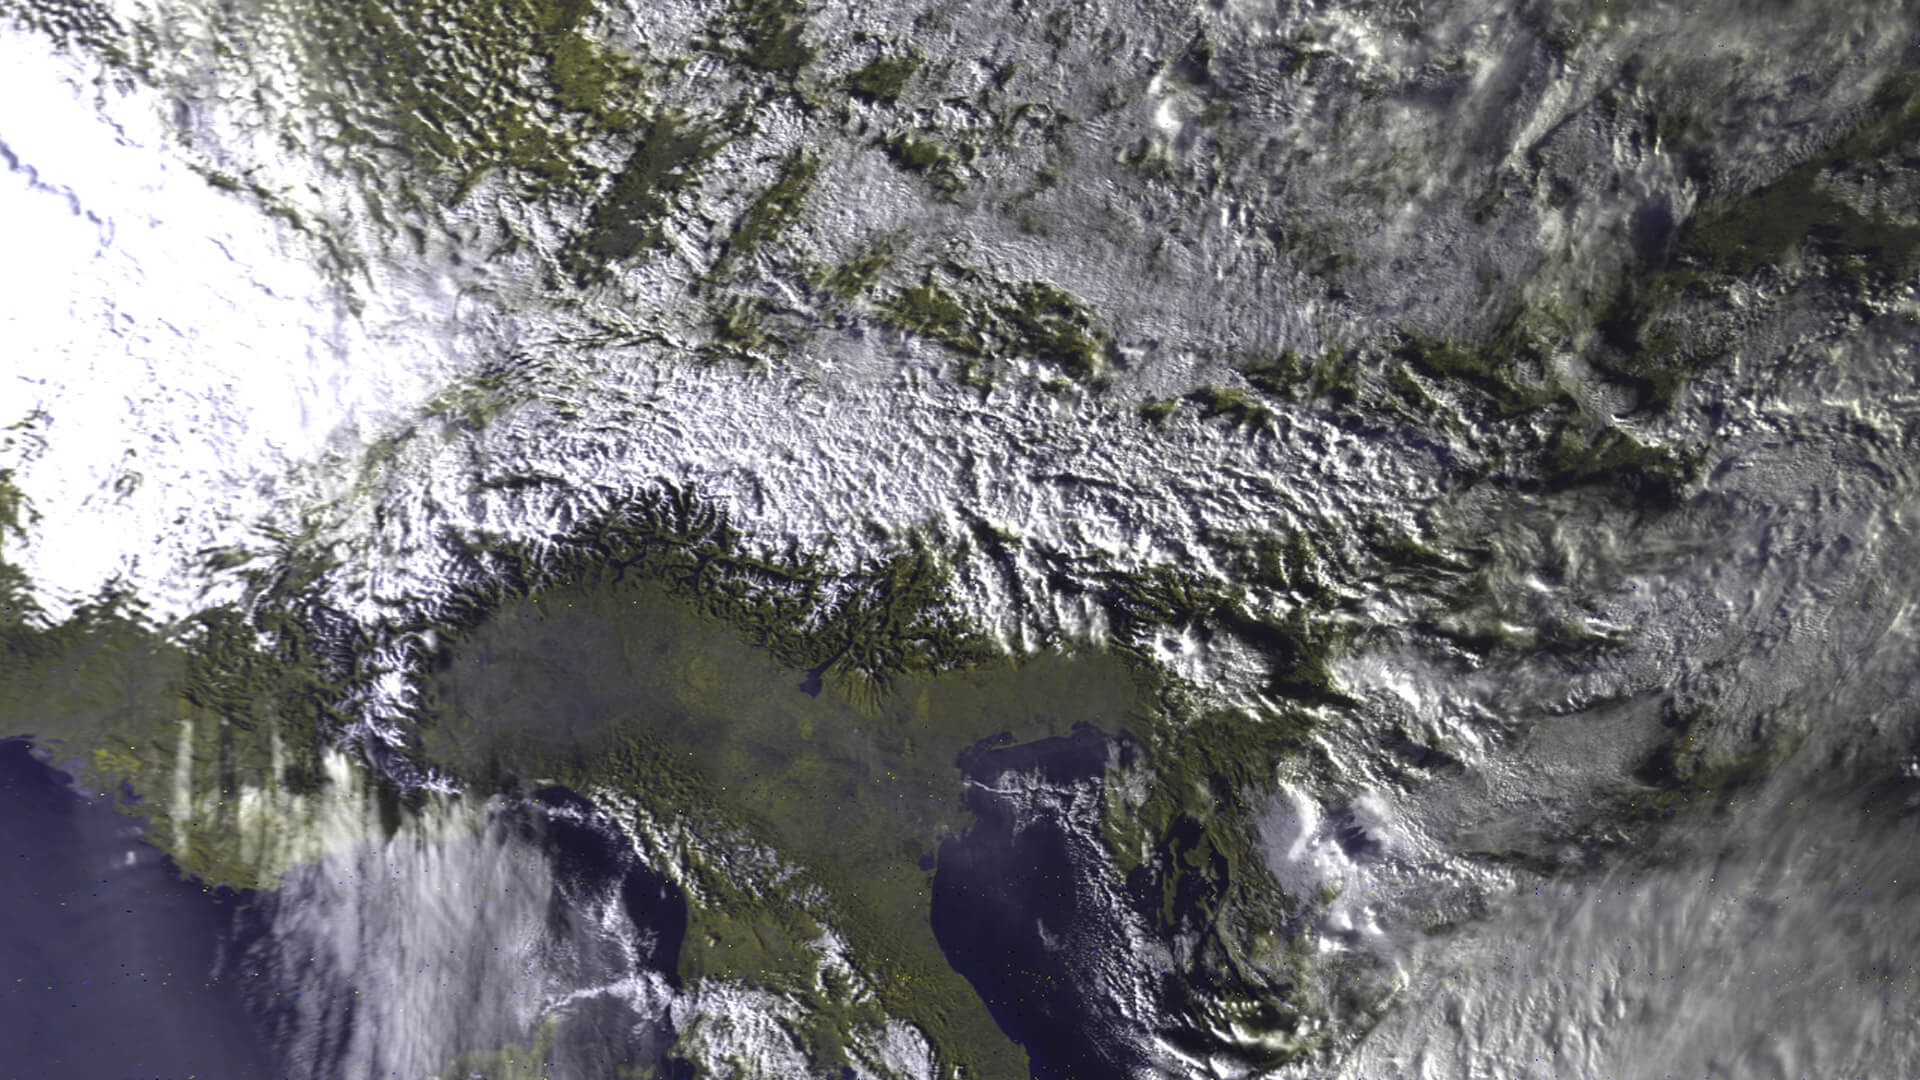
Most readers of this blog are probably familiar with the more commonly received APT images that are broadcast by the NOAA satellites at 137 MHz, or perhaps the LRPT images also broadcast at 137 MHz by the Russian Meteor M2 satellite. HRPT signals are a little different and more difficult to receive as they are broadcast in the L-band at about 1.7 GHz. Receiving them requires a dish antenna (or high gain Yagi antenna), L-band dish feed, LNA and a high bandwidth SDR such as an Airspy Mini. The result is a high resolution and uncompressed image with several more color channels compared to APT and LRPT images.
In his video Tysonpower shows how he receives the signal with his 3D printed L-band feed, a 80cm offset dish antenna (or 1.2m dish antenna), two SPF5189Z based LNAs and an Airspy Mini. As L-band signals are fairly directional Tysonpower points the dish antenna manually at the satellite as it passes over. He notes that a mechanised rotator would work a lot better though. For software he uses the commercial software available directly from USA-Satcom.com.
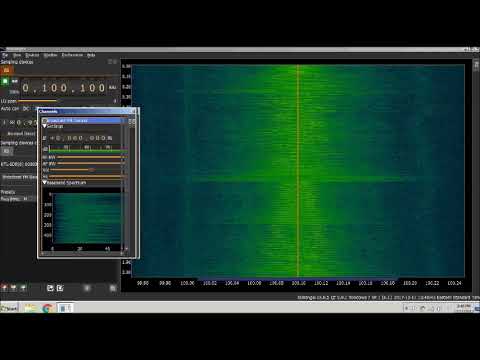
At the end of last month we uploaded a post highlighting the SDRAngel software, which is a general purpose SDR program with some interesting features such as built in digital speech decoders for DMR, D-Star and Fusion. This avoids the need to pipe audio into a separate digital speech decoder program such as DSD+. SDRAngel also has transmit capabilities which makes it useful for SDRs such as the HackRF, PlutoSDR, LimeSDR etc.
Now over on YouTube and his blog K2GOG has uploaded a video tutorial about using SDRAngel. The tutorial starts with installing SDRAngel and explaining that you'll need a 64-bit system and OS to run it. He then goes on to show how to do FM reception and finally how to do digital speech decoding.
Recently GitHub user randaller released a piece of software that utilizes the RTL-SDR and neural networks for RF signal identification. An artificial neural network is an machine learning technique that is based on approximate computational models of neurons in a brain. By training the neural network on various samples of signals it can learn them just like a human brain could. A neural network trained on signal classification can then be used by anyone to identify unknown signals. Randallers neural network software can learn either from raw IQ data, FFT processed samples, slightly demodulated data, or demodulated audio data. The tensorflow machine learning library is used as the base code, and the deep learning technique is used.
At the moment the software is only really proof of concept, and the currently trained model is only able to identify WFM, TV SECAM Carriers and TETRA. It should be possible to train the network further by providing your own samples too, but a good graphics card is required for this as the software makes use of GPU processing for training. The output of the software is a percentage which shows how confident the neural network is that it is identifying a signal correctly.
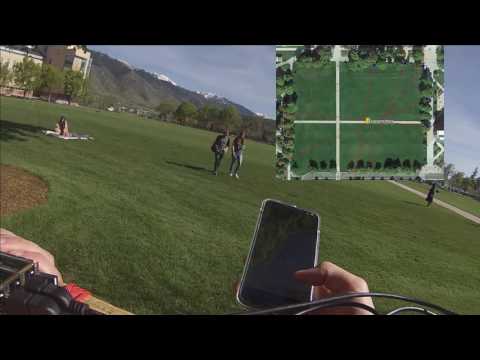
Last week we posted about some interesting conference talk videos from GNU Radio Con 17. One of the videos was a talk by Sam Whiting who in conjunction with colleagues Dana Sorensen and Todd Moon from Utah State University have created an Android app that uses two coherent RTL-SDR dongles for direction finding. A coherent RTL-SDR can be created simply by removing the clock on one RTL-SDR and connecting the clock from another, so that they both share the same clock. The V3 RTL-SDR has a clock selector header which can be used to facilitate this as well.
Over on his YouTube account Sam Whiting has uploaded two videos showing the app in action. The backend GNU Radio code for direction analysis is available on GitHub, but unfortunately the Android code/apk is not available to the public as the code is owned by the funders of the project.
In the videos the app shows two arrows, one of which points towards the source of a transmission at a frequency that is being monitored. The second arrow is simply there due to the direction ambiguity produced by the methods used.
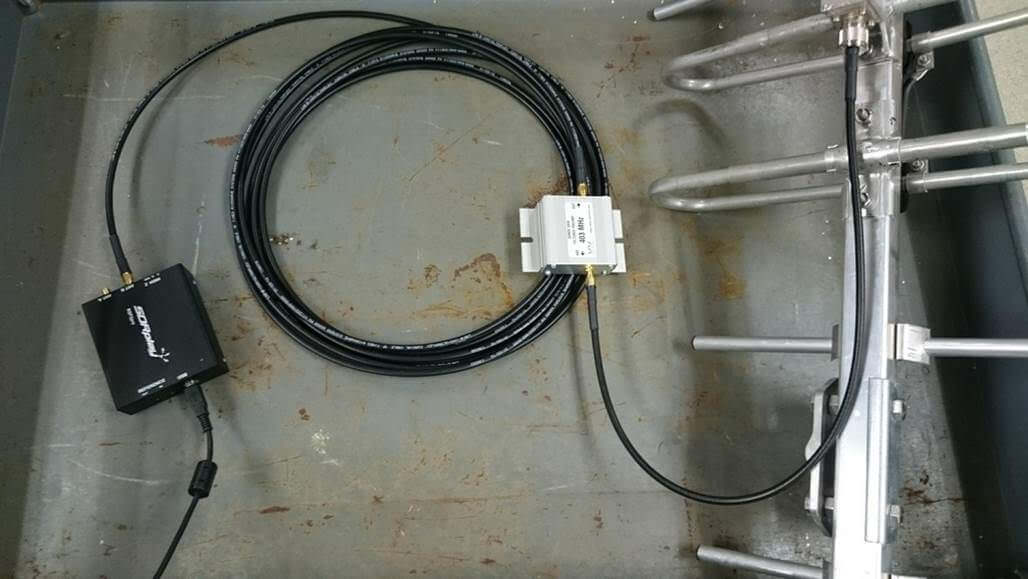
Over on the SDRplay forums there has been a post by a NOAA engineer showing how they are using SDRplay RSP2 units in the field for tracking their radiosonde weather balloons. A radiosonde is a small sensor package and transmitter that is carried high into the atmosphere by a weather balloon. It gathers weather data whilst transmitting the data live back down to a base stations. You can get data such as temperature, pressure, humidity, altitude and GPS location.
Bobasaurus' coworker launching a weather balloon.
The NOAA engineer on the forum (handle 'bobasaurus') wrote SkySonde, which is the software used by NOAA to decode and plot data from the radiosondes. SkySonde is freely available for public download on the NOAA website. A PDF file showing how to use the SkySonde software with an RSP2 or RTL-SDR can be found here, and the full SkySonde manual is available here. The software consists of a client and server, with the server connecting to the RSP2 or RTL-SDR, and then sending data to the client. Both server and client can run on the same PC.
The hardware setup consists of an RSP2 (can be interchanged with an RTL-SDR), an Uputronics Radiosonde Filtered preamp and a Yagi antenna. Presumably a Yagi and LNA is not completely required, although the receivable range will be less. The RSP2 bias tee is used to power the preamp, and on a V3 RTL-SDR the bias tee should also work.
NOAA appears to use the iMet brand of radiosondes which transmit a Bell 202 signal. Bobasaurus writes that they transmit in the 401-405 MHz range. This video shows an example of such a signal. If you are in the US near an area that launches these iMet weather balloons you should be able to receive them. An alternative piece of software that supports iMet radiosondes is RS. For other radiosondes we have a tutorial that uses SondeMonitor available here.
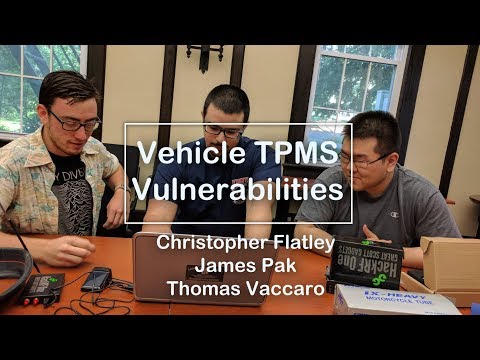
Over on YouTube the channel "Lead Cyber Solutions" has uploaded a video presentation for the Cyber Skills Competition. In the video Christopher Flatley, James Pak and Thomas Vaccaro discuss a man-in-the-middle attack that can be performed on vehicle Tire Pressure Monitoring Systems (TPMS) with a transmit capable SDR such as a HackRF.
A TPMS system consists of small battery powered wireless sensors placed on a vehicles wheels which automatically monitor tire pressure. An LCD basestation usually exists on the dashboard of the car indicating live tire pressure. Most modern cars come with this feature, and it is simple to retrofit an older car with an aftermarket TPMS system.
The idea behind the vulnerability is that a HackRF can be used to reverse engineer the TMPS signal, and then re-transmit a new fake signal that causes the base station to read the tire pressure as low. This can set off an alarm in the car and possibly cause someone to pull over. More alarmingly, they discuss how tractors have automatic tire inflation systems which work using similar sensors. A false low pressure reading could cause the tractor tires to over inflate and be damaged.
Vulnerabilities in Vehicle TPMS (Exploit & Hacking)
In the past we have also posted about Jared Boon's work on TPMS where he shows how privacy could be breached by monitoring and tracking TPMS identifiers.
SDRAngel is a general purpose SDR program similar to other programs like SDR#, HDSDR and SDR-Console. It is compatible with Windows and Linux systems. However, SDRAngel has certain features that make it a good program to have in your SDR software arsenal.
One good feature is that if you have a TX capable SDR like a HackRF, PlutoSDR, BladeRF or LimeSDR then SDRAngel can also be used for TXing. Marty Wittrock has done a lot of previous work figuring out how to TX with LimeSDR and SDRAngel.
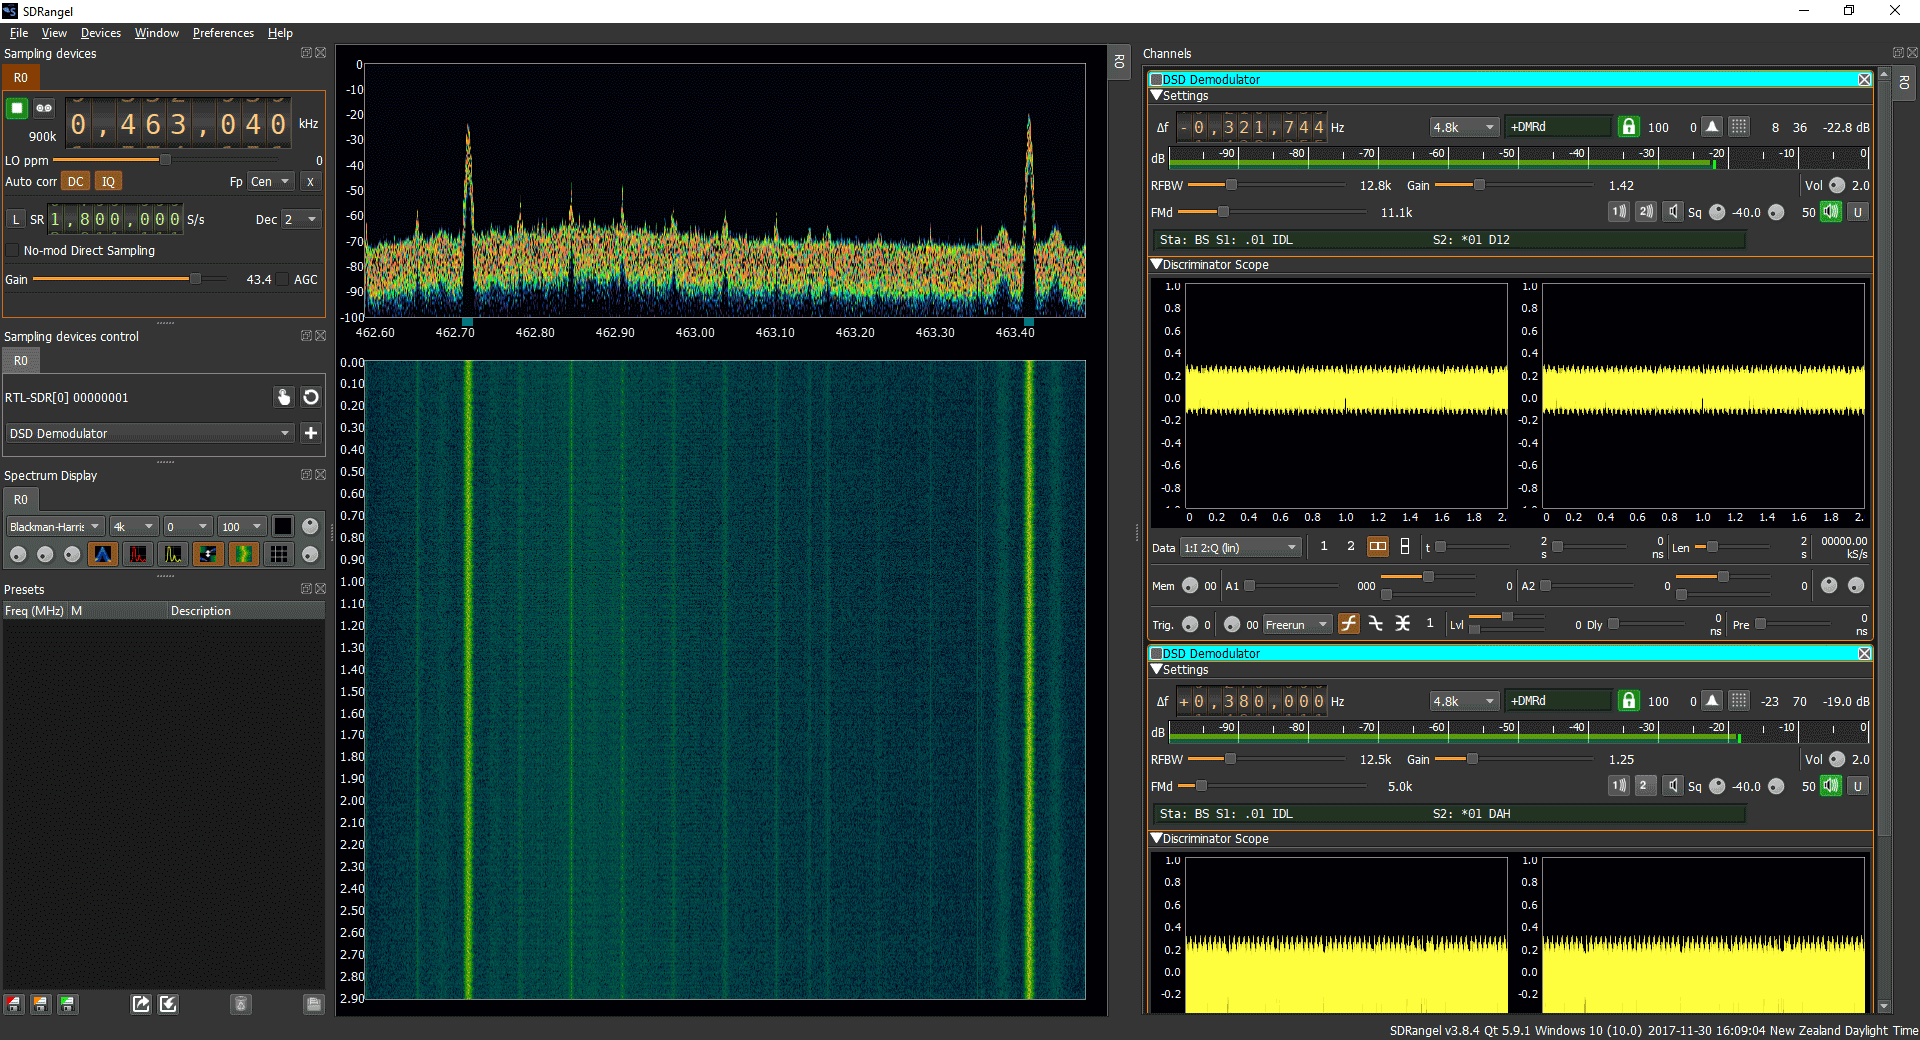
If you're only interested in RXing then SDRAngel also has some convenient features such as a built in DSD decoder which can be used to easily decode DMR/MOTOTRBO, dPMR, D-STAR and Yaesu System Fusion (YSF). The decoder is based on the DSDcc library which is a complete rewrite of the original open source DSD software. It is not quite as developed and feature rich as DSD+, but still does the job decently. SDRAngel also has LoRa and analogue TV (ATV) decoders built in as well, although the ATV decoder kept crashing the software for us.
SDRAngel also supports multiple VFO's on the same bandwidth, has built in decimation, a nice phosphor effect RF spectrum display and a frequency manager. There is also the ability to run multiple SDRs in the same software instance at the same time.
We gave SDRAngel a try on Windows and were able to easily get it up and running with an RTL-SDR. Regular WFM, FM, AM, SSB etc modes all work fine and so does the DSD decoder which we tested on a DMR signal. Getting it to decode was extremely simple, just add a DSD Demodulator channel, then click on the signal and you should be instantly decoding. It is probably the easiest way to get started on decoding a non-trunking digital voice channel, but for trunking channels and P25 signals you should probably still use Unitrunker and DSD+ or SDRTrunk.
SDRAngel Screenshot
Below is a brief tutorial on getting up an running with SDRAngel on Windows with an RTL-SDR:
Download the latest version of SDRAngel from the releases section of the GitHub. Only a build for Windows x64 is available and this has the filename sdrangel64_v3.8.4.7z (version number may change in the future). Linux .deb files are also available for various Ubuntu versions.
Using 7zip, extract the 7z file to a folder on your PC.
Plug in your RTL-SDR dongle, and run sdrangel.exe. We assume zadig has already been previously run to install the RTL-SDR drivers.
On the left under 'sampling devices control' click on the small hand icon. A drop down box will pop up, and from here you should be able to select the RTL-SDR. Press ok.
Now you can click the green play button on the top left to start the SDR.
By default the display bandwidth is zoomed in very closely with x16 decimation and a sample rate of 1 MSPS. So in the top left box change "Dec" to 1, and increase the sample rate to 2 or 2.4 MSPS if you like.
We suggest also clicking on the 'DC' button in the top left to remove the DC spike.
Now you can tune around just like in other software by using the frequency numbers in the top left.
If you want a spectrum analyzer display, go to the bottom left box, and click on the blue spectrum icon.
Unlike most other software you need to add a demodulator first before you can click on a signal and listen to it. The list of available demodulators can be found in the second box on the left, just below the hand icon which you used to add the RTL-SDR.
Select the correct demodulator for your signal of interest (e.g. WFM, NFM, AM, DSD, LoRa etc...), and then click the "+" icon. This will add the demodulator to the right of the SDRAngel window. You may want to drag the right window a little large if you cannot see all of the demodulator option as well.
Now you can click on the signal in the spectrum window to move the VFO and begin demodulating the signal. You can explore the demodulator options on the right.
Multiple demodulators can be added if desired, just repeat steps 8 - 10. If you add more than one demodulator, the VFO's will need to be dragged.
If you're having trouble getting a digital voice signal with DSD to be recognized, try zooming in with the decimation feature or reducing the sample rate. It doesn't seem to work too well with higher bandwidths.
Thanks to RTL-SDR.com reader 'flatflyfish' for submitting information on how to get Martin Marinov's TempestSDR up and running on a Windows system. If you didn't already know by definition "TEMPEST" refers to techniques used by some spy agencies to eavesdrop on electronic equipment via their unintentional radio emissions (as well as via sounds and vibrations). All electronics emit some sort of unintentional RF signals, and by capturing and processing those signals some data can be recovered. For example the unintentional signals from a computer screen could be captured, and converted back into a live image of what the screen is displaying.
TempestSDR is an open source tool that allows you to use any SDR that has a supporting ExtIO (such as RTL-SDR, Airspy, SDRplay, HackRF) to receive the unintentional signal radiation from a screen, and turn that signal back into a live image. This can let you view what is on a screen without any physical connections. If a high gain directional antenna is used then it may be possible to receive images from several meters away as well.
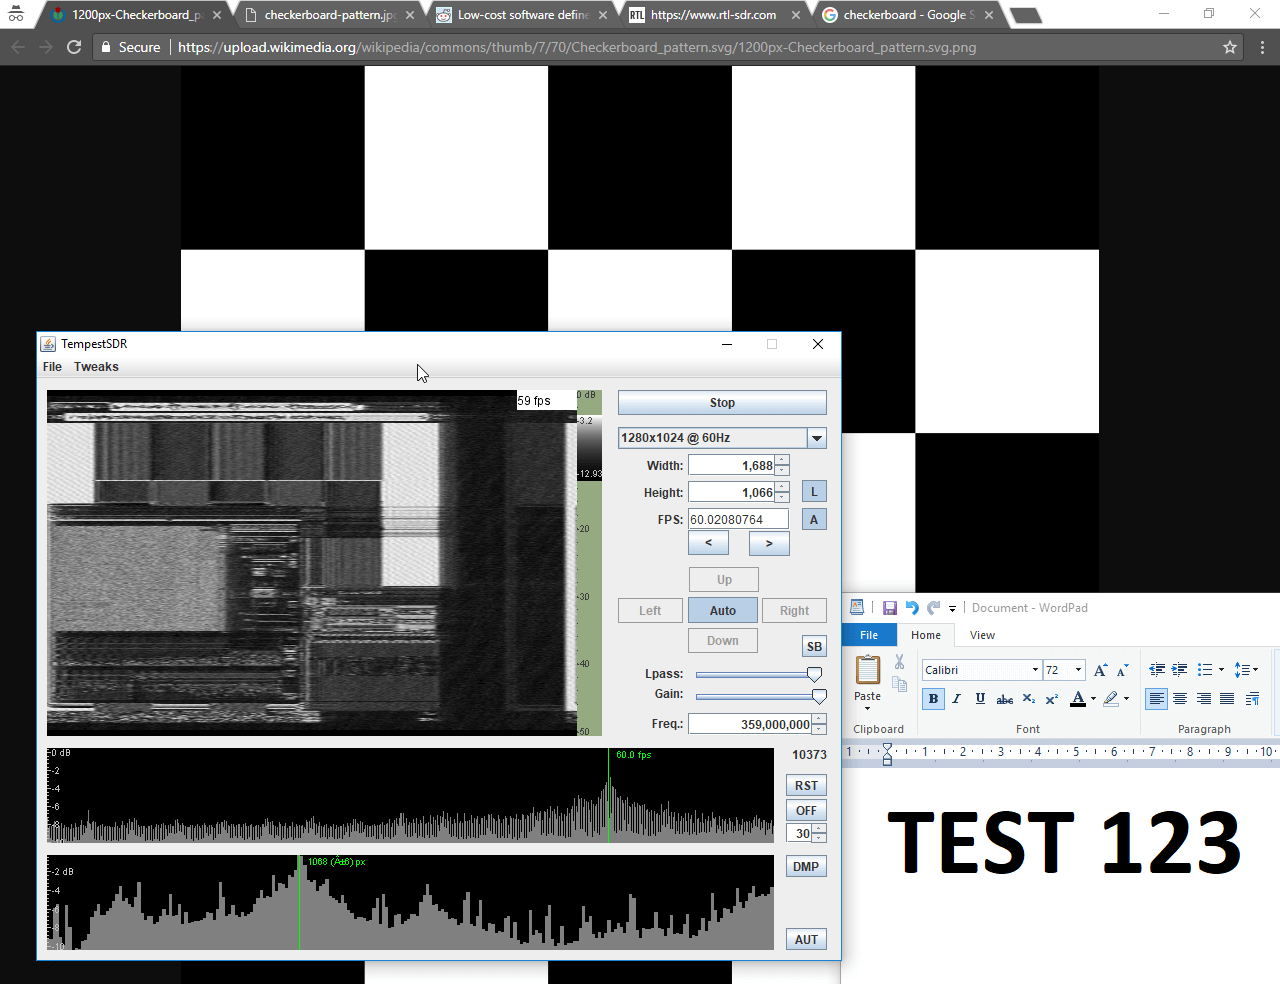
TempestSDR showing what's on the screen via unintentional RF radiation from the monitor.
Although TempestSDR has been released now for a number of years it hasn't worked properly in Windows with ExtIO interfaces. In his email flatflyfish showed us how to compile a new version that does work.
1. You need to install a 32-bit version of the Java runtime. The 64-bit version won't work with extio's possibly because they are all 32-bit. Also install the JDK.
2. You need to install MingW32 and MSYS and put their bin folders in your Windows PATH.
3. Then when compiling I was seeing a lot of CC command unknown errors. To fix that I just added CC=gcc to the top of all makefiles. I also removed the Mirics compilation line from the JavaGUI makefile to make things easier as we're not using that sdr.
4. Originally my JDK folder was in Program Files. The makefile didn't like the spaces in the folder, so I moved it to a folder without spaces and it fixed the errors.
5. Lastly to compile it you need to specify the ARCHNAME as x86 eg "make all JAVA_HOME=F:/Java/jdk1.7.0_45 ARCHNAME=X86"
After doing all that it compiled and I had a working JAR file. The extio's that are used normally with HDSDR work fine now and I get some images from my test monitor with an rtlsdr.
We tested compilation ourselves and were successful at getting a working program. To help others we've just uploaded a fork of the code with the makefile changes done, as well as a precompiled release ZIP available on the releases page so no compilation should be required to just use it. Note that to use the precompiled JAR you still need to install MingW32, and also don't forget to install the MingW /bin and msys /1.0/bin folders into the Windows PATH. You also do need to have the 32-bit Java runtime installed as the 64-bit version doesn't seem to work. On at least one Win 10 machine we also had to manually add a 'Prefs' folder to the Java path in the registry.
We've tested the software with the ExtIO for RTL-SDRs (available on the HDSDR downloads page) and confirmed that it works. Images from one of our older DELL monitors using DVI are received nicely, although they are a bit blurry. We also tried using an Airspy or SDRplay unit and this significantly improved the quality of the images a lot due to the larger bandwidth. The quality was good enough to make out large text on the screens. ExtIO's for the Airspy are available on this page, and for the SDRplay on the official SDRplay website. Note that for the SDRplay we were unable to go above 6 MHz, and on the RTL-SDR 2.8 MHz was the limit - anything higher on these SDRs did not produce an image possibly due to dropped samples.
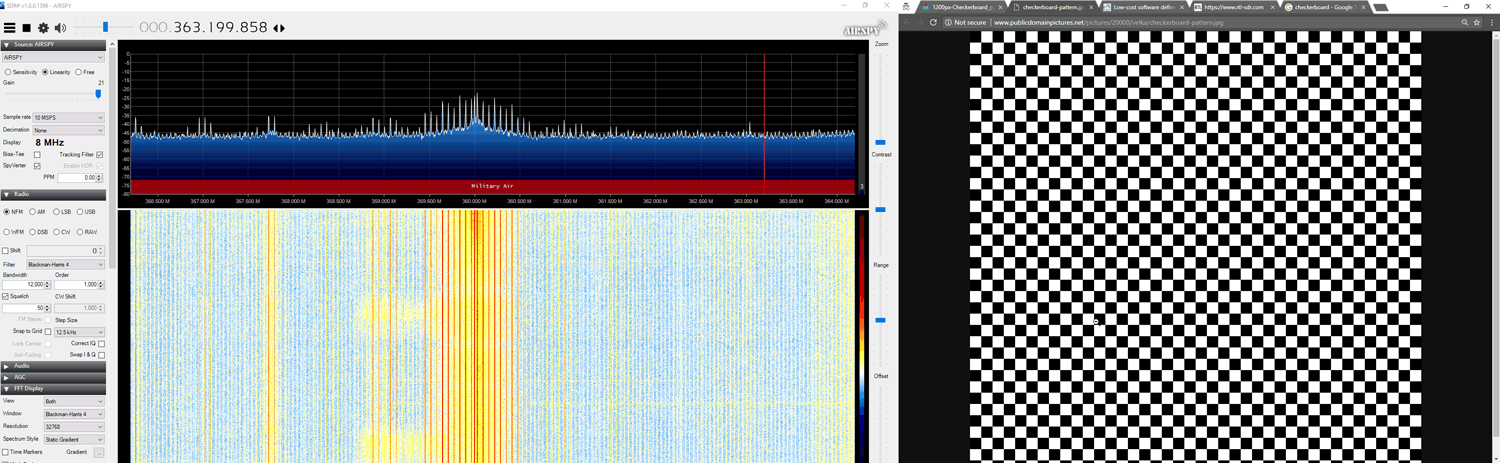
To use the software you should ideally know the resolution and refresh rate of your target monitor. But if you don't there are auto-correlation graphs which actually help to predict the detected resolution and frame rate. Just click on the peaks. Also, you will need to know the frequency that your monitor unintentionally emits at. If you don't know you can browse around in SDR# looking for interference peaks that change depending on what the image of the screen is showing. For example in the image below we show what the interference might look like. A tip to improving images is to increase the "Lpass" option and to watch that the auto FPS search doesn't deviate too far from your expected frame rate. If it goes too far, reset it by re-selecting your screen resolution.
Unintentionally radiated RF signal from computer screen shown in SDR#
The best results were had with the Airspy listening to an older 19" DELL monitor connected via DVI. A newer Phillips 1080p monitor connected via HDMI had much weaker unintentional signals but images were still able to be recovered. A third AOC 1080p monitor produced no emissions that we could find.
Clear images were obtained with an antenna used in the same room as the monitor. In a neighboring room the images on the DELL monitor could still be received, but they were too blurry to make anything out. Possibly a higher gain directional antenna could improve that.
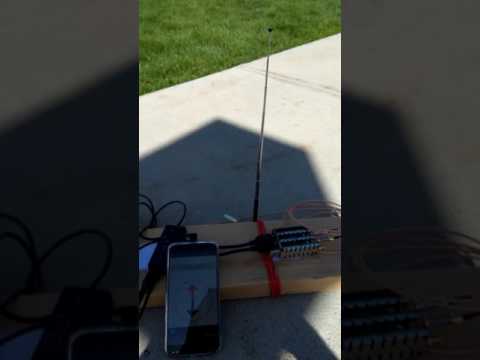
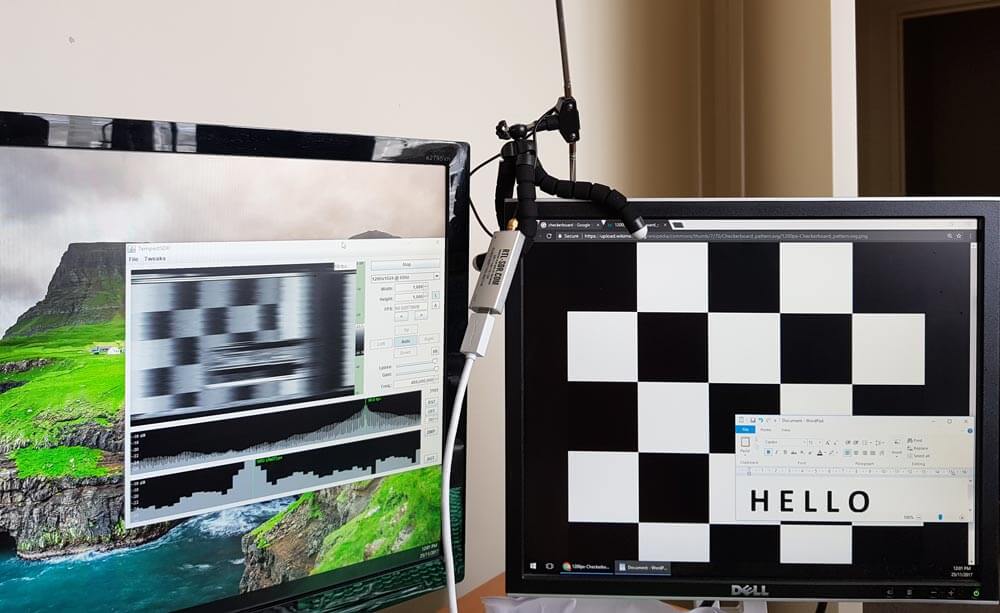
An example set up with RTL-SDR antenna and monitors
Below we've uploaded a video to YouTube showing our results with TempestSDR.
TempestSDR - Remotely Eavesdropping on Monitors via Unintentionally Radiated RF
![[EN subs] HRPT - Erste Bilder! und mein Setup](https://www.rtl-sdr.com/wp-content/plugins/wp-youtube-lyte/lyteCache.php?origThumbUrl=https%3A%2F%2Fi.ytimg.com%2Fvi%2FxuqsLo48eWg%2F0.jpg)