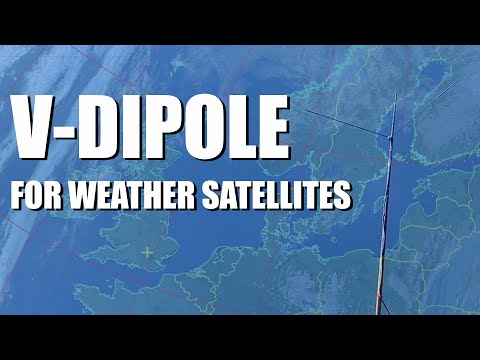
A new video showing how to build a V-dipole for weather satellite reception has been uploaded over on the Tech Minds YouTube channel. A V-dipole isa dipole antenna arranged in a 120 degrees "vee" shape, and mounted horizontally. It was first popularized by Adam 9A4QV who realized that such a simple antenna would work well for low earth orbit satellites like the NOAA and Meteor weather sats.
The video shows how to use some steel rods, a plastic pipe and terminal block to build the v-dipole. After building and mounting the antenna in the required North-South orientation he shows how he's using Gpredict with SDR# and WxToImg to decode the NOAA satellite image.
How To Build A V Dipole For Receiving Weather Satellites
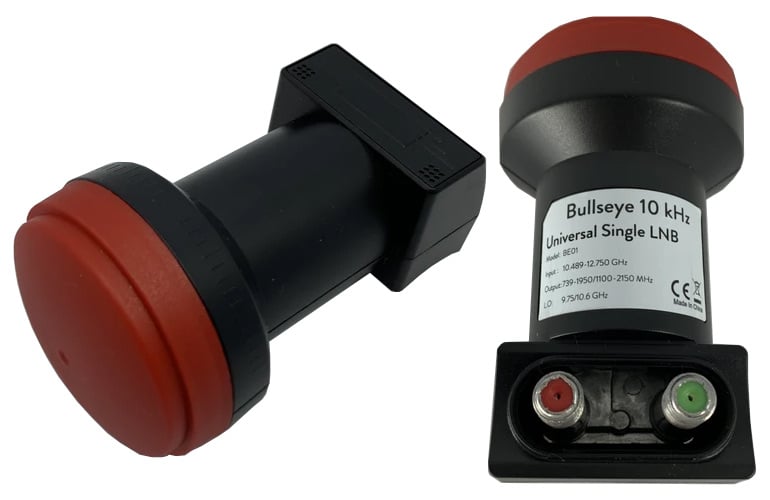
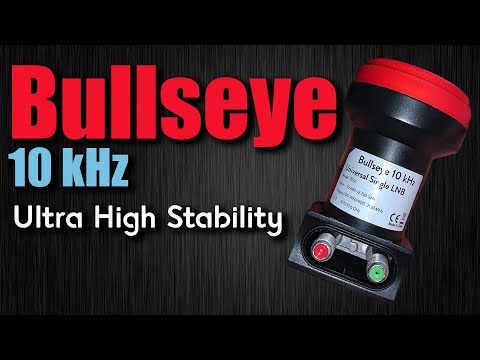
Back in March we posted about Othernet's release of their "Bullseye" TCXO ultra stable LNB for receiving QO-100 and other Ku-Band satellites. We have decided to now offer these for sale on our store as well.
They cost US$29.95 with free shipping to most countries. We are currently selling it over on our blog store and on our Aliexpress store. The Aliexpress store uses Aliexpress Standard Shipping which may be better for some countries like Poland, Ukraine, etc. As usual, please expect that there could be shipping delays at the moment due to the ongoing global pandemic. Since the US is not covered by QO-100 we will not be stocking Amazon USA.
QO-100 / Es'hail-2 is a geostationary satellite at at 25.5°E (covering Africa, Europe, the Middle East, India, eastern Brazil and the west half of Russia/Asia) providing broadcasting services. However, as a bonus it has allowed amateur radio operators to use a spare transponder. Uplink is at 2.4 GHz and downlink is at 10.5 GHz. Most SDRs do not tune all the way up to 10.5 GHz, so an LNB (low noise block) is typically used, which contains the feed, an LNA, and a downconverter which converts the 10.5 GHz frequency into a much lower one that can be received by most SDRs.
In order to properly monitor signals on QO-100 an LNB with a Temperature Compensated Oscillator (TCXO) or other stabilization method is required. Most LNBs have non-stabilized crystals which will drift over time with temperature changes. This means that the narrowband signals used on QO-100 can easily drift out of the receive band or cause distorted reception. It is possible to hand modify a standard Ku-band LNB by soldering on a replacement TCXO or hacking in connections to a GPSDO, but the Bullseye LNB is ready to use and cheap.
The Othernet TCXO Ultra Stable LNB for QO-100 and Ku-Band Satellites
The official product details read:
The Bullseye LNB is the world's most precise and stable DTH/consumer Ku-band down converter. Even a VSAT LNBF costing hundreds of dollars more is no match for the performance of the Bullseye 10K LNB. Each unit is calibrated at the factory to within 1 kHz of absolute precision against a GPS-locked spectrum analyzer. Under outdoor conditions, the stability of the LNB is well within 10 kHz of offset. As a bonus feature, the Bullseye 10K provides access to its internal 25 MHz TCXO through the secondary F-connector. This reference output can be used to directly monitor the performance of the TCXO over time.
Features
Bullseye 10 kHz BE01
Universal single output LNB
Frequency stability within 10 kHz in normal outdoor environment
Phase locked loop with 2 PPM TCXO
Factory calibration within 1 kHz utilizing GPS-locked spectrum analyzers
Ultra high precision PLL employing proprietary frequency control system (patent pending)
Digitally controlled carrier offset with optional programmer
25 MHz output reference available on secondary F-connector (red)
Return loss of 8 dB (739 - 1950 MHz) and 10 dB (1100 - 2150 MHz)
Noise figure: 0.5 dB
We note that an external bias tee power injector is required to power the LNB as it requires 11.5V - 14V to operate in vertical polarization and 16V - 19V to operate with horizontal polarization. The bias tee on the RTL-SDR Blog V3 outputs 4.5V so it is not suitable.
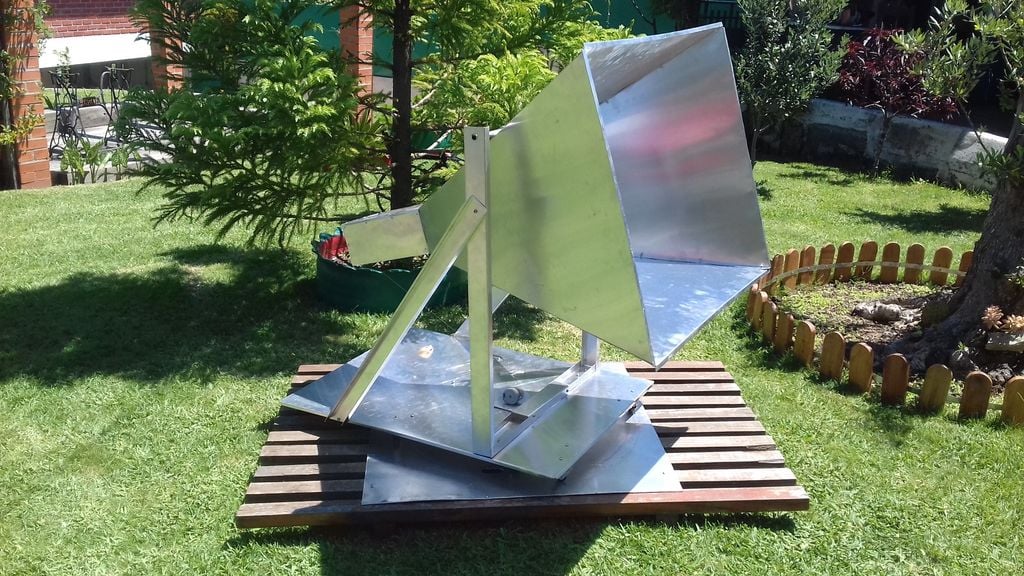
Just on the back of yesterday's post about a helical antenna Hydrogen line radio telescope, we have another submission. This telescope is a bit more advanced as it consists of a large motorized horn antenna, with a custom made LNA and filter board connected to an RTL-SDR with GNU Radio DSP processing.
Over on Instructables "diyguypt" has posted a full overview of his creation. The horn antenna is first created out of aluminum sheets, and then the waveguide is cut out of copper wire and installed into the can part of the horn. He then notes that he created two custom LNA+filter boards with the Minicircuits PMA2-43LN+ LNA and the Minicircuits BFCN-1445+ filter. This then connects to the RTL-SDR that is accessed via GNU Radio which creates a visualization spectrograph.
He then shows how he made the rotation system out of a salvaged drill motor and two relays, and how he made the Z-Axis control with a stepper motor. The motors are controlled with an Arduino and a gyroscope module.
"diyguypt"'s Hydrogen Line Horn Antenna connected to an RTL-SDR
Over on YouTube the "Unboxing Tomorrow" channel has uploaded a video explaining how he uses RTL-SDR dongles to monitor various radio channels for storm warnings. He notes how he uses his RTL-SDR to monitor the NOAA national weather service channel as well as the Skywarn channel which is the amateur radio based storm spotting network used in some parts of the USA. He also monitors a P25 trunking network with DSD+ for good measure.
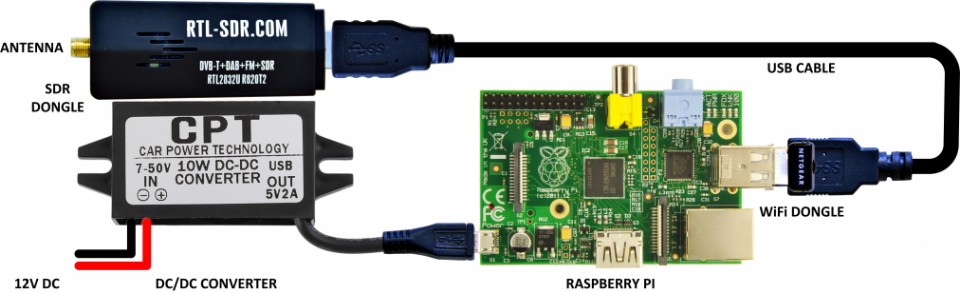
In addition he shows a bit of his setup which includes an RTL-SDR Blog V3 and Raspberry Pi connected to an LCD screen all mounted on a neat rail system made from T-slots.
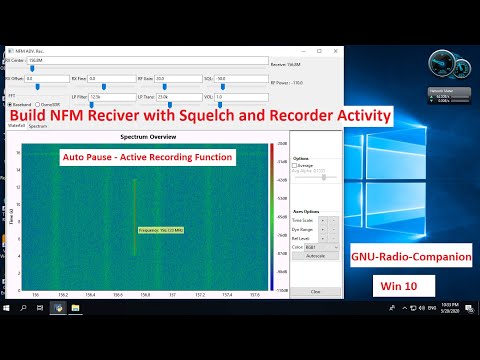
Thank you to YouTuber M Khanfar for submitting news about his various Windows GNU Radio tutorials that he has been uploading to YouTube. So far he's uploaded tutorials on creating an FM Receiver, Air Band Receiver, AM/NFM Receiver, NFM Receiver with Squelch and Recorder and Spectrum Analyzer with GNU Radio on Windows 10. The tutorials are straight to the point and designed to be followed along with the video. The full list of videos can be found on his YouTube channel, and we have embedded one below.
Build NFM Reciver with Squelch and Recorder Activity GNU RADIO Win10
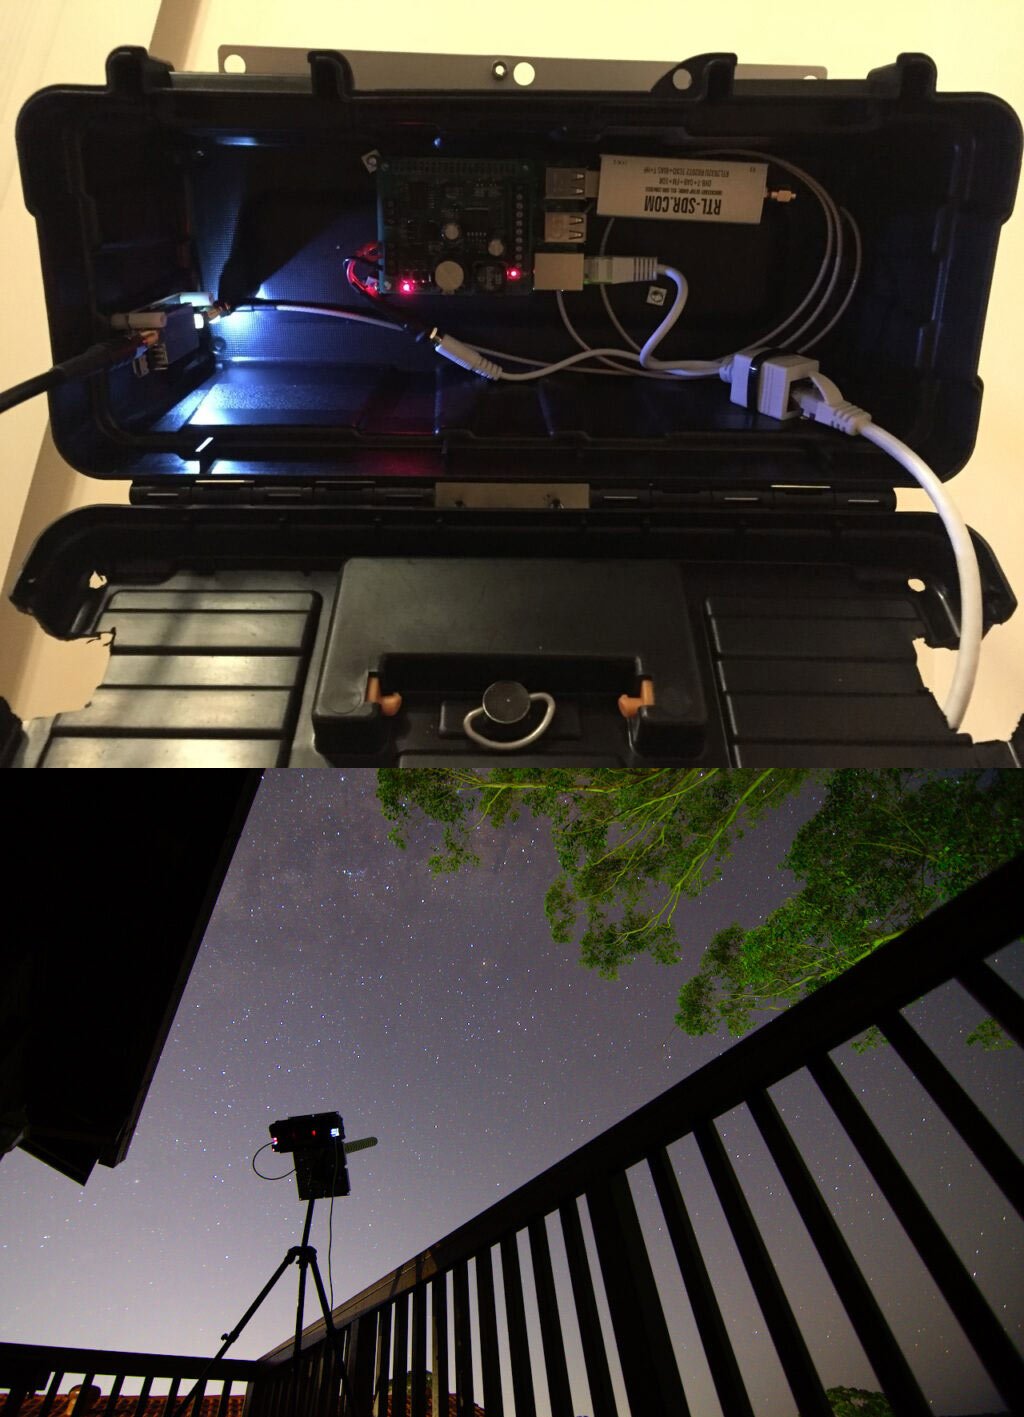
Thank you to Geoff for submitting his experience with creating a hydrogen line radio telescope out of an easy to build helical antenna, Raspberry Pi, LNA and an RTL-SDR. The Hydrogen Line is an observable increase in RF power at 1420.4058 MHz created by Hydrogen atoms. It is most easily detected by pointing a directional antenna towards the Milky Way as there are many more hydrogen atoms in our own galaxy. This effect can be used to measure the shape and other properties of our own galaxy.
Earlier in the year we uploaded a tutorial showing how to observe the Hydrogen line with a 2.4 GHz WiFi antenna. In Geoff's setup he used a home made Helical antenna instead. This antenna is basically a long tube with a spiral wire element wrapped around the tube. He also shows how he needed to impedance match the antenna with a triangular piece of copper tape. The result is a directional antenna with about 13 dBi gain. To complete his setup he used a NooElec SAWBird H1+ LNA/Filter, an RTL-SDR Blog V3 dongle and a Raspberry Pi.
The results show a clear increase in RF power at the Hydrogen line frequency when the antenna points at the Milky Way, indicating that the setup works as expected. It's good to see a Helical working for this, as it is fairly light weight and could easily be mounted on a motorized mount to scan the entire sky.
A Hydrogen Line Radio Telescope made with a Helical Antenna.
Over on YouTube a Russian language channel called "HAM Radio Channel" has uploaded a video that compares our RTL-SDR Blog V3 against a ColibriNano. While the video is narrated in Russian, it is easy to understand the side by side comparisons with the V3 running on HDSDR on the left of the screen, and the ColibriNano running on its custom software on the right.
The Russian made ColibriNano is a 14-bit direct sampling SDR with 0.1-55 MHz tuning range (undersampling up to 500 MHz), and up to 3 MHz bandwidth. It costs about US$280 - US$300 depending on the region. The RTL-SDR Blog V3 is our US$24.95 receiver with built in direct sampling mod which allows users to bypass the tuner in software resulting in a low-end HF receiver.
While the RTL-SDR Blog V3 cannot compare spec-wise to the ColibriNano, the review shows that the 12x cheaper SDR can still hold up fairly well against the higher end product. Of course as we always say, the differences between most SDRs only become apparent in challenging signal conditions, and we're sure that the ColibriNano would win out in conditions with very strong and weak signals being received together without appropriate pre-filtering. But if the conditions and/or pre-filtering is right, we belive that the RTL-SDR Blog V3 is still the best bang for your buck overall.
Что лучше? RTL-SDR или ColibriNANO? Сравнение SDR приемников
AIS stands for Automatic Identification System and is used by ships to broadcast their GPS locations in order to help avoid collisions and aide with rescues. An RTL-SDR with the right software can be used to receive and decode these signals, and plot ship positions on a map.
The School Amateur Radio Club Network publishes a simple project aimed at promoting the deployment of maritime Automatic Information System (AIS) receiving stations around the world using cheap RTL-SDR dongles and Raspberry Pi computers. The purpose of the project is to improve the existing terrestrial AIS receiving network by encouraging enthusiasts to setup their own AIS receiving stations and to disseminate their local vessel traffic data freely to AIS Servers. This data can then be used by many organisations involved in monitoring and improving the safety and security of shipping.
The SARCNET project, which works on all models of Raspberry Pi, makes building the AIS receiving station simple by providing pictorial construction details with a pre-packaged Raspberry Pi image to download. The free project uses open-source software and a bootable Raspberry Pi image which has been updated to use the latest Raspbian Lite operating system.
One of the attractions of building your own AIS receiving station is that some AIS servers reward you when you freely upload your local vessel tracking data. They publish your station information, showing your station position on a map and your receiving statistics like messages per hour and coverage in nautical miles. Some give you free, premium access to their AIS data, which can be viewed on their mobile apps. Even so, by operating one of these AIS receiving stations, you will have the satisfaction of making the world a safer place.
AIS Received with a Raspberry Pi and RTL-SDR Dongle.