SDR-Remote: A Physical Tuning and Control Knob for SDR#
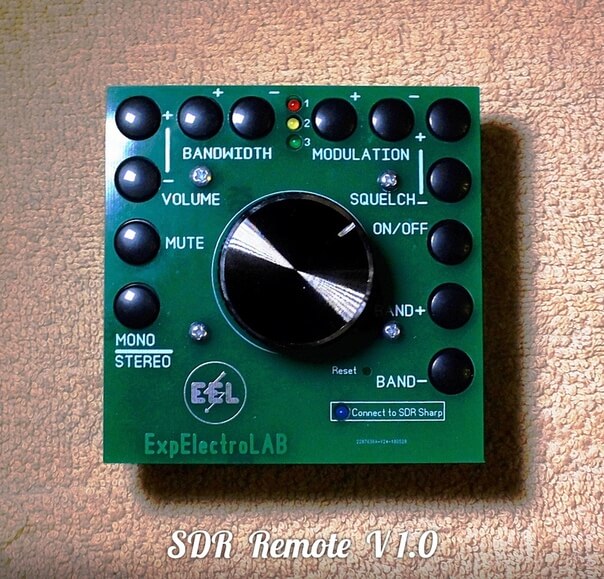
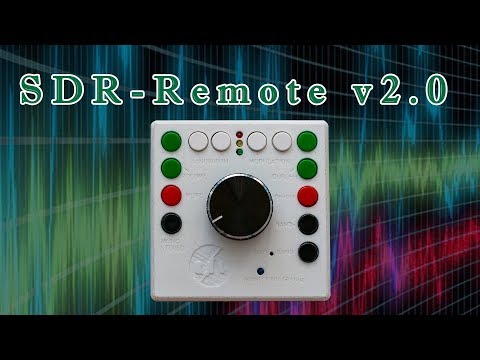
Recently Maxim who runs his small company "ExpElectroLab" wrote in and wanted to share a new product that he's developed called "SDR-Remote v2.0". This is a physical tuning knob that connects to your PC, and can be used with programs like SDR#. Apart from the knob, there are also several buttons for volume control, presets, and various other functions. He writes:
Heart - ARDUINO NANO V3.0, buttons, encoder and software. Sketch wrote to order a professional programmer.
Implemented by:
- tuning the reception frequency with a multiplicity of 1 kHz, 100 kHz, 1 mHz (additionally 50 Hz)
- volume control
- Mute the sound (mute)
- FM mono / stereo switching
- switching of modulation types
- turn on / off the noise
- adjustment of the threshold of noise
- adjustment of the width of the strip
- switching ranges 160m, 80m, 40m, 25m, 13m.10m, FM, AVIA, 2m, 70cm
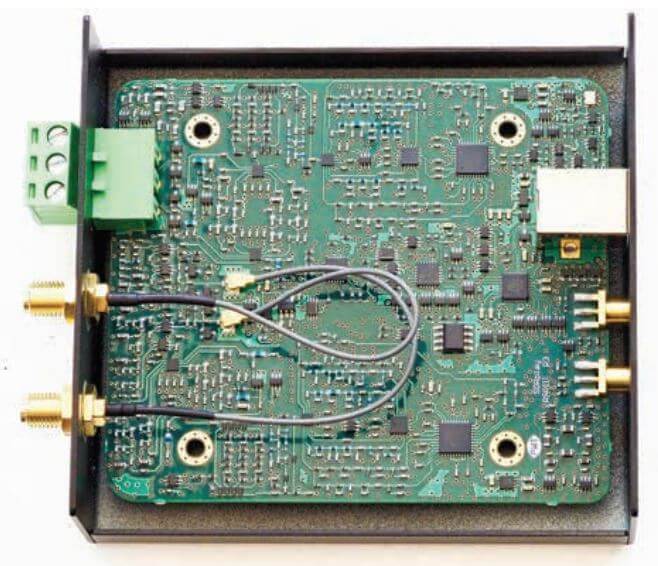
It appears that Maxim doesn't have a full store, but rather sells the devices on VK Markets, which is a Russian clone of Facebook. Also at the moment only SDR-Remote V1.0 is available for sale, but V2.0 seems to be due to go on sale soon. Version 1.0 sells for 2,650 Rub, which is equivalent to around US$42. His store also contains various other home brew SDR related products such as upconverters, LNA's, filters and a fractal antenna. The video below in in Russian, but shows V2.0 being unboxed and demonstrates it working with SDR#.
Maxim has noted that you can contact him at [email protected] if you are non Russian and are interested in his products.