Videos from the 33rd Chaos Communication Congress [33c3] of the Chaos Computer Club have recently been uploaded to YouTube. This is a yearly European conference with a theme on hacking. This year several SDR and RF related talks were presented and here below is a sampling of our favorites. See their YouTube Channel for more interesting talks.
Reverse Engineering Outernet
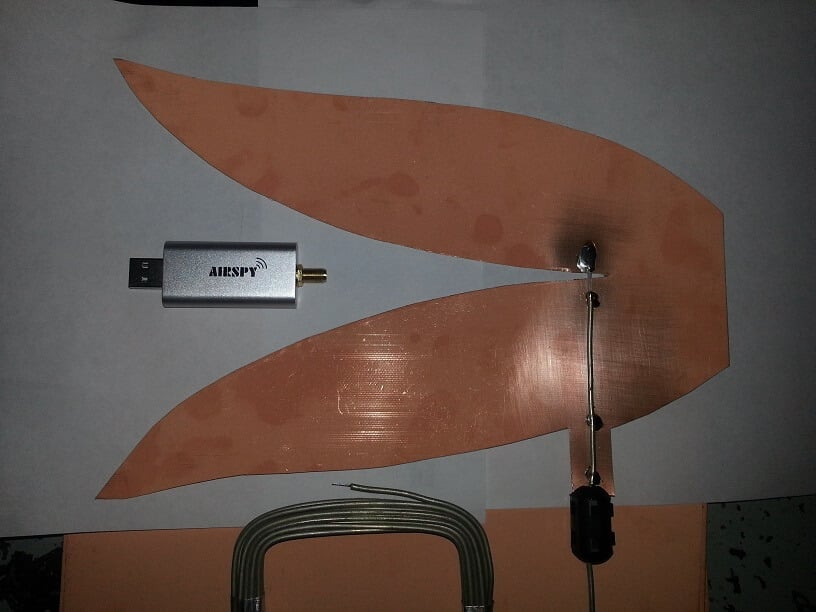
Outernet is a company whose goal is to ease worldwide access to internet contents by broadcasting files through geostationary satellites. Most of the software used for Outernet is open source, but the key parts of their receiver are closed source and the protocols and specifications of the signal used are secret. I have been able to reverse engineer most of the protocols, and a functional open source receiver is now available.
Outernet is a company whose goal is to ease worldwide access to internet contents by broadcasting files through geostationary satellites. Currently, they broadcast an L-band signal from 3 Inmarsat satellites, giving them almost worldwide coverage. The bitrate of the signal is 2kbps (or 20MB of content per day), and they use the signal to broadcast Wikipedia pages, weather information and other information of public interest.
Most of the software used for Outernet is open source, but the key parts of their receiver are closed source and the protocols and specifications of the signal used are secret. I think this is contrary to the goal of providing free worldwide access to internet contents. Therefore, I have worked to reverse engineer the protocols and build an open source receiver. I have been able to reverse engineer most of the protocols, and a functional open source receiver is now available.
In this talk, I’ll explain which modulation, coding and framing is used for the Outernet L-band signal, what are the ad-hoc network and transport layer used, how the file broadcasting system works, and some of the tools and techniques I have used to do reverse engineering.
PDF slides available [here].
Intercoms Hacking
To break into a building, several methods have already been discussed, such as trying to find the code paths of a digicode, clone RFID cards, use some social engineering attacks, or the use of archaic methods like lockpicking a door lock or breaking a window.
New methods are now possible with recent intercoms. Indeed, these intercoms are used to call the tenants to access the building. But little study has been performed on how these boxes communicate to request and grant access to the building.
In the past, they were connected with wires directly to apartments. Now, these are more practical and allow residents to open doors not only from their classic door phone, but to forward calls to their home or mobile phone. Private houses are now equipped with these new devices and its common to find these “connected” intercoms on recent and renovated buildings.
In this short paper we introduce the Intercoms and focus on one particular device that is commonly installed in buildings today. Then we present our analysis on an interesting attack vector, which already has its own history. After this analysis, we present our environment to test the intercoms, and show some practical attacks that could be performed on these devices. During this talks, the evolution of our mobile lab and some advances on the 3G intercoms, and M2M intercoms attacks will be also presented.
Building a high throughput low-latency PCIe based SDR
Software Defined Radios (SDRs) became a mainstream tool for wireless engineers and security researches and there are plenty of them available on the market. Most if not all SDRs in the affordable price range are using USB2/USB3 as a transport, because of implementation simplicity. While being so popular, USB has limited bandwidth, high latency and is not really suitable for embedded applications. PCIe/miniPCIe is the only widespread bus which is embedded friendly, low latency and high bandwidth at the same time. But implementing PCIe/miniPCIe is not for the faint of heart – you have to write your own FPGA code, write your own Linux kernel driver and ensure compatibility with different chipsets, each with its own quirks. In this talk we will look at the requirements for a high performance SDR like XTRX, how this leads to certain design decisions and share pitfalls and gotchas we encountered (and solved).
We’ve been working with SDRs since 2008 and building own SDRs since 2011, focusing on embedded systems and mobile base stations. We created ClockTamer configurable clock source and UmTRX SDR and built a complete base station (UmSITE) to run OpenBTS and later Osmocom GSM stacks. This year we’ve started working on a new tiny high-performance SDR called XTRX which fits into the miniPCIe form-factor and using PCIe for the I/Q samples transfer.
We will talk about when to use PCIe and when not to use PCIe and why did we choose it for XTRX; FPGA implementation of PCIe with optimization for low latency and high throughput; Linux kernel driver for this PCIe device; integration with various SDR platforms; all the various issues we encountered and how you can avoid them.