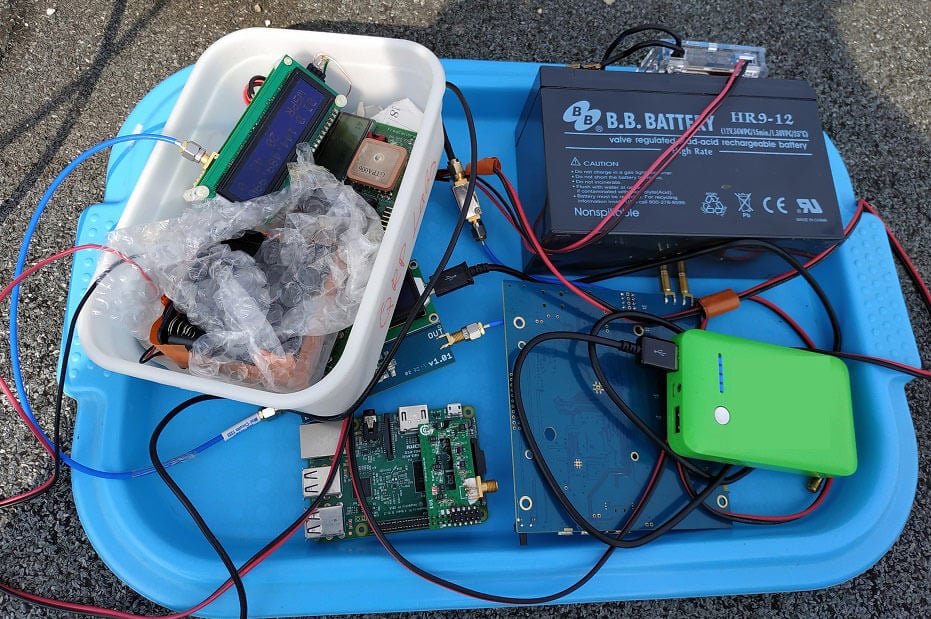
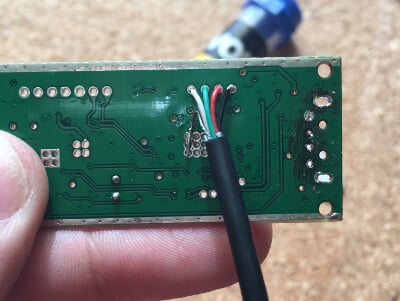
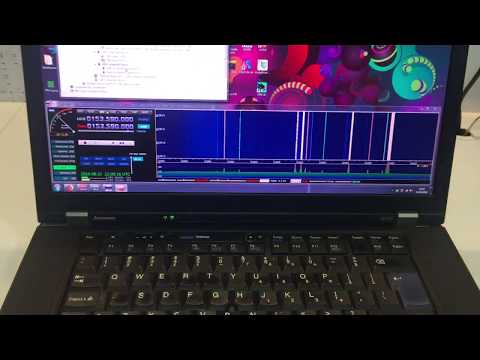
Back in May 2019 we posted about Steve Olney's HawkRAO amateur radio astronomy station which was the only station in the world to capture the 2019 Vela Pulsar "glitch" which he did so using his RTL-SDR as the radio. The astronomy focused podcast "Astrophiz" recently interviewed Steve in episode 95 where he talks about his amateur radio background, his home made radio telescope, his RTL-SDR and software processing setup, and the Vela glitch.
A pulsar is a rotating neutron star that emits a beam of electromagnetic radiation. If this beam points towards the earth, it can then be observed with a large dish or directional antenna and a radio, like the RTL-SDR. The Vela pulsar is the strongest one in our sky, making it one of the easiest for amateur radio astronomers to receive.
Pulsars are known to have very accurate rotational periods which can be measured by the radio pulse period. However, every now and then some pulsars can "glitch", resulting in the rotational period suddenly decreasing. Glitches can't be predicted, but Vela is one of the most commonly observed glitching pulsars.
The HawkRAO amateur radio telescope run by Steve Olney is based in NSW, Australia and consists of a 2 x 2 array of 42-element cross Yagi antennas. The antennas feed into three LNAs and then an RTL-SDR radio receiver.
Astrophiz 95: Steve Olney: From Ham Radio to Radio Astronomy - "The 2019 Vela Glitch"
Feature Interview: This amazing interview features Steve Olney who has established the Hawkesbury Radio Astronomy Observatory in his backyard. Steve has constructed a Yagi antenna array, coupled it with a receiver and observed a pulsar 900 LY away and generated data that has enabled him to be the only person on the planet to observe Vela’s 2019 glitch in radio waves as it happened.
If you're interested in learning more about Vela, Astrophiz podcast episode 93 with Dr. Jim Palfreyman discusses more about the previous 2016 Vela glitch and why it's important from a scientific point of view.
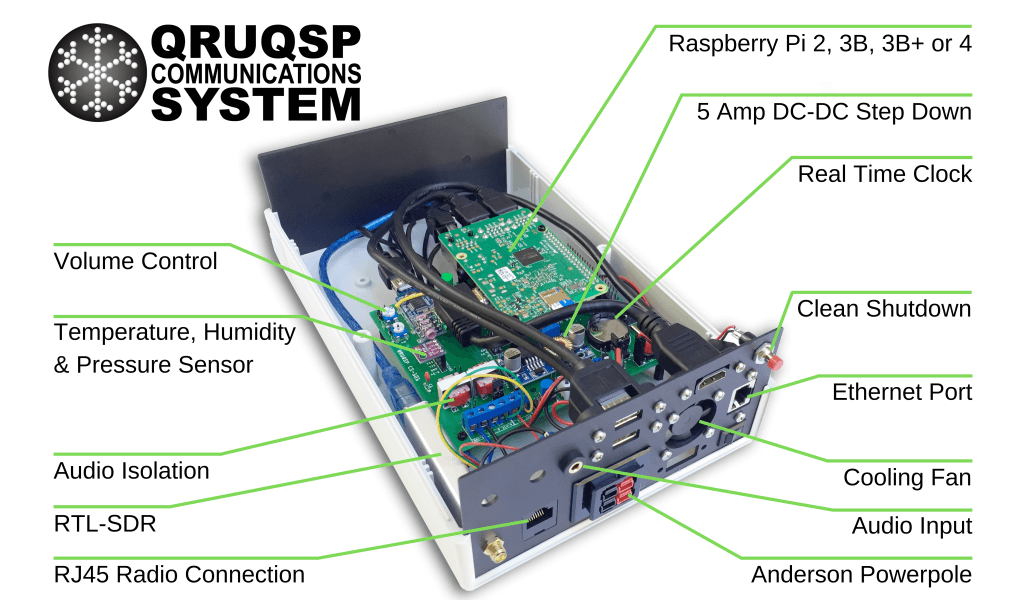
Thank you to Andrew Rivett for writing in and sharing news about his project called "QRUQSP" which is aiming to provide an easy to set up system for allowing amateur radio operators to put weather sensors on the APRS network and log the weather data. Andrew writes:
For that last 2 years I've been working on QRUQSP.org, a system to receive weather sensors via a RTL-SDR.com V3 on a Raspberry Pi and then beacon that data over Amateur Radio APRS. I've also developed a dashboard that can be used on iPad 1 and old tablets, and soon will have the ability to sync data between Pi's and to the cloud.
For more information, please check out https://qruqsp.org/ , we have roadmaps under Software and Hardware.
The QRUQSP website also explains:
Amateur Radio offers many opportunities to receive digital messages, decode them and make use of the data contained within those messages. Our primary goal is to store and organize those messages in a database in a way that improves the operator's ability to analyze, assess importance, and relay messages as appropriate for his or her amateur radio service.
The service makes use of his hardware kits that are currently available for preorder on his website, with the basic kit starting at $80. Purchasing a kit or $10 monthly subscription to the cloud service software allows you to participate in the closed beta, which is currently only available for amateur radio operators.
The QRUQSP Hardware
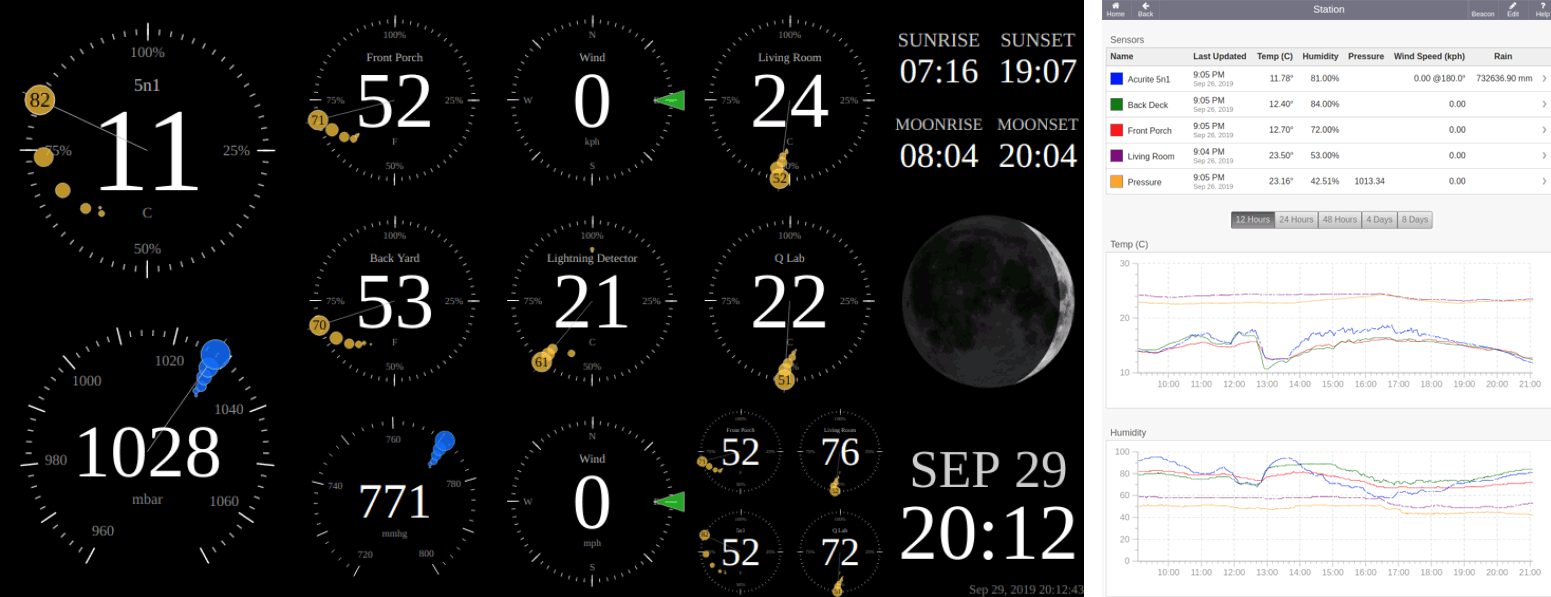
In terms of software Andrew has also created a web application that can be used to collect and display the weather data collected over APRS or rtl_433. The service can be hosted directly on the systems Raspberry Pi, or online on the cloud via the QRUQSP subscription service.
The International Space Station (ISS) periodically schedules radio events where they transmit Slow Scan Television (SSTV) images down to earth for listeners to receive and collect. This time they have scheduled SSTV images for October 9 09:50 - 14:00 GMT and October 10 08:55-15:15 GMT.
With an RTL-SDR and a simple V-Dipole from our RTL-SDR V3 antenna kit it is possible to receive these images when the ISS passes over. ISS passes for your city can be determined online, and the SSTV images can be decoded with a program like MMSSTV.
Russian cosmonauts are expected to activate Slow Scan Television (SSTV) image transmissions on 145.800 MHz FM from the International Space Station on Wednesday/Thursday, October 9/10.
This is the schedule for the planned activation of the MAI-75 SSTV activity from the ISS. • Oct 9 09:50-14:00 GMT • Oct 10 08:55-15:15 GMT
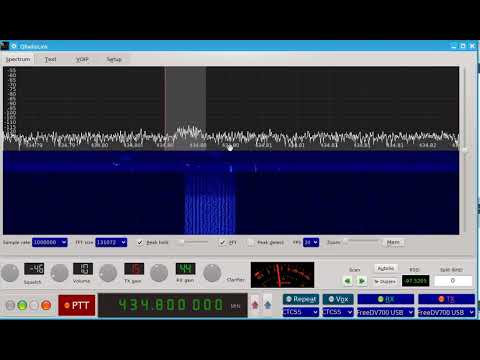
Over on YouTube user Adrian M has uploaded a video where he compares the HF amateur radio digital voice mode known as FreeDV against other common voice modes such as USB, AM, FM and QPSK. To perform the test he uses a PlutoSDR, a GNU Radio program and a GUI called qradiolink.
FreeDV is an open source amateur radio digital voice mode that uses Codec2 compression. It's designed to compress human voice and works with narrow bandwidths and with weak signal power.
In the demonstration Adrian reduces the TX power slowly for each mode, so you can see what the voice sounds like at high and low signal power. The FreeDV mode is not high fidelity in terms of audio quality, but the voice remains able to be copied at low power when the other modes could not.
Transmit and receive FreeDV 1600 and 700C with SDR hardware
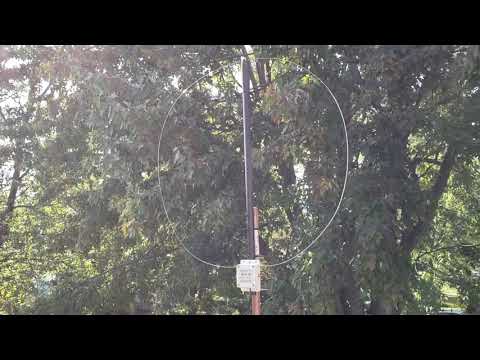
Recently Chinese manufacturers have begun producing a low cost wide band (100 kHz - 30 MHz) magnetic loop HF antenna known as the MLA-30. The loop can be found on eBay for under US$45 with free shipping. In the past wide band HF loop antennas have not been cheap, normally costing $300+ dollars from manufacturers like Wellbrook.
RF signals are electromagnetic waves that consist of an electric and magnetic component. A magnetic loop antenna mostly receives the magnetic portion of the wave. This is useful as most unwanted interference from modern electronic devices is generated in the electric component only. So, a magnetic loop antenna may be preferable in city and suburban environments over other antennas like wires and miniwhips. Magnetic loops are also directional, and can be rotated to avoid interference.
One of the biggest costs to a magnetic loop antenna is the shipping, because a large hula hoop sized piece of metal needs to be sent. The MLA-30 cuts costs on shipping by providing a folded up thin loop wire and no physical support for the loop. You are expected to provide your own support, or simply hang the loop wire on something. If you like you can also replace the included loop wire with a larger loop.
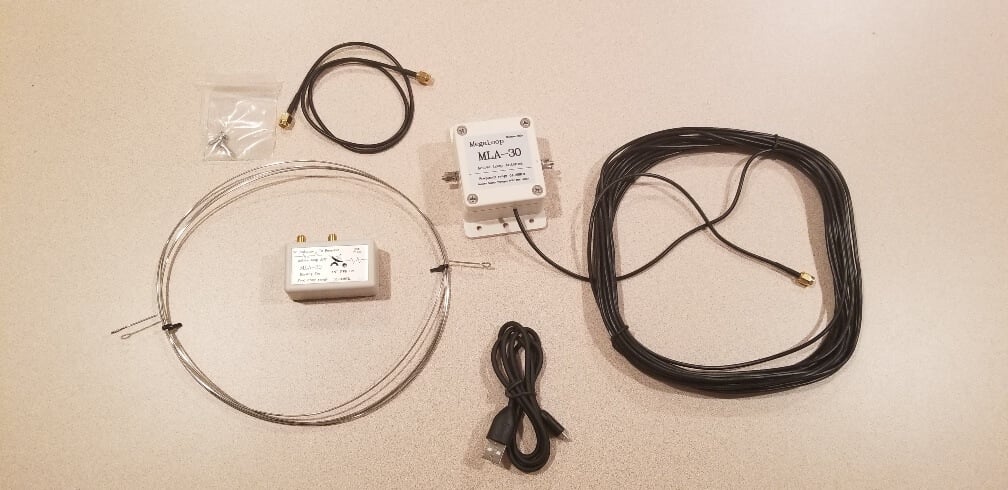
The MLA-30 comes with 10m of RG174 coax, is bias tee powered, and comes as a set with a bias tee injector that is powered over 5V USB. We tested our own unit with the RTL-SDR Blog V3, Airspy and SDRplay bias tee's and found that they all worked well instead of the included bias tee. So if you have one of those SDRs using the loop is as simple and neat as plugging it in and turning on the bias tee.
In terms of build quality, the unit is sturdy and the PCB is fully potted and protected against rain/weather. It is yet to be seen how the external screw terminals holding on the loop will age over a longer period of time however.
So how does the very cheap MLA-30 compare to higher end magnetic loop antennas? Below are some reviews by various hams and SWLs. The general consensus is that it works well for the price, but as you'd expect, falters on handling very strong signals and produces a higher noise floor compared to the more expensive loops, especially in the higher HF bands. But overall we'd say that it's probably still better than using a miniwhip, especially in suburban/city environments, and is probably the best compact HF antenna that you can get on a budget.
What's included in the MLA-30 set. Photo from David Day's Review.
MLA-30 Magnetic Loop Antenna Review and Comparison by David Day (N1DAY)
In this review David compares the MLA-30 against a 30-ft ground loop and a Wellbrook ALA1530-LF. His results show that while the loop is capable of receiving the same signals that the two comparison loops can, the SNR is much lower. He also notes that the much thinner loop wire used on the MLA-30 seems to result in a much deeper null, and that IMD was a problem for him.
Inside the MLA-30 Active Loop Antenna by Matt (M0LMK)
This post is a complete teardown of the antenna. As the PCB is fully potted Matt had to boil down the epoxy in order to get to the actual PCB. He notes that the PCB is a simple single amplifier design with the exposed pot working as a gain control.
Cheap Chinese Magnetic Loop Antenna (MegaLoop aka MAGALoop) MLA-30 by John
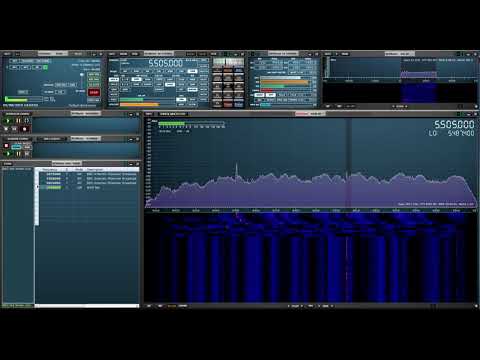
First hour battle of the antennas W6LVP loop VS MLA 30 loop test by OfficialSWLchannel
This is a YouTube video where OfficialSWLchannel compares his MLA-30 against a W6LVP loop. He notes that his initial testing shows that the MLA-30 performs as well as the W6LVP loop.
First hour battle of the antennas W6LVP loop VS MLA 30 loop test
MLA-30 Loop vs 80M EFHW by Matthew Payne
In this YouTube video Matthew compares his MLA-30 against a 80M end fed halfwave antenna with an SDRplay RSP1a.
MLA-30 Magnetic Loop Modifications by Scanner and Sdr Radio
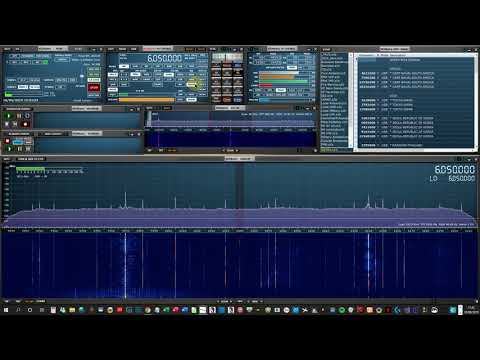
In this video the Scanner and Sdr Radio YouTube channel uses an RSPduo to compare the MLA-30 against a Wellbrook loop. His results show that the MLA-30 definitely has a higher noise floor compared to the Wellbrook, but still receives signals decently although chasing weak signals it's not good enough. He also shows how to improve the MLA-30 by replacing the cheap coax that it comes with, noting that the modification reduced his noise.
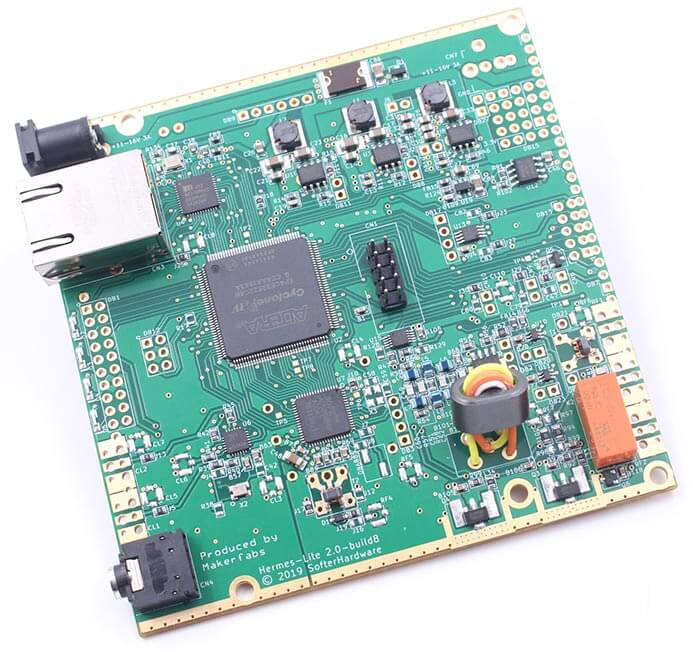
The Hermes Lite 2 (HL2) amateur radio direct sampling HF SDR transceiver board is now active for a group buy over on Makerfabs. The price is $225.70, and there need to be 25 orders before the group buy is confirmed. If confirmed, production will begin on 23 September, with production estimated to take about one month. More information about the group buy available on the Hermes Lite 2 Wiki. The N2ADR filter board for transmitting with the HL2 is also available on Makerfabs for $52.70.
The Hermes-Lite is able to be very low cost because at it's core is the AD9866 chip which is a mass produced RF front end (LNA + ADC & DAC) that is commonly used in cable modems. Because it is a mass produced commodity, the chip only costs approx. US$35-$25 on Mouser depending on quantity. The chip has a 12-bit 80 MHz ADC and DAC, meaning that if used without any analog mixer front end (like in the Hermes-Lite) it can receive the entire spectrum between 0.1 to 38 MHz all at once.
The Hermes-Lite is also a lot more than just the RF chip, as it contains a set of switched RF filters and a 5W power amplifier for TX. It also interfaces with a PC via Ethernet and has a built in FPGA for DSP processing.
Thank you to Zoltan for submitting a short post about using a moRFeus to uplink WSPR to the Es'Hail-2 (QO-100) geostationary satellite with amateur radio repeater. moRFeus is a versatile US$99 signal generator and frequency mixer that can be controlled either by it's built in LCD screen, or via software on a Windows or Linux PC. It can generate a clean low phase noise tone anywhere between 85 to 5400 MHz, and can be used as a mixer for upconverting or downconverting signals. We have discussed moRFeus a few times before on this blog as we think it's a useful tool.
In his setup, Zoltan uses a QRP Labs U3S WSPR transmitter kit that was configured to transmit WSPR at 2m (144 MHz). It is not designed for transmitting the 2.4 GHz QO-100 uplink frequency. To get around that limitation, the moRFeus is used to upconvert the 144 MHz frequency into the QO-100 uplink band by mixing it with a 2,255,634.309 kHz signal. The resulting 2.4 GHz output signal from moRFeus is sent to an amplifier, 2.4 GHz band pass filter, and finally into a 5-turn LHCP helical feed mounted on a 1m parabolic dish.
Successful uplink was confirmed by a UK based WebSDR receiving the QO-100 downlink. Zoltan estimates that the total output power was only 4mW, and actually more like 1-2 mW due to losses in the coax feed.
Rodrigo's system consists of an IF tap amplifier+filter board that is connected to an internally mounted RTL-SDR. The RTL-SDR is internally connected to the FT-991A's USB hub which had to be upgraded from a 2-port hub to a 4-port hub as the 2-ports were already in use by the CAT and Audio features. This required the stock USB hub IC to be replaced with a hot air rework station.
Everything is mounted inside the radio chassis itself, and the end result is a neat solution with no external wires, hubs or dongles that has essentially turned the FT-991A into an SDR. Plugging in the single stock USB cable from the FT-991A results in the standard CAT and Audio interfaces showing up, as well as the RTL-SDR.
What's also interesting is that Rodrigo makes use of the GPIO pins on our RTL-SDR Blog V3 to enable the RX_EN, BPF and BYPASS switches on the IF tap board. This allows for a cleaner solution as no external switches need to be installed.
The entire project is open source with schematics and the BOM provided over on the GitHub, and excellent documentation is available on the project's Wiki.
FT991A Converted into an SDR.
Turning FT-991A to a REAL SDR: Embedding a SDR Panadapter INSIDE the radio, no extra wires!