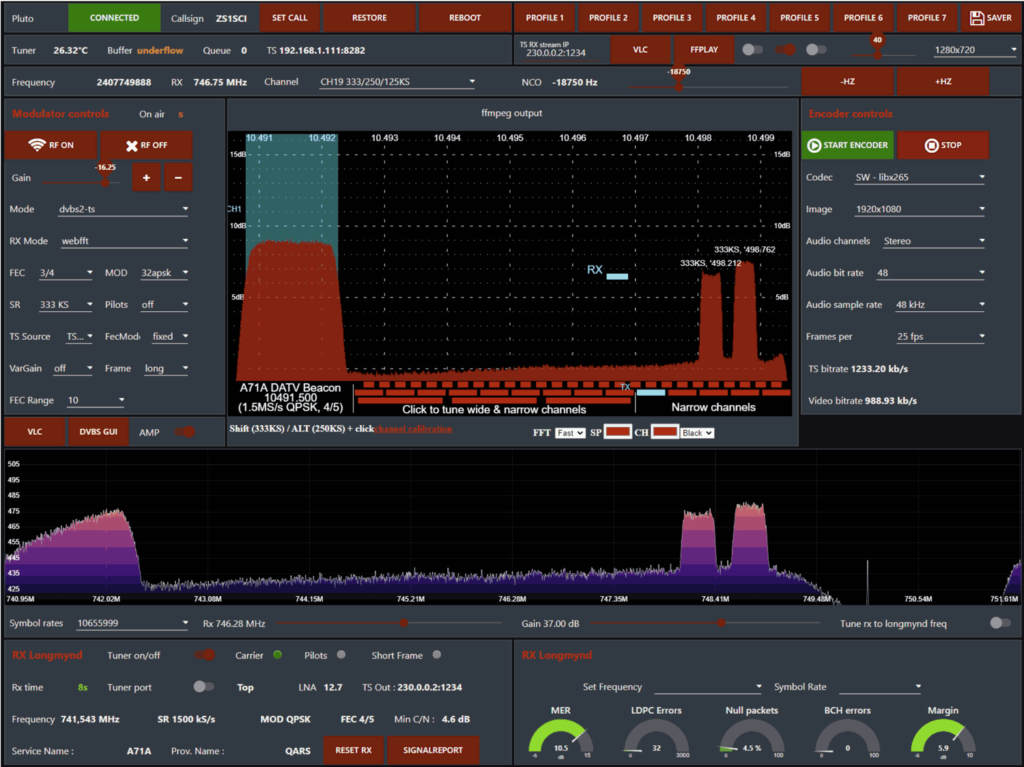
DATV-Red: An Interface for Controlling PlutoSDR in Node-RED
Thank you to Ohan Smit (ZS1SCI) for submitting news that he has published his software called DATV-Red over on GitHub. The software is open source and is design to be an interface for controlling a PlutoSDR in Node-RED.
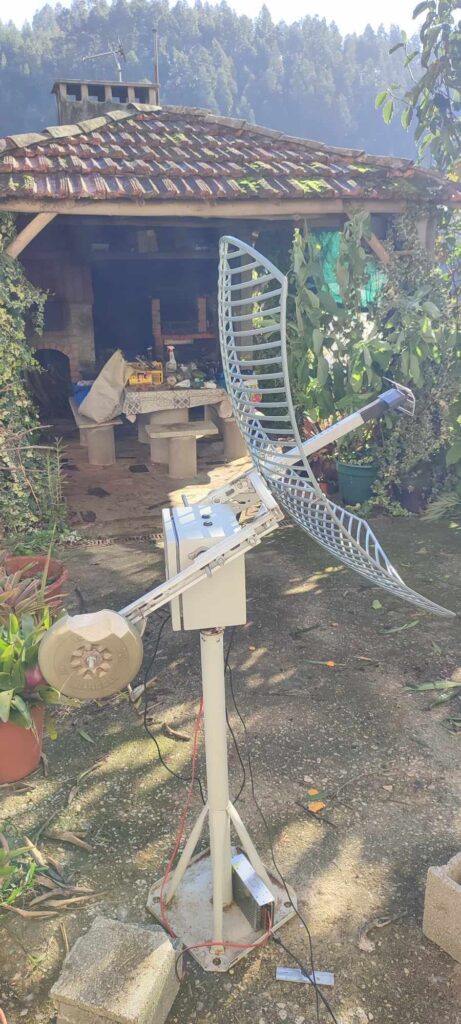
The PlutoSDR is a low cost RX/TX capable SDR with up to 56 MHz of bandwidth and 70 MHz to 6 GHz frequency range (with mods). Node-RED is a visual programming tool for creating JavaScript functions.
Ohan writes:
I've built an interface for controlling the plutosdr in Node-red.
It works on the latest PlutoDVB firmware.
It is cross platform since it is web based.
Currently the scope is focussed on QO-100 use, yet with the latest addition of the RX spectrum from the Pluto's onboard web socket, the focus would shift to a general spectrum analysis and RF operation with special operational DATV features
[It is] a work in progress.