Tutorial: Setting up a Low Cost QRP (FT8, JT9, WSPR etc) Monitoring Station with an RTL-SDR V3 and Raspberry Pi 3
QRP is amateur radio slang for 'low transmit power'. QRP digital modes such as FT8, JT9, JT65 and WSPR are modes designed to be transmit and received across the world on low transmit powers (although not everyone uses only low power). The special design of these modes allows even weak signals to be decodable by the receiving software. Released in 2017, FT8 has shown itself to now be the most popular mode by far with JT9 and JT65 taking a backseat. WSPR is also not as active as FT8, although WSPR is more of a beacon mode rather one used for making contacts.
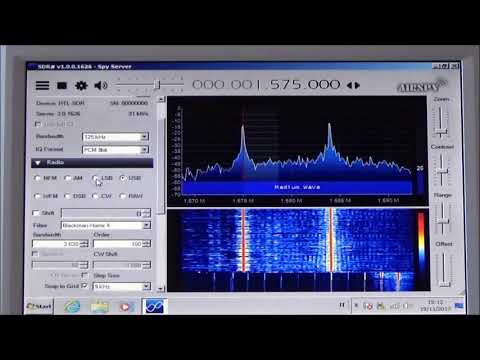
Apart from being used by hams to make contacts, these weak signal modes are also valuable indicators of the current HF propagation conditions. Each packet contains information on the location of the transmitter, so you can see where and how far away the packet you've received comes from. You also don't need to be a ham to set up a monitoring station. As an SWL (shortwave listener), it can be quite interesting to simply see how far away you can receive from, and how many countries in the world you can 'collect' signals from.
This tutorial is inspired by dg0opk's videos and blog post on monitoring QRP with single board computers. We'll show you how to set up a super cheap QRP monitoring station using an RTL-SDR V3 and a Raspberry Pi 3. The total cost should be about US $56 ($21 for the RTL-SDR V3, and $35 for the Pi 3).
With this setup you'll be able to continuously monitor multiple modes within the same band simultaneously (e.g. monitor 20 meter FT8, JT65+JT9 and WSPR all on one dongle at the same time). The method for creating multiple channels in Linux may also be useful for other applications. If you happen to have an upconverter or a better SDR to dedicate to monitoring such as an SDRplay or an Airspy HF+, then this can substitute for the RTL-SDR V3 as well. The parts you'll need are as follows:
- RTL-SDR V3 (or upconverter, or other HF & Linux capable SDR)
- Raspberry Pi 3 (or other SBC with similar performance)
- Internet connection
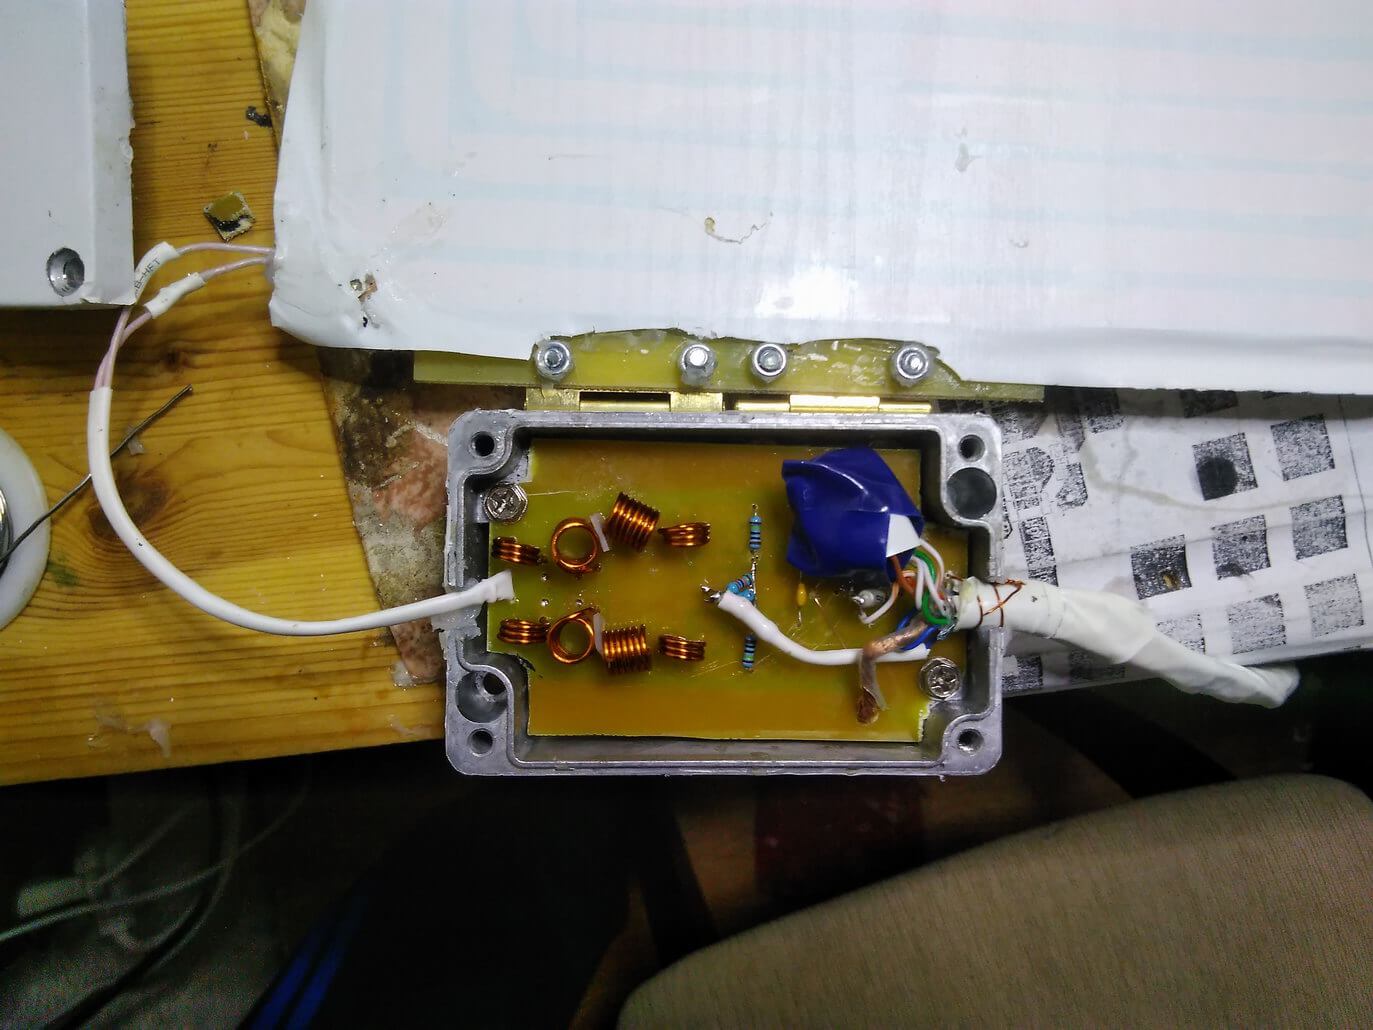
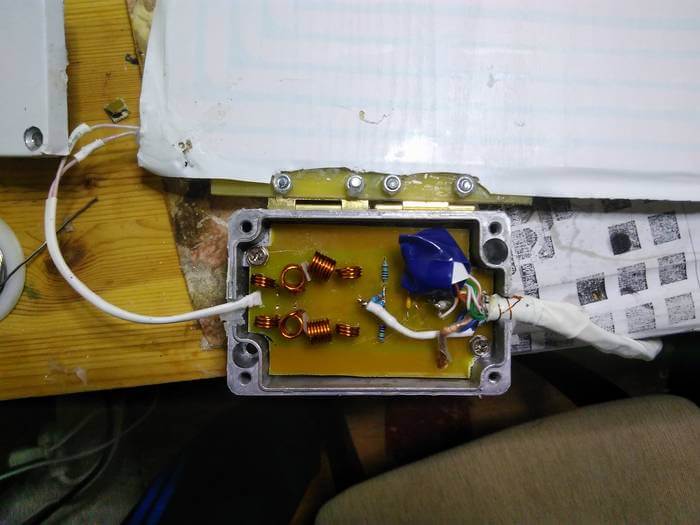
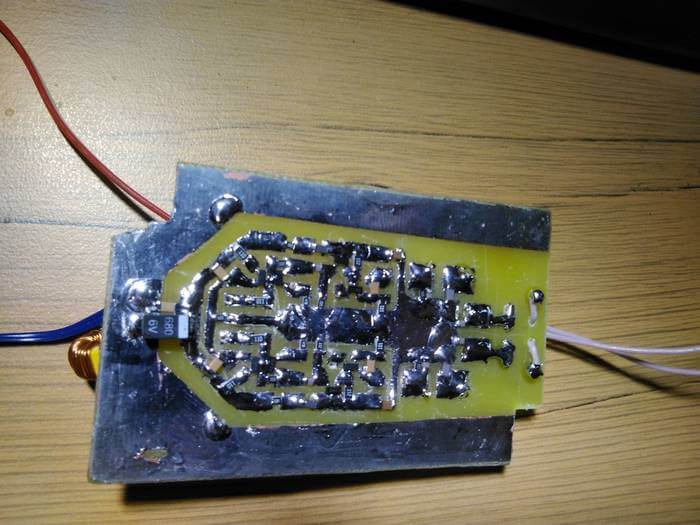
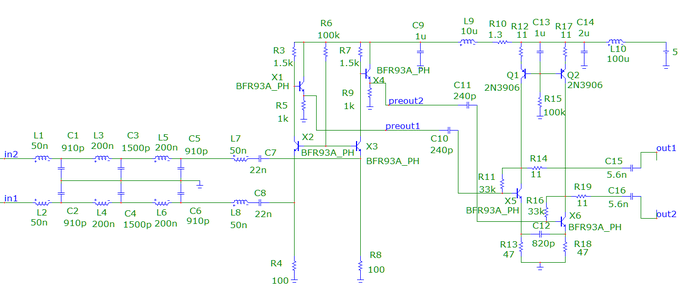
- Band filter (optional but recommended)
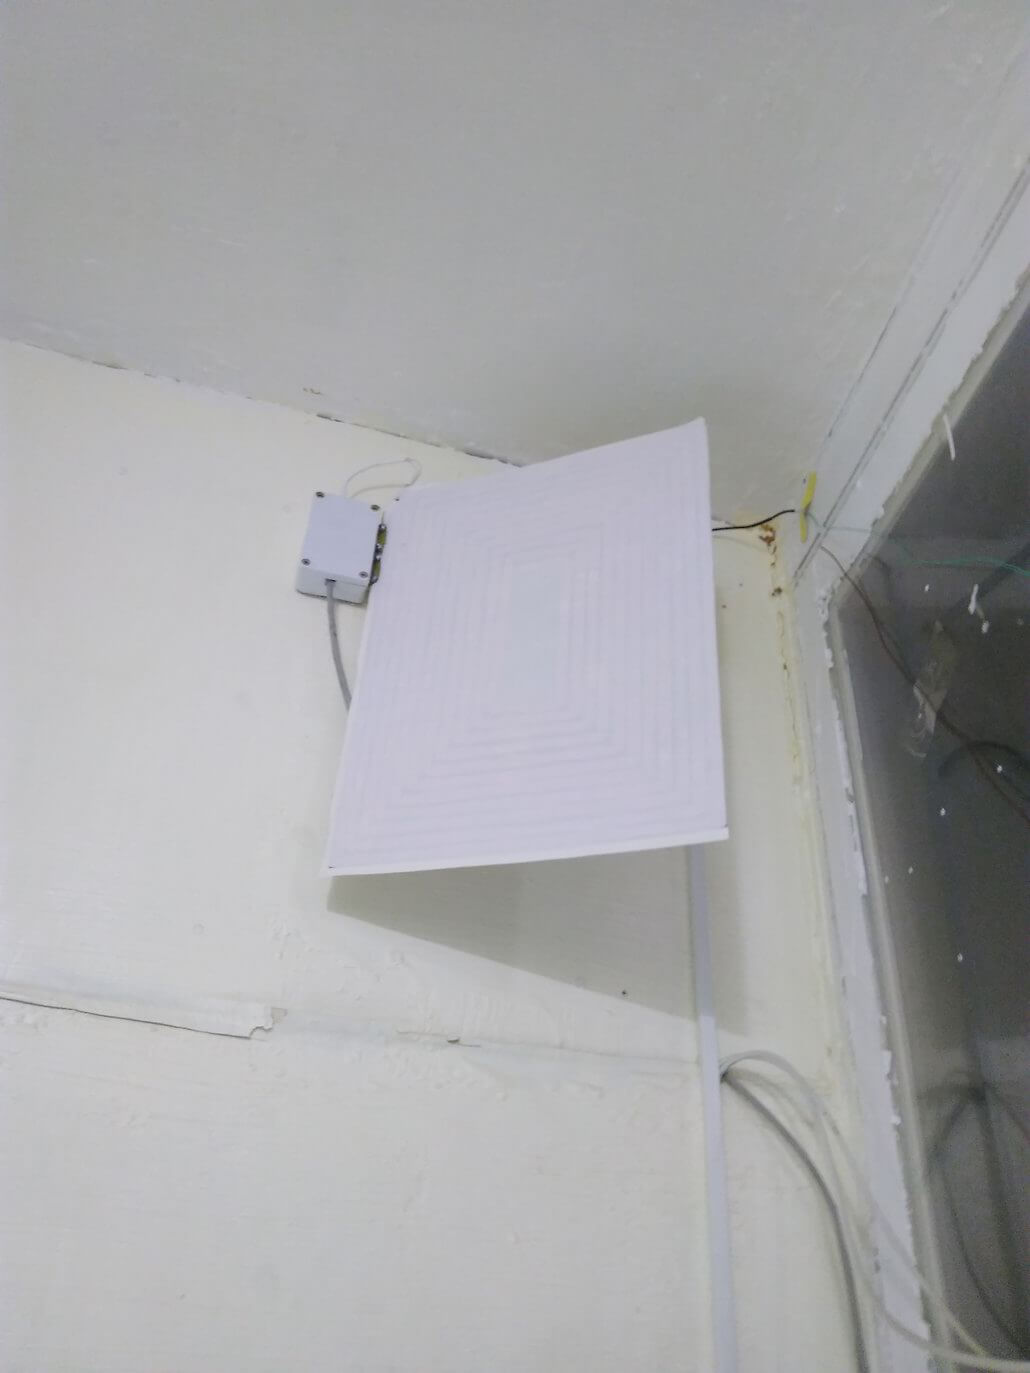
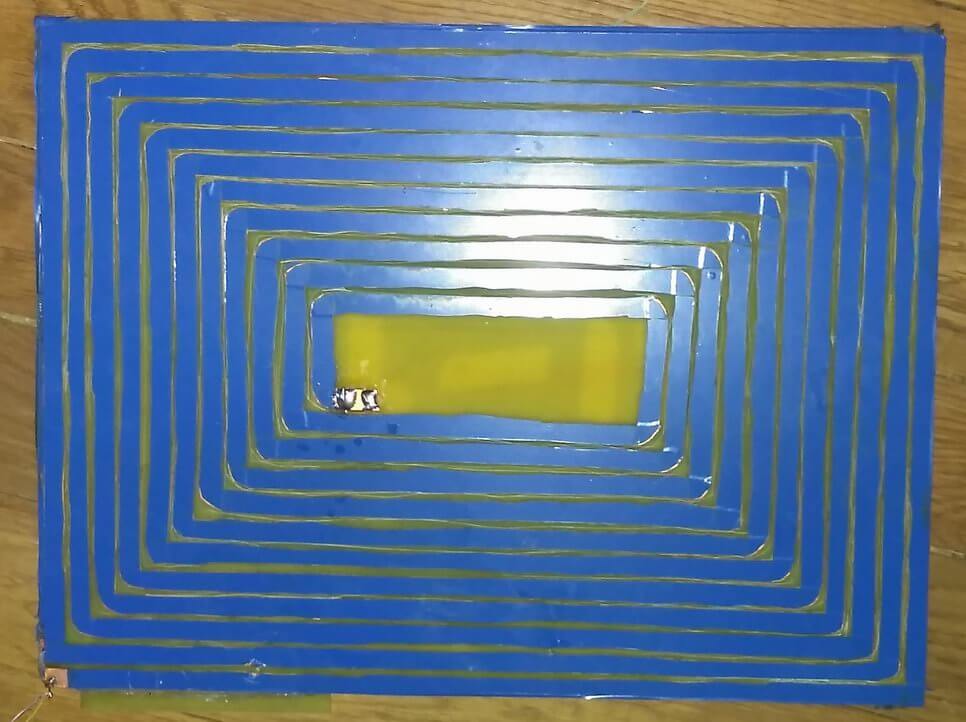
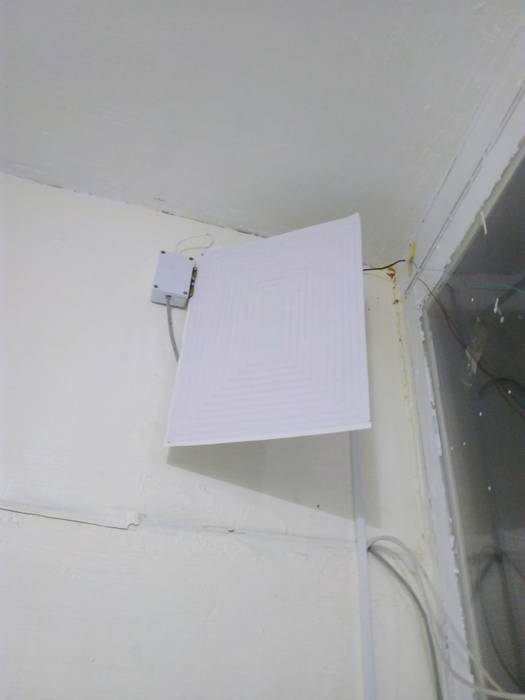
- HF antenna (this could be as simple as a long wire)
Examples of QRP Receivers with an RTL-SDR
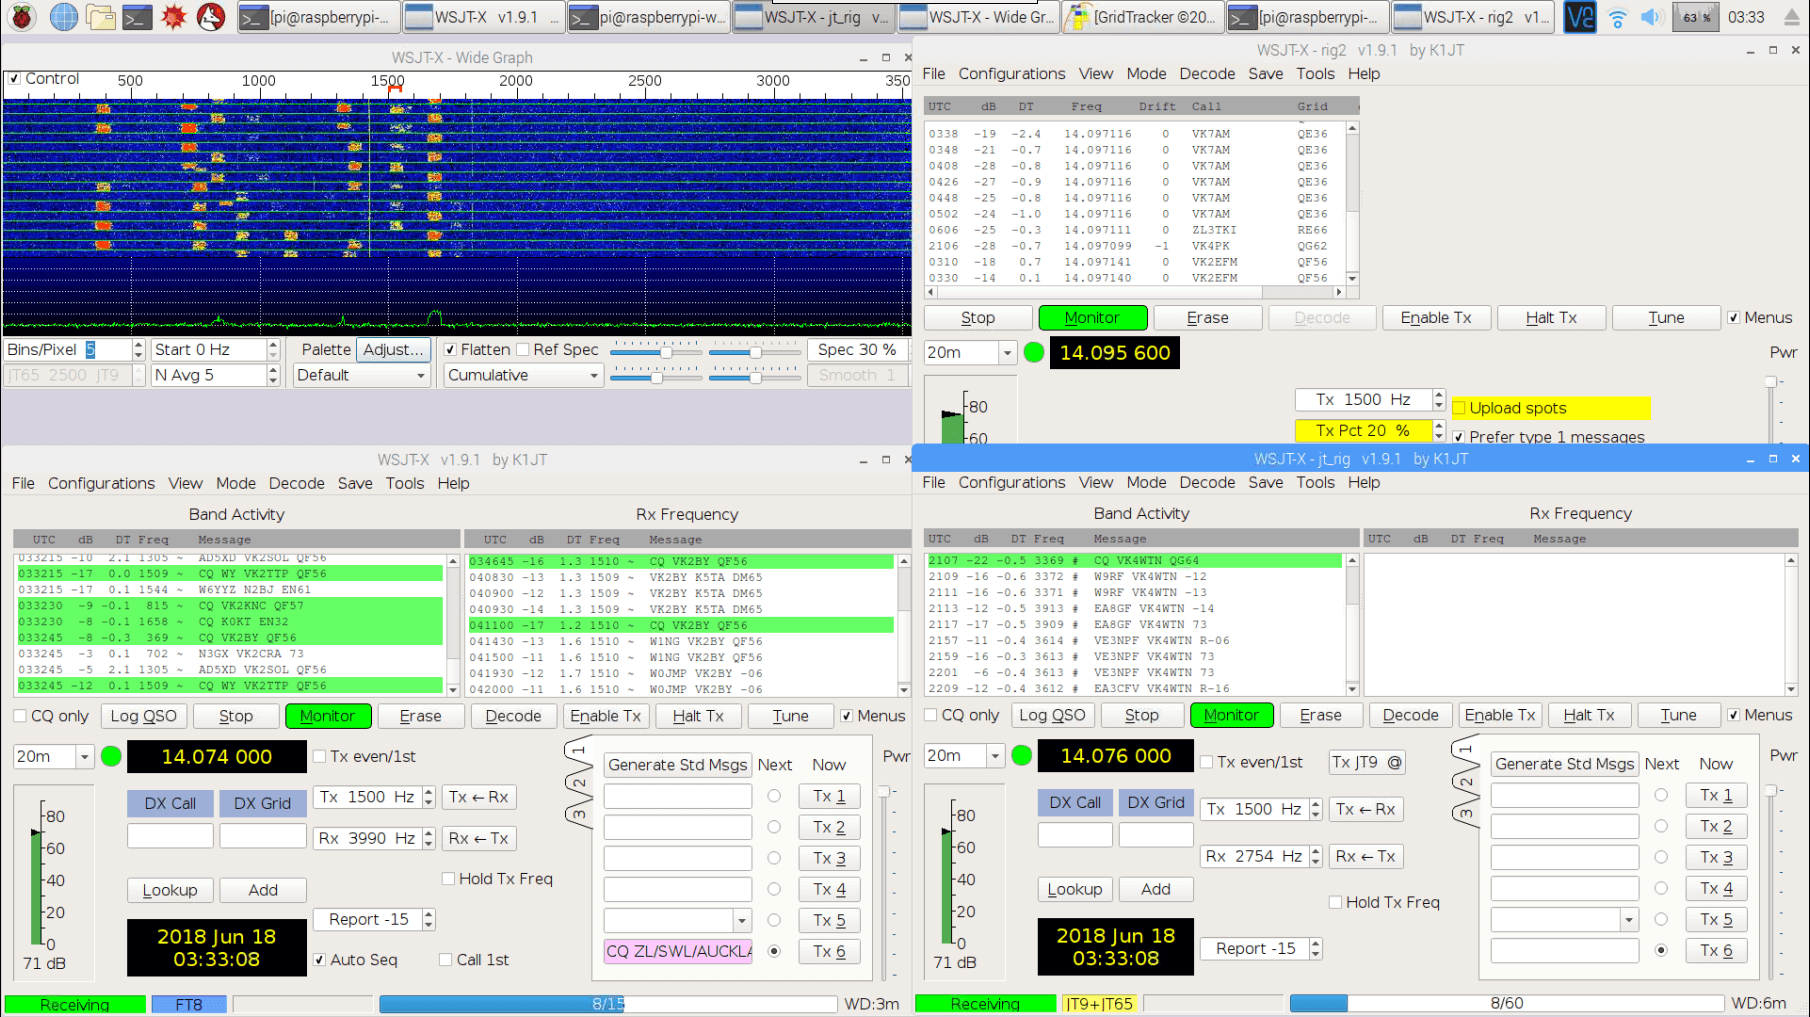
One week of #FT8 monitoring with the @rtlsdrblog V3 dongle using direct sampling on 30m with a 90ft longwire. 3151 unique calls, 2836 grids and 86 countries. ADIF from #pskreporter and mapped with @GridTracker . pic.twitter.com/1c826gDoce
— Johnny (@cuoops) June 15, 2018