Cyberspectrum #23 is now live and can be viewed via the YouTube live stream below. It should be available for delayed viewing after the event as well. The talks include SDR and radio related topics on subjects such as:
- HAARP ionosphere research
- An open source implementation of DVB-S2 and DVB-S2X for both satellite and terrestrial amateur radio use
- An open source SpyServer based tool for automatically demodulating/recording and parsing RF data
- Reverse engineering X-Band satellites
- An RTL-SDR powered web based trunking scanner with timeshifting capabilities.
Since out last post previewing the event, some new talks have been added, and we've posted the line up and info below.
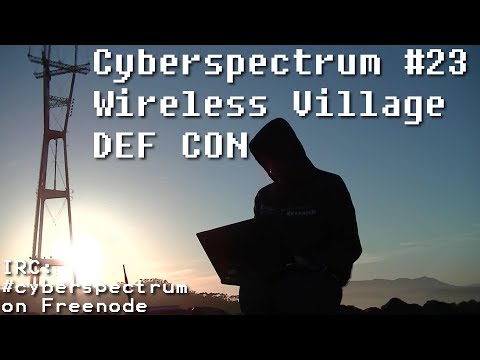
At this years DEFCON conference SDR evangelist Balint Seeber will be hosting Cyberspectrum #23. DEFCON is a yearly conference with a focus on hacker topics, which often include SDRs and other radio topics too. This years conference will be help on August 9 - 12 a Caesars Palace & Flamingo in Las Vegas. Cyberspectrum is an almost monthly meetup of SDR enthusiasts and researchers that is normally held in the San Francisco Bay Area, but often hosts remote speakers via teleconference. This months meetup will be held at DEFCON on August 9, hosted by the Wireless Village.
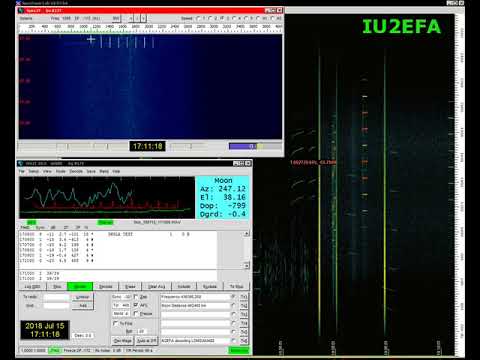
Chris Fallen, Ph.D. (@ctfallen): "Opportunities for radio enthusiasts and heaters of the ionosphere: HAARP is just another instrument, or is it?"
Preview of a future #cyberspectrum talk: Background of passive and active ways to get involved with HAARP experiments (and perhaps with other natural natural ionosphere events) based on prior and ongoing work.
Michelle Thompson (@abraxas3d): "ORI and Phase 4 Ground" (https://phase4ground.github.io/)
Open Research Institute (ORI) is a new non-profit research and development organization which provides all of its work to the general public under the principles of Open Source and Open Access to Research.
One of our projects is called Phase 4 Ground. Our mission is to provide an open source implementation of DVB-S2 and DVB-S2X for both satellite and terrestrial amateur radio use. Phase 4 Ground radio system has a 5GHz uplink and a 10GHz downlink. We are developing SDR software that heavily leverages IP multicast and RTP protocols to set up and tear down distributed remote radio functions.
The reference designs are in GNU Radio and we will provide recipes for as many SDRs as possible.
Phase 4 Ground radios are intended to be reusable and reconfigurable, supporting payloads at GEO (AMSAT Phase 4B), HEO (AMSAT Phase 3E), and beyond (such as NASA's Cube Quest Challenge). Additionally, our radios will work as terrestrial microwave stations. These 'Groundsats' on mountaintops or towers establish a fun and flexible digital microwave experience. If you want to build up your radio from SDRs, you can. If you want to build it entirely from scratch, then you can. Our manufacturing partner for an off-the-shelf design is Flex Radio.
Lucas Teske (@lucasteske): SegDSP SpyServer Segment Digital Signal Processor
SegDSP is a WIP "Segment Digital Signal Processor" that is tuned for connecting into a SPY Server and do automatically demodulation/recording/parsing of RF data. This talk will be about what it does today, how was the development, how it works, how it will work and what are the uses for it. Tired of losing the pass of a LEO satellite? Want to hear the recording from last week? SegDSP is a Open Source tool made in Go for both learning and monitoring Satcom and Terrestrial Com.
Luigi Freitas (@luigifcruz): "Reverse Engineering X-Band Satellites Datalink And The Worst Software Defined Radio Ever"
This talk will be about the reverse engineering process of the next generation X-Band datalink signal on-board of Sun Synchronous Satellites like Suomi (NPP) and NOAA-20 (NPOESS/JPSS-1). From the RAW I/Q recording to the decompressed high-resolution Earth pictures. This is the latest addition to the Open Satellite Project, a non-profit organization that is committed to develop and publish software tools and hardware projects that enable the Open-Source Community to access spacecraft non-sensitive data.
The other half (or so) of this talk will be about the “Worst SDR Ever” that is made entirely of dirty cheap parts readily available from China. This project is intended to demonstrate how a Software Defined Radio works utilizing real hardware and comprehensive modular software.
Gavin Rozzi (@gavroz): "OC Radio Live" (https://ocradio.live)
An online trunking scanner website with time shifting capabilities covering New Jersey powered by the RTLSDR and open source software.