Using an RTL-SDR and RPiTX to Unlock a Car with a Replay Attack
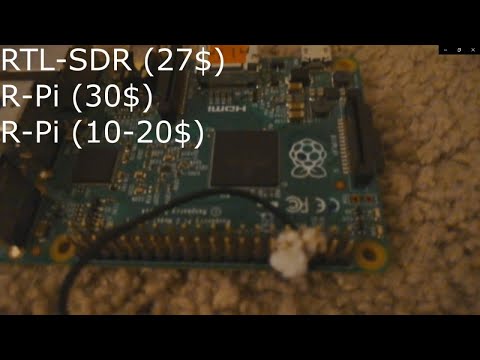
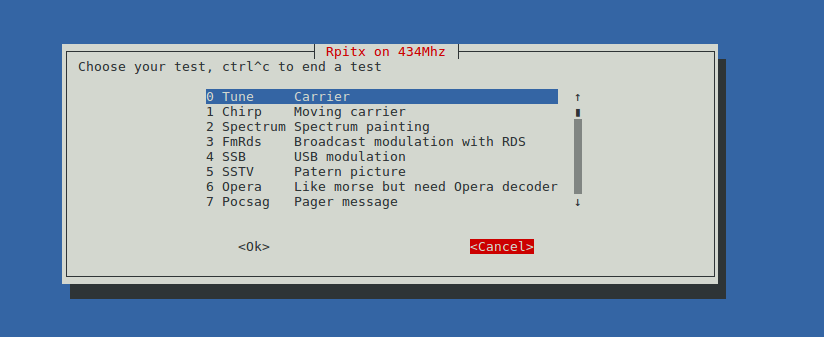
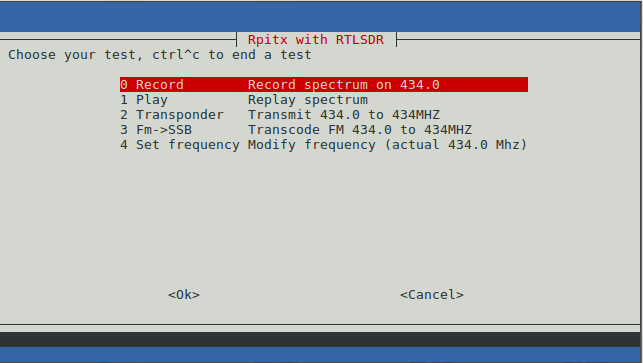
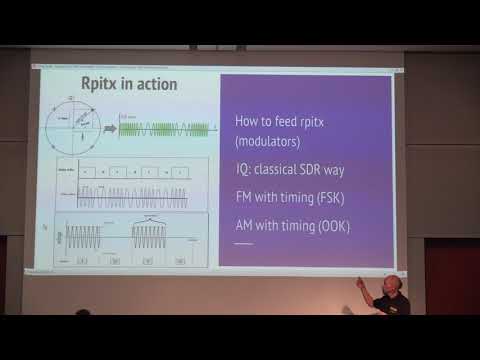
Over on YouTube user ModernHam has uploaded a video showing how to perform a replay attack on a car key fob using a Raspberry Pi running RPiTX and an RTL-SDR. A replay attack consists of recording an RF signal, and then simply replaying it again with a transmit capable radio. RPiTX is a program that can turn a Raspberry Pi into a general purpose RF transmitter without the need for any additional hardware.
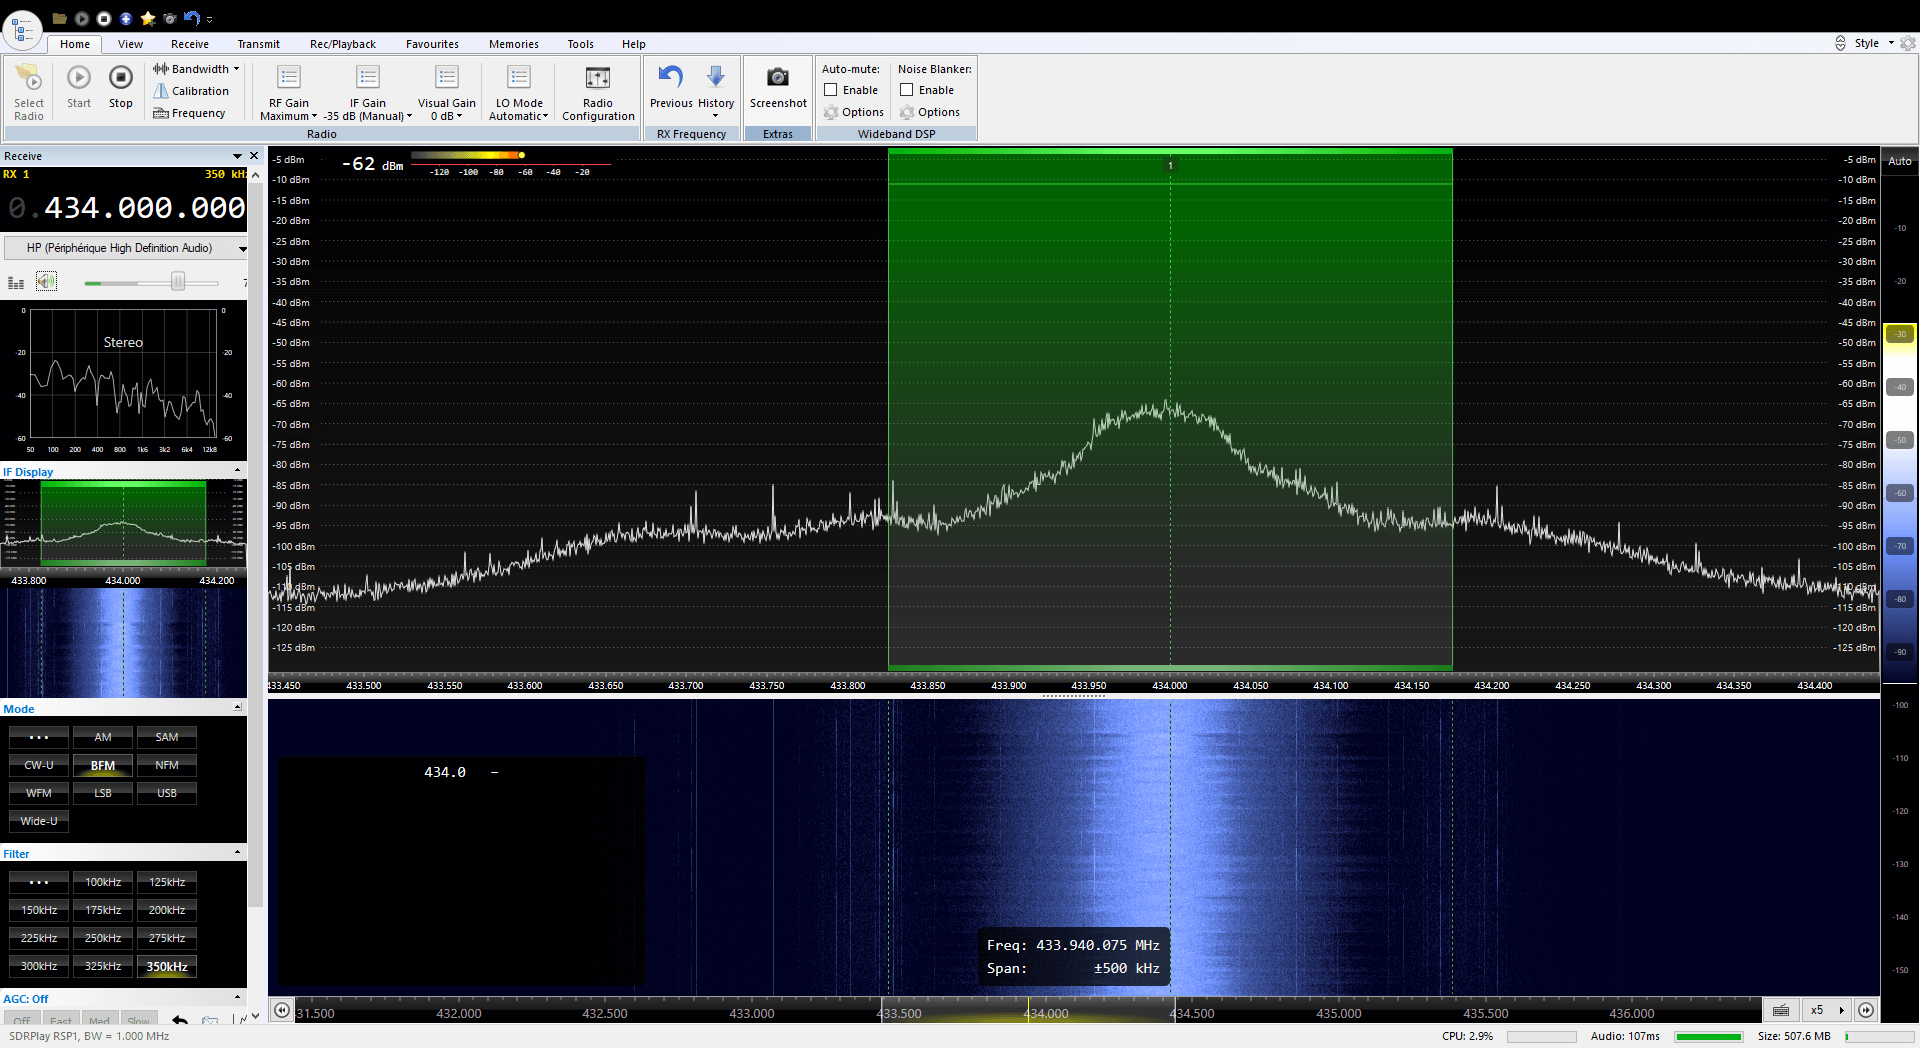
The process is to record a raw IQ file with the RTL-SDR, and then use RPiTX V2's "sendiq" command to transmit the exact same signal again whenever you want. With this set up he's able to unlock his 2006 Toyota Camry at will with RPiTX.
We note that this sort of simple replay attack will only work on older model cars that do not use rolling code security. Rolling code security works by ensuring that an unlock transmission can only be utilized once, rendering replays ineffective. However, modern rolling code security systems are still susceptible to 'rolljam' style attacks.
In the video below ModernHam goes through the process from the beginning, showing how to install the RTL-SDR drivers and RPiTX. Near the end of the video he shows the replay attack in action.