Airspy WebSpy: A High Performance Web UI Client for Airspy SDRs
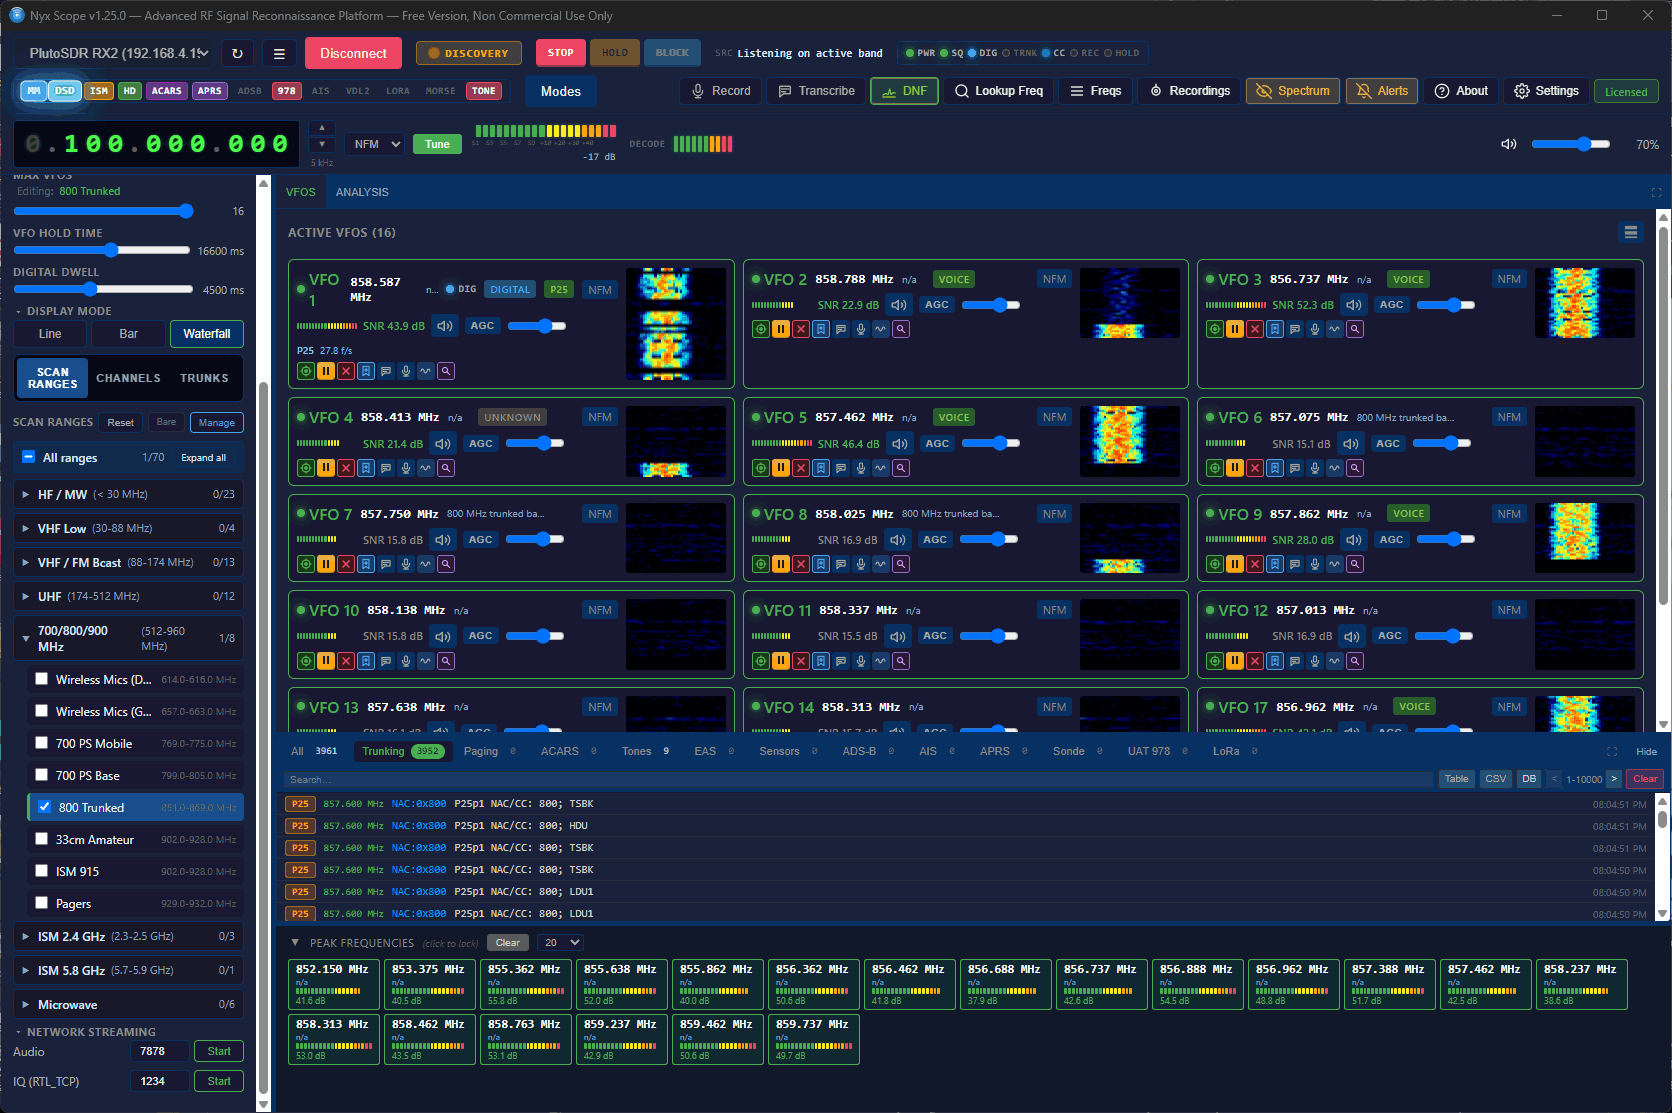
Over on X @lambdaprog, (aka Youssef Touil), the creator behind the Airspy line of software-defined radios, has been teasing development of a new web client called "WebSpy" for Airspy software-defined radios. The web client allows users to tune in to a remote Airspy SDR via a web browser interface that mimics the SDR# Windows software. Before WebSpy, it has only been possible to access Airspy devices remotely via the SpyServer server software and the SDR# Windows application.
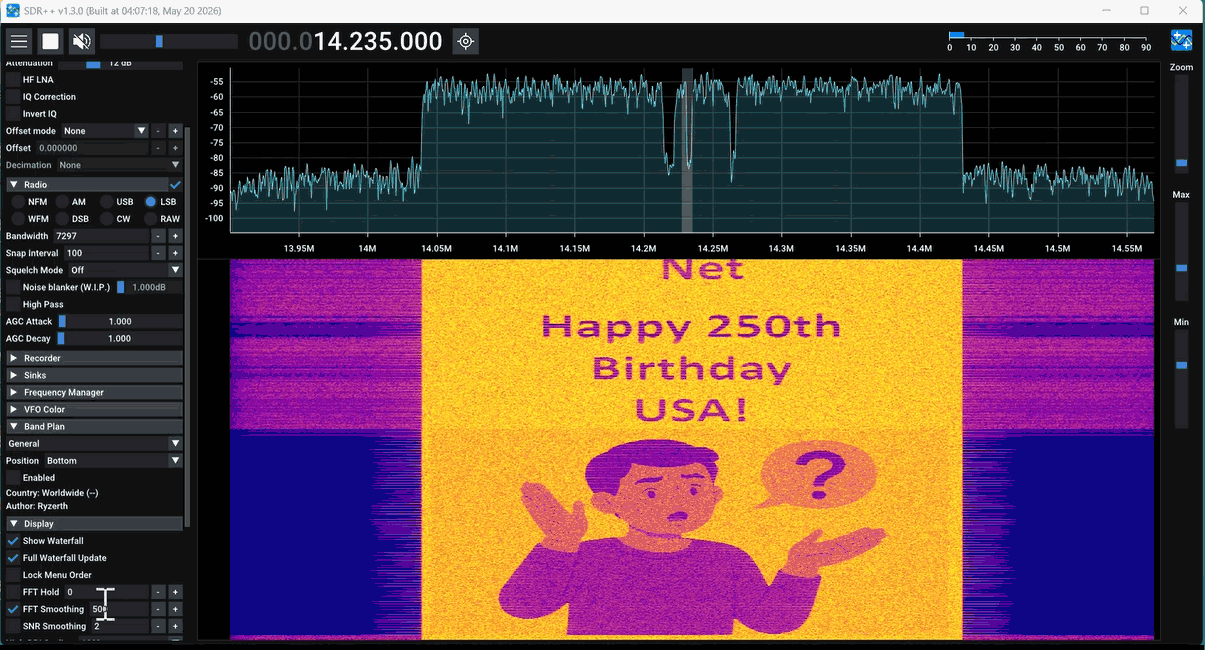
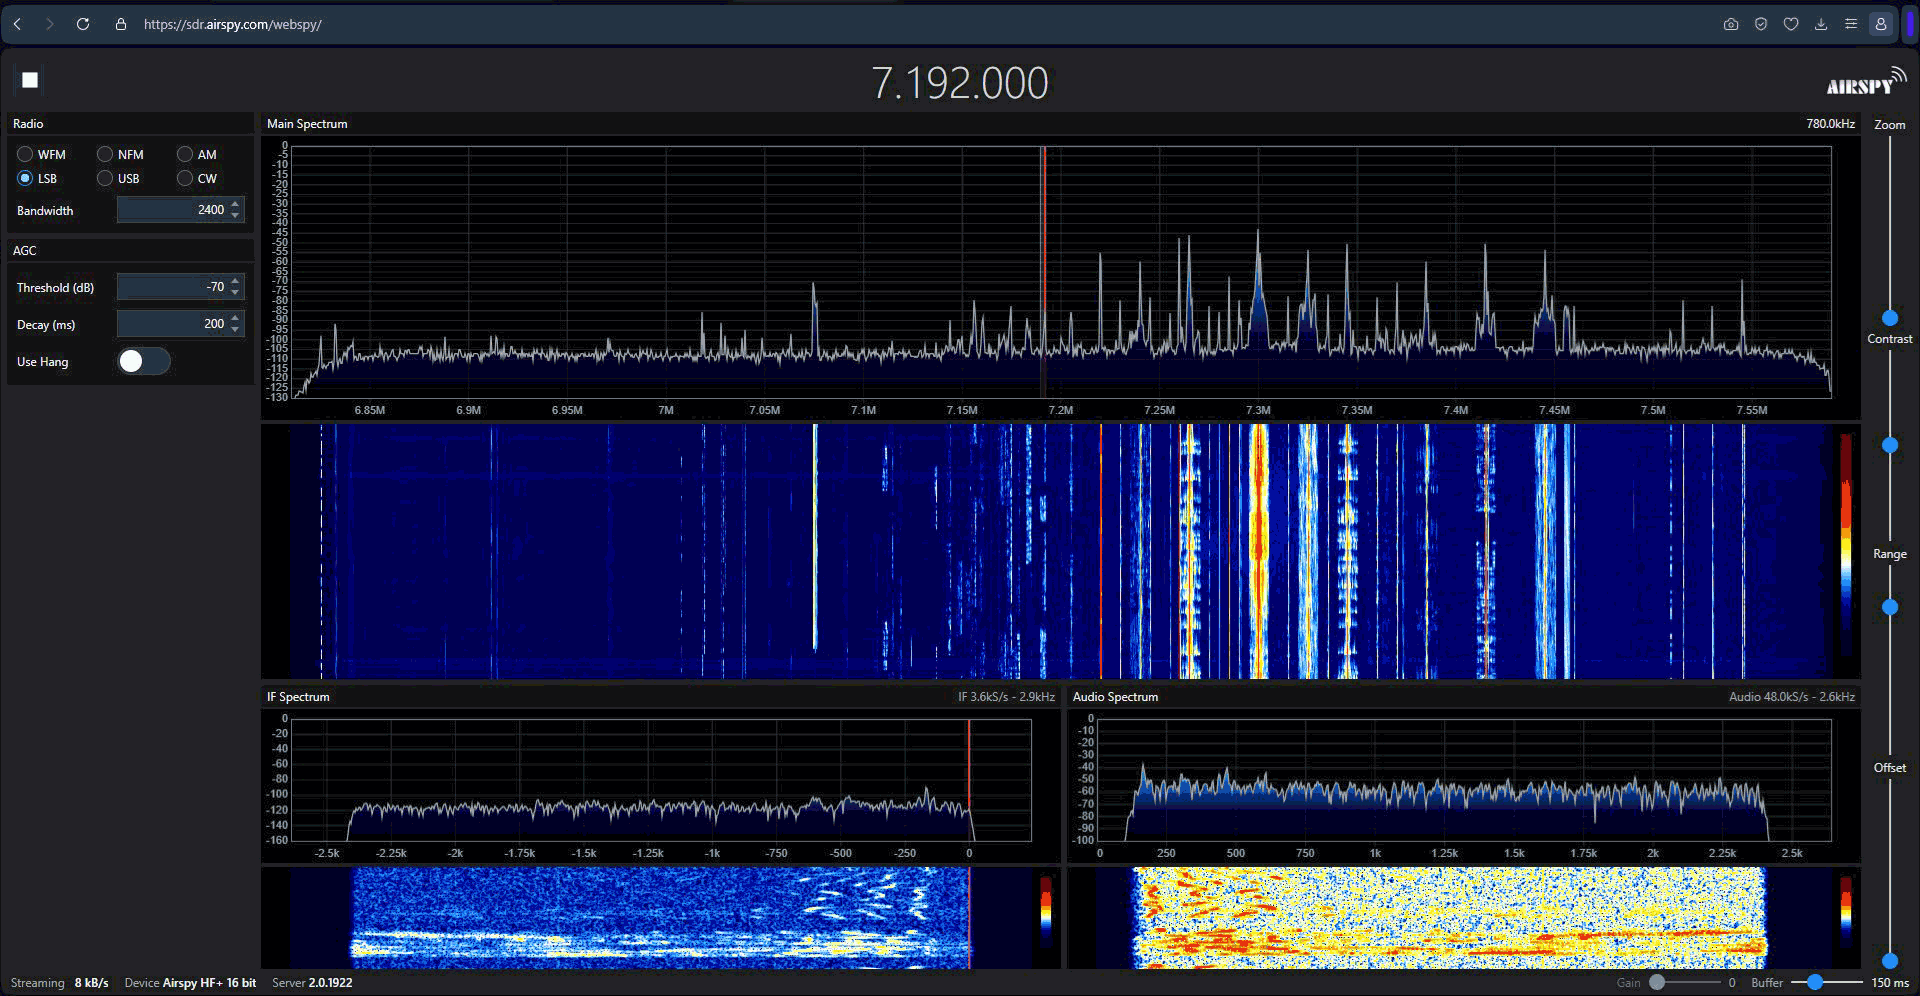
While the software is still in development and not yet available for download, you can access a demo version (HF server) (Broadcast FM server) that Youssef has currently set up on his own server in France. From the X posts on the development of the software, it seems that WebSpy boasts some impressive efficiency in terms of the low 6 kB/s network bandwidth required. This means that even over slow connections, the FFT and audio should be smooth and clear. The web interface also works well on mobile, providing a touch-optimized interface.
Youssef wrote in and wanted to share some additional information about how SharpIQ and SharpFFT work:
Under the hood, WebSpy streams both the radio signal and the spectrum display using two purpose-built compression codecs: SharpIQ for the channel data and SharpFFT for the FFT display.
A key design choice is what gets streamed: unlike most web receivers, which demodulate on the server and send you compressed audio, WebSpy sends the raw IQ signal of the tuned channel and does all the demodulation right in your browser — the same DSP chain as the gold standard SDR#. This matters more than it might sound: with server-side audio you're listening to a lossy rendition of what the server decided to demodulate, with voice-codec artifacts baked in; with local IQ, the actual signal arrives at your machine, so demodulation, filtering and mode changes happen instantly and the audio quality is limited only by the signal itself, not by an audio codec.
Unlike general-purpose compressors, SharpIQ and SharpFFT were designed from the ground up for radio: they adapt in real time to what's actually happening on the band, spending bits only where there is information worth keeping, while preserving the weak-signal fidelity that SDR users care about — a CW signal buried near the noise floor comes through intact.
The result is that a complete listening session — channel IQ, live spectrum, waterfall and all — typically fits in about 5 kB/s, a fraction of what conventional audio streaming would need. That's low enough to comfortably operate a remote receiver over a modest mobile connection, which is precisely what makes a full SDR experience in a browser tab practical — nothing to install, nothing left behind, just a tab you can close; and at 5 kB/s the stream itself hides in the noise of ordinary web traffic. Discreet SIGINT, if you're so inclined.
It's crazy what you can do with a 6 kB/s link budget nowadays. #airspy #sigint pic.twitter.com/JIItTgTqOb
— prog (@lambdaprog) July 12, 2026