Reverse Engineering Weather Station RF Signals with an RTL-SDR
Johannes Smit wanted to be able to view the live data from his SWR WH2303 weather station and send it to a database. Whilst the weather data acquisition software that he paid for worked well, he thought that there must be a cheaper and more fun way to grab the data. But unfortunately the manufacturers would not respond to his request for the RF protocol specifications. So Johannes decided to reverse engineer the protocol using his RTL-SDR instead.
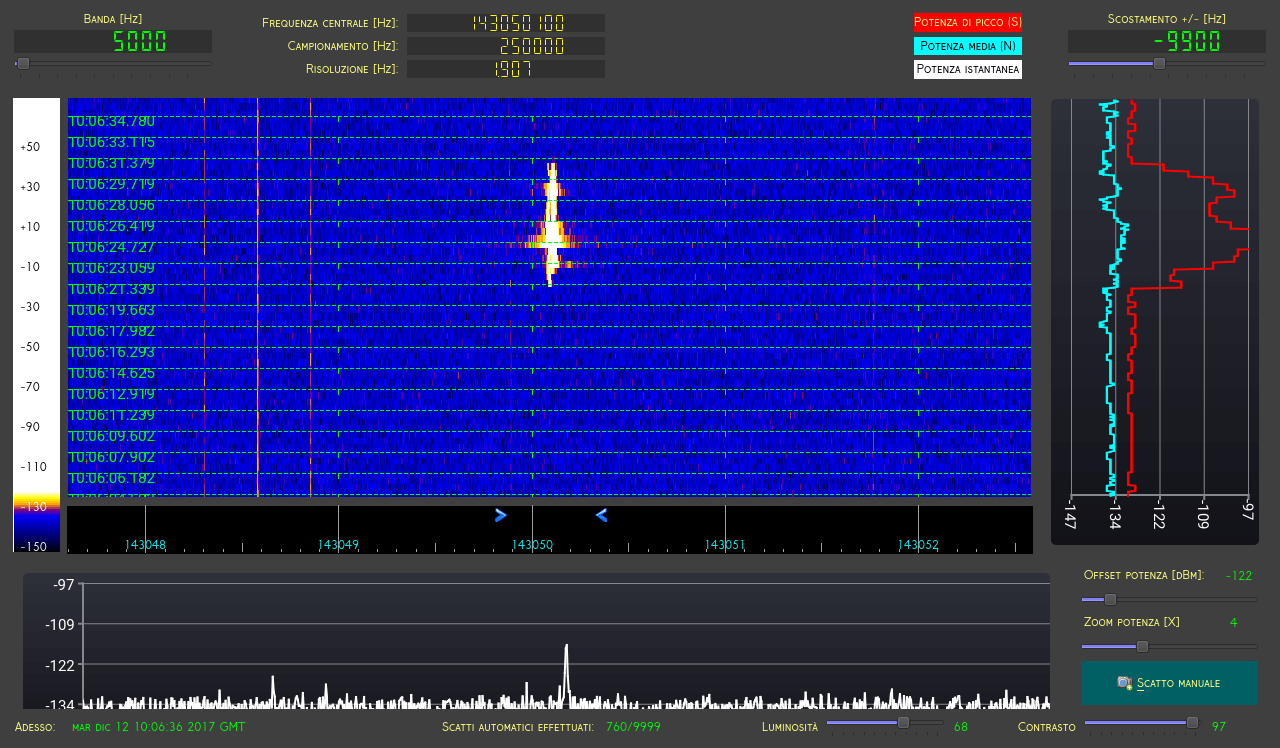
Johannes has submitted to us a document that very nicely details his every step taken when reverse engineering the weather station (Google docs document). He starts by confirming the signal frequency in GQRX, and then attempting to see is the rtl_433 could already recognise the signal. Whilst rtl_433 saw something, it was unable to decode the packet properly.
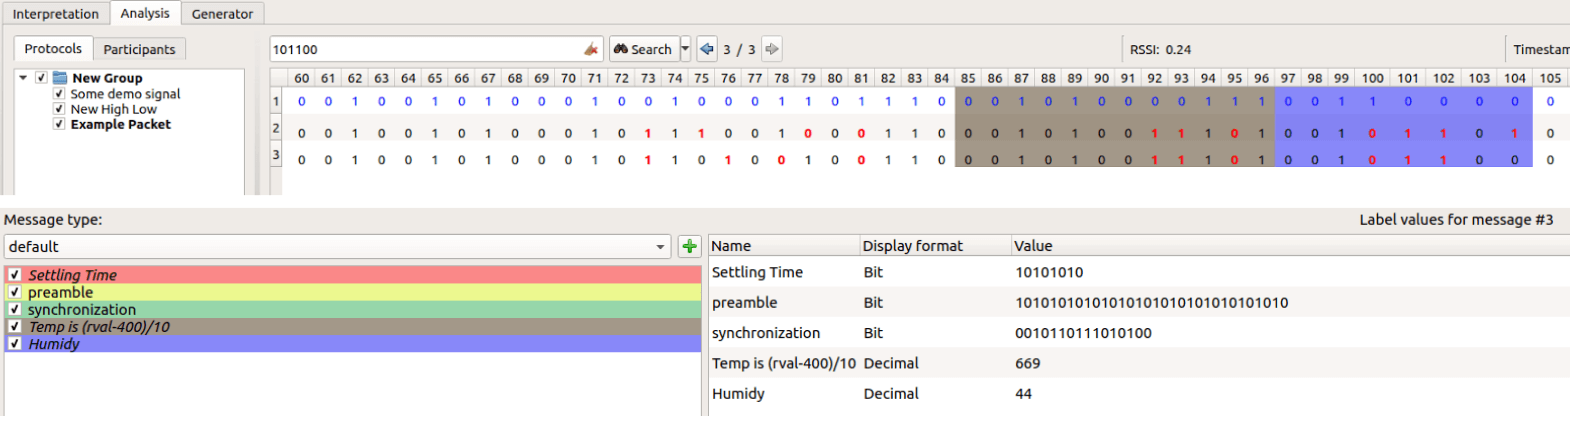
Next he fired up Universal Radio Hacker (URH) and captured a sample of the weather station signal. Using URH he was able to determine the modulation type (FSK) and the bit length parameter (150us). Johannes' next step was to open the weather station, find the RF chip, look up the RF chip information on the web and find the spec sheet. From the spec sheet and internet forum searches he was able to determine the properties of the packet including the sync word and preamble. With this data he was able to determine the packet structure.
Finally he captured a packet and recorded the exact data shown on the weather station at the time of the packet. With this he was able to search the binary data string for the data shown on the weather station, indicating the location of a particular piece of data within the string.
Johannes' tutorial shows just how powerful tools like Universal Radio Hacker can be, and his tutorial is an excellent start for those looking at reverse engineering any of their own local RF protocols.