The SDRplay team have been hard at work during the last few weeks. First they announced beta support for Android via SDRtouch, then they announced an improved ADS-B decoder, and finally they have just announced their acquisition of Studio1.
The SDRplay is a 12-bit software defined radio with tuning range between 100kHz – 2 GHz. Many consider it along with the Airspy to be the next stage up from an RTL-SDR dongle.
Android Support
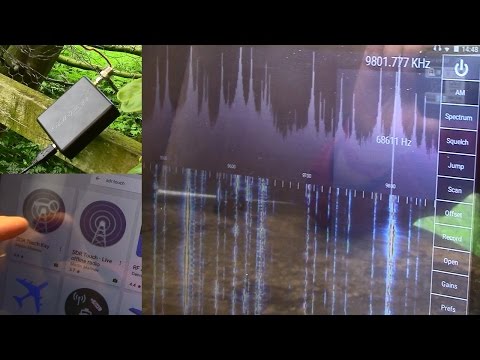
The author of SDRTouch on Android recently announced support for the SDRplay. SDRTouch is a Android program similar in operation to PC based software like SDR#. To access the beta you can sign up at this link. Currently there is support for up to 2 MHz of bandwidth.
Improved ADS-B Decoder
Back in March the SDRplay team released ADS-B decoder software for their SDR with the promise of improving its performance in the near future.
Recently the SDRplay team released an updated version of their ADS-B decoder for the Raspberry Pi which now fully utilizes the full 12-bits of the ADC and takes advantage of the full 8 MHz bandwidth. Jon, the head of marketing at SDRplay writes the following:
We now have an updated beta version of ADS-B for both the Raspberry Pi 2 and 3. This is based upon the 16bit Mutability version of dump1090 developed by Oliver Jowett and unlocks the full 12 bit performance of the RSP1. People should see a significant performance improvement over the dump1090_sdrplus version, which was based upon 8 bit code. The latest beta version can be downloaded in binary form from http://www.sdrplay.com/rpi_adsb.html . Should anyone have questions or feedback, please contact [email protected]
We plan to eventually compare the SDRplay with the Airspy and RTL-SDR on ADS-B performance. If you are interested we previously did a review of the SDRplay, Airspy and HackRF here, but as the SDRplay did not have ADS-B back then, that particular test was not done.
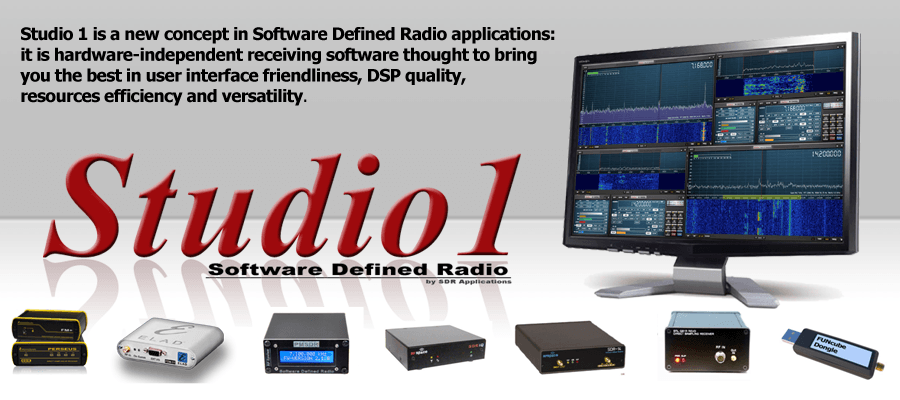
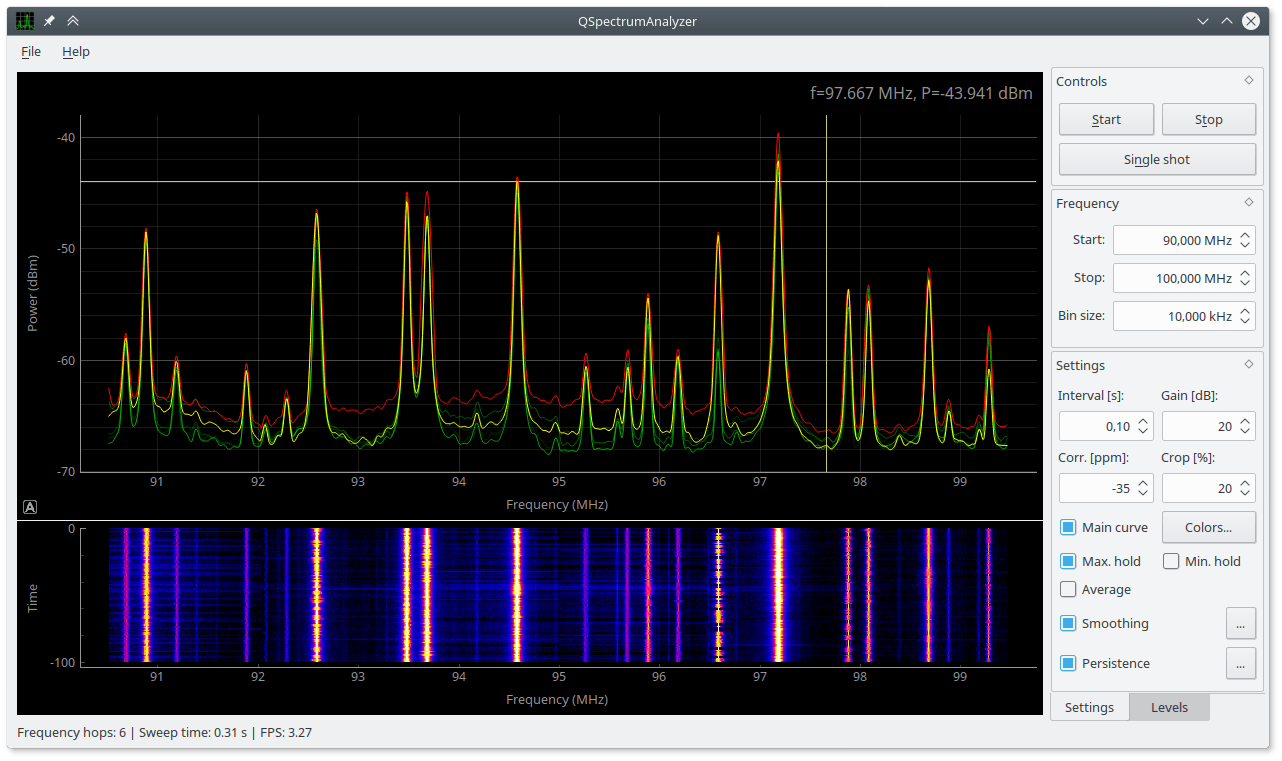
Acquisition of Studio1 SDR Software
The last major piece of news is that SDRplay have now acquired the Studio1 SDR software. Studio1 is a paid SDR program, similar in nature to SDR#/HDSDR/SDR-Console. Like HDSDR, Studio1 is a spinoff from the old WinRad software. Their press release reads:
SDRplay Limited has today announced that it has reached an agreement with Sandro Sfregola, (formerly CEO of SDR Applications S.a.s.) to acquire all Rights, Title and Interest in Studio 1 a leading software package for Software Defined Radio applications.
Jon Hudson, SDRplay Marketing Director said: “We are delighted to have reached this agreement with Sandro to acquire Studio 1. Studio 1 is the perfect complement to our SDR hardware products and gives us the ideal platform to deliver a complete class leading SDR solution for our customers. We look forward to working with Sandro and further developing Studio 1 to unlock the full capability of our current and future products”.
Hudson added: “Studio1 has established a strong customer base with users of many other SDR hardware products. Studio 1 will continue to be available as a stand-alone product from WoodBoxRadio http://www.woodboxradio.com/studio1.html for the foreseeable future , but we also look forward to further developing Studio 1 to specifically benefit present and future owners of our products”
Sandro Sfregola added: “I am very pleased to have reached this agreement with SDRplay. The long term future for SDR lies in complete end to end solutions and I feel the SDRplay RSP combined with Studio 1 software gives users an outstanding combination of performance and affordability”.
About Studio 1:
Studio1 was developed in Italy by SDR Applications S.a.s. and has hundreds of happy customers around the world.Studio 1 is known for its user friendly stylish GUI, CPU efficiency and advanced DSP capabilities, including features notavailable on other SDR software packages.
www.sdrapplications.it
About SDRplay:
SDRplay limited is a UK company and consists of a small group of engineers with strong connections to the UK Wireless semiconductor industry. SDRplay announced its first product, the RSP1 in August 2014
www.sdrplay.com
We believe that this is a good move for SDRplay, as one of the major issues with the RSP SDR was the lack of decently supported software.