Category: HF

DIY Software Defined Ham Transceiver With eBay Parts

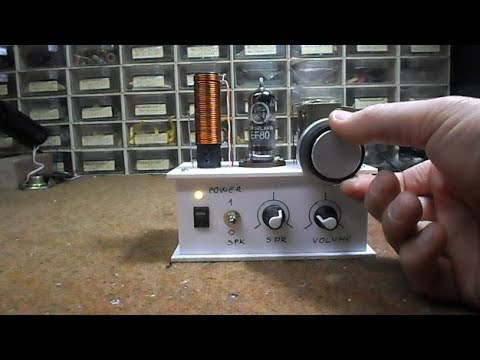
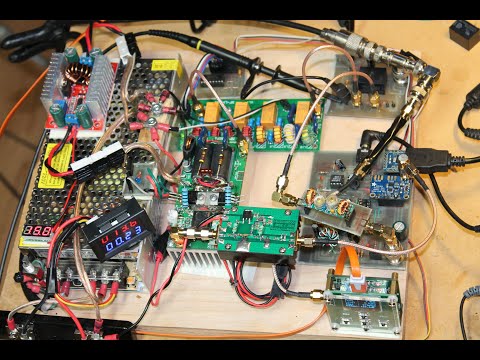
YouTuber jmhrvy1947, has recently uploaded a number of videos giving an overview of how he built his own HF SDR transceiver using what he calls the “Lego build method”. The idea of the Lego build method was to build a transceiver with parts picked and pulled from eBay so that it could be easily reproduced by others. There are a few scratch made components however those designs are available on his GitHub page. The SDR only functions within about 100 kHz of spectrum at a time however for amateur radio HF work this is more than sufficient. Bare bones the radio puts out a mere 100 mW and although the output power is small, he’s made contacts up to 450 miles away using CW (Morse code). You also have the option of adding an amplifier on  your output if you are looking for more power than that. His final revision currently puts out 100 Watts.

Using modified versions of fldigi and Quisk he is able to easily work various digital modes and sync the transmitter and receiver together. The only real down side to this radio is that you must switch out your receive and transmit filters whenever you wish to operate on different bands, a process that really only takes a moment or two.

Check out his videos on the project – it’s really amazing to see what can be done with a small budget these days in radio and with how far software defined concepts have brought us.

DIY SDR CW Xcvr Project

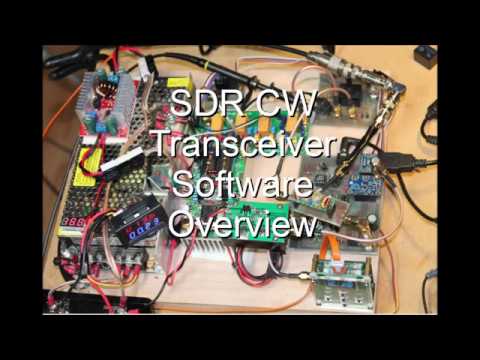
In the video below you’ll see an explanation of the software involved in this build.

DIY SDR CW Software


Reducing HF Electrical Noise by Using a Faraday Cage for Switch-Mode Power Supplies

Over on his blog, DXer OH2-2192 was frustrated by lots of local electrical noise showing up on the HF bands on his Airspy + Spyverter SDR receiver. He discovered that the majority of the noise he was seeing was coming from the switch mode power supplies that power the electronic devices used in his setup. Switch mode power supplies are very common in the modern world, with almost every electronic device using one to efficiently convert wall AC into DC power. However, they convert power by rapidly switching on and off, and these on/off square wave pulses cause a lot of RF noise especially on the HF spectrum.

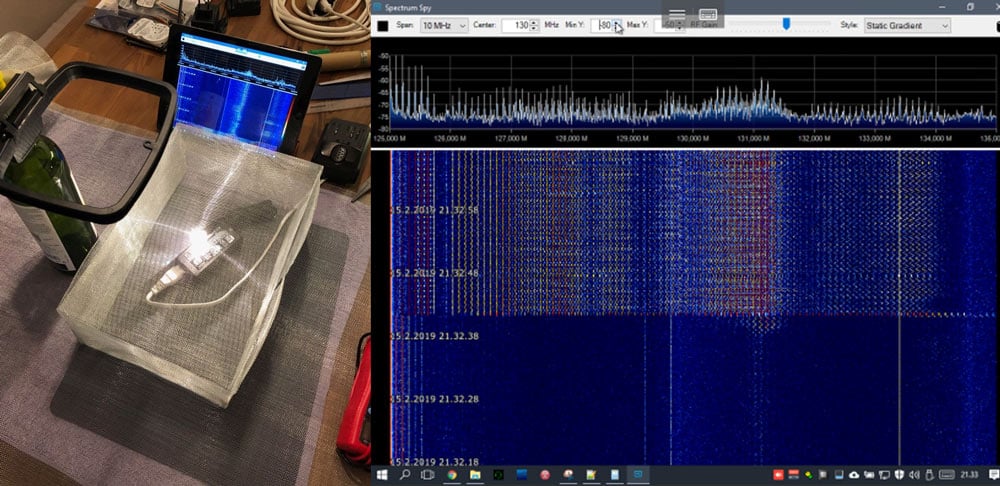
Instead of changing to noise free linear regulators which are expensive, very heavy and big, OH2-2192 decided that he'd try creating a Faraday cage shield out of metal mesh to enclose all his switch-mode power supplies. Using a simple AM loop antenna and Airspy's Spectrum Spy software he measured the amount of noise produced by a switch-mode supply placed inside and outside of the cage. The results he saw were very promising with the shielded supply eliminating the noise almost entirely.

Faraday Cage Shield for Switch Mode Power Supplies
Faraday Cage Shield for Switch Mode Power Supplies (Right image shows the results of a switching supply placed outside and inside the Faraday cage)

RedPitaya Announces Pre-order for STEMLab HF SDR Transceiver

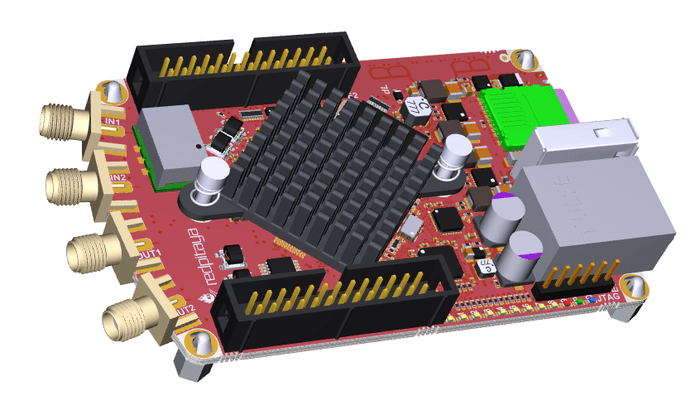
RedPitaya has just announced their next SDR platform, the STEMlab 122.88-16 which is a software defined radio intended to be used as an HF transceiver on the amateur radio bands.

The SDR is advertised to cover HF + 6m (50MHz) and includes two 16 bit 50 ohm input ADCs and two 14 bit outputs. Based on the Xililinx Zynq 7020 FPGA running an ARM cortex A9 processor it’s plenty powerful to handle the various modes frequently seen in the amateur bands and then some while supporting an impressive 122.88 MS/s sample rate.

The RedPitaya – 3D Rendering

This hardware is also fully compatible with the HPSDR software platform which is an open source project for amateur radio SDR operation.

While this radio is built with amateur operation in mind, it is still a very capable platform that could be used for experimentation albeit with a more restricted frequency range that what you may be used to with traditional software defined radios.

The radio retails for $499 euros and will be available for pre-order from RedPitaya until March 31st of 2019.

Using an Airspy HF+ with SDR# and WSJT-X to Decode FT8 + SpyServer FT8 Decoding Demo

Over on YouTube user TheGazLab has uploaded a video that reviews the Airspy HF+, and also shows how to use the HF+ with SDR# and WSJT-X in order to create a FT8 monitor. The Airspy HF+ is high dynamic range HF/VHF receiver designed for DXing.

In the video TheGazLab demonstrates to us the decoding in real time, and explains the CAT control SDR# plugin that he's using. The CAT control plugin when combined with a virtual serial port driver allows the WSJT-X program to automatically tune SDR# to the FT8 frequency selected in WSJT-X.

Later in the video he also discusses the SpyServer network which allows SDR# users to connect to remote public Airspy and RTL-SDR units over the internet. He demonstrates connecting to a public server in the UK, and decoding FT8 via the remote server. The video also shows the new SpyServer interface by  which nicely lays out the world SpyServer network on a map, making it easy to choose a desired location to listen to.

Airspy HFPlus, SDR# and WSJT-X with full CAT control decoding FT-8

Creating a Standalone WSPR Receiver with an RTL-SDR V3 and Raspberry Pi 3

Thank you to Zoltan for submitting his scripts for installing the rtlsdr-wsprd WSPR decoder onto a Raspberry Pi, and showing us how to configure it for an RTL-SDR V3 dongle running in direct sampling mode. This set up allows users to create an extremely low cost and permanent RX WSPR monitor.

WSPR is an amateur radio digital HF mode designed to be decodable even if the signal is transmitted with very low power and is very weak. It can be used to help determine HF radio propagation conditions as WSPR reception reports are typically automatically uploaded to wsprnet. Direct sampling mode on the RTL-SDR V3 allows you to receive HF signals without the need for an upconverter. For best results it is recommended to use a simple bandpass filter for the band of interest.

Zoltan's tutorial comes with a companion YouTube video where he demonstrates his set up. He uses a random wire antenna on his roof directly connected to an RTL-SDR V3, which is connected to a Raspberry Pi 3.  The Pi 3 communicates to his home network via an Ethernet cable.

Making a standalone WSPR receiver with RPi and RTL-SDR V3 using rtlsdr-wsprd

A Tutorial on Receiving HF SSTV with a Raspberry Pi and RTL-SDR V3

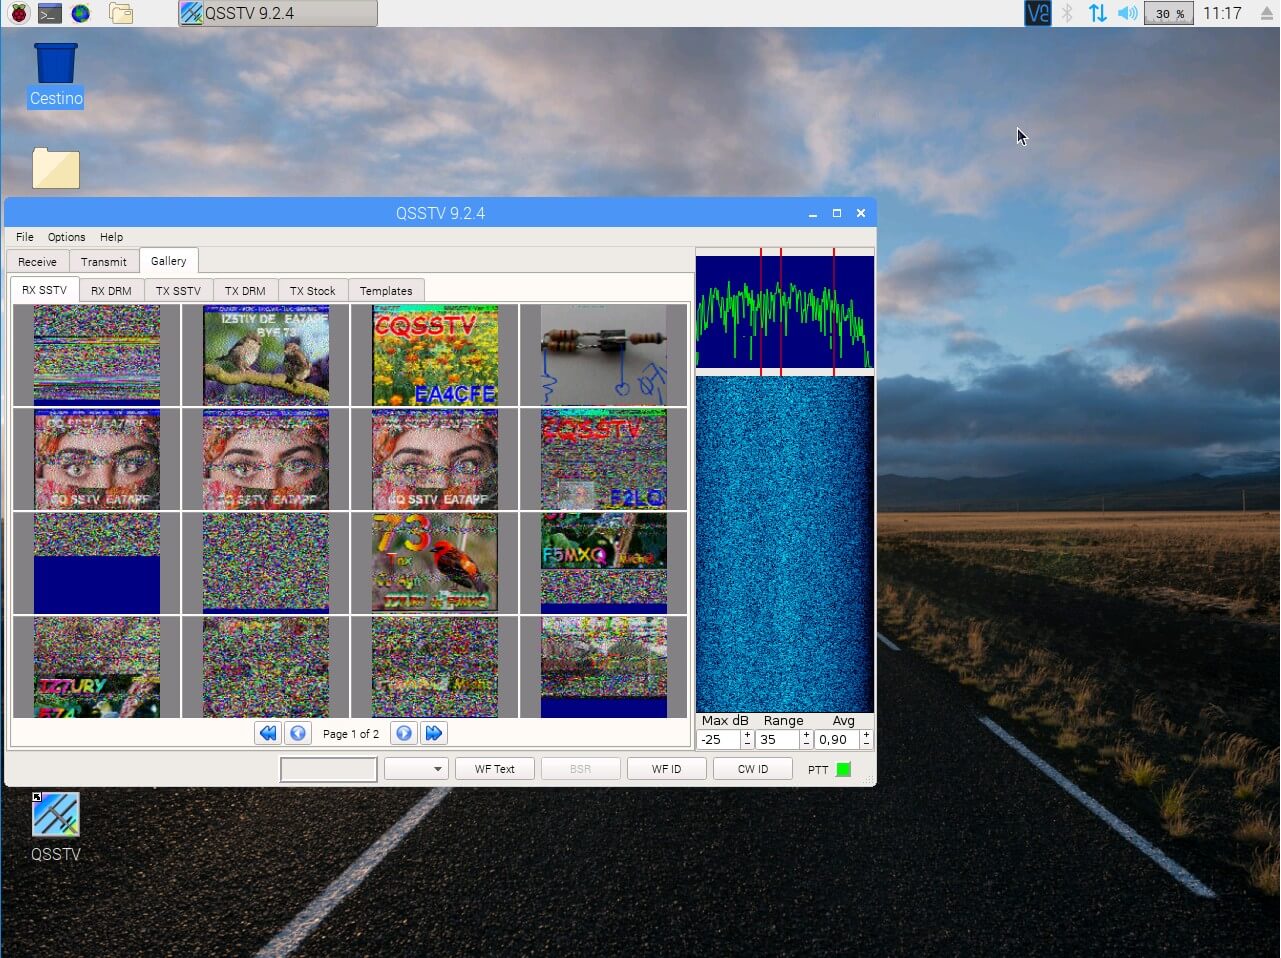
Thank you to Giuseppe (IT9YBG) who has written in to share his tutorial about setting up a direct sampling RTL-SDR V3 based SSTV receiver on a Raspberry Pi. He writes that he uses the receiver to continuously receive images at 14.230 MHz, but with a frequency tweak in the command line code the system could also be used to receive the VHF SSTV images sent by the ISS.

In the tutorial he uses the free QSSTV software for decoding. An RTL-SDR together with the CSDR DSP software is used to set up a command line based receiver, which pipes the SSTV audio into a virtual audio sink, and then into QSSTV. The receiver setup procedure is similar to the method used in our RTL-SDR V3 QRP monitoring station tutorial, and is a very nice way of setting up an efficient command line based RTL-SDR audio output.

QSSTV Running on a Raspberry Pi with RTL-SDR V3 Radio

RadioForEveryone: RTL-SDR Max USB Cable Length, Dongles Image Gallery, Ham-it-up Plus Review

Recently Akos has uploaded three new posts on his RadioForEveryone blog. The first post is a review of the "Ham-It-Up Plus", which is a US$65 upconverter that allows you to listen to HF on RTL-SDR dongles without direct sampling. Compared to the non-plus Ham-It-Up, the plus version includes a TCXO and the noise source circuit is populated. In his post Akos reviews the history of the Ham It Up generations and discusses the connectors and power options. He also reviews the performance and finds that the Plus seems to have better SNR.

In the second post Akos has uploaded his collection of various images of different RTL-SDR dongle brands. The images include circuit board photos so you can easily compare the differences in design between brands.

Finally the third post is an experiment to determine the maximum USB cable length that can be used with RTL-SDRs. His results show that the maximum is 9 meters which is actually more than the USB2.0 spec which states 5m as the maximum. We note that longer than 9m cable runs can also be achieved by using active repeater USB cables or USB hubs.

Testing RTL-SDR max coax length

Connecting an RTL-SDR Panadapter to a uBITX Transceiver

The uBITX is a US$129 HF SSB/CW QRP transceiver kit that works from 3 MHz to 30 MHz with up to 10W TX power. It's a fully analogue radio, but it can be combined with an RTL-SDR to create a panadapter display thanks to a tutorial released by KD8CEC.

The method requires that you use the custom CEC firmware, or modify other firmware,  as this appears to change the output frequency at the tap point. The tap point is made accessible by soldering on an extra SMA connector for the RTL-SDR to connect to. The rest of the work is entirely performed in the uBITX software manager, Omni-Rig and SDR-Console V3.

uBITX with RTL-SDR Panadapter