DailyMail Article about the YARD Stick One

Back in May of this year the DailyMail ran an article discussing how the HackRF by Great Scott Gadgets could be used to break into cars. The DailyMail is a British tabloid magazine well known for its low credibility and alarmist articles. This week they ran a new article about Great Scott Gadgets other product, the Yard Stick One. In the article they discuss how the £109 Yard Stick One tool can be used to disable wireless burglar alarms. The YARD Stick One is not an SDR, but rather a computer controlled radio which can be used to transmit and receive wireless digital signals below 1 GHz. It is useful for wireless security research and reverse engineering digital signals in a way that is a bit easier than with using an SDR like the HackRF.

In the experiment performed in the article they use the YARD Stick one to jam a wireless home alarm for a few seconds allowing entry to the property without setting off the alarm. All in all the article is a good advert for the YARD Stick One, and does do a decent job at drawing attention to the lack of security provided by many wireless security devices.

DailyMail shows how a YS1 can be used to jam a wireless burglar alarm.

Installing OpenWRT and RTL-SDR on a Used $20 Router

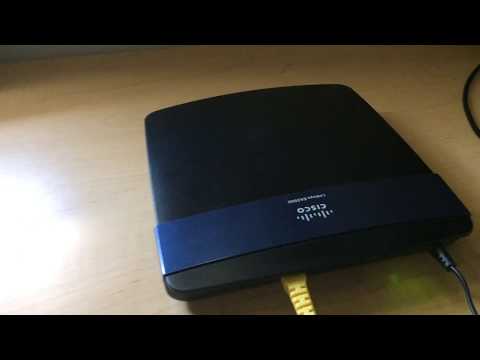
Over on his YouTube channel GusGorman402 has uploaded a video tutorial showing how to take an old internet router and install OpenWRT and the RTL-SDR drivers on it. OpenWRT is a third party Linux based router firmware which can greatly expand the usefulness of a standard router. As it is Linux based it is possible to install the RTL-SDR Linux drivers on the router and use the router as a cheap RTL-SDR streaming or decoding platform.

Gus’s tutorial takes us from the beginning where he first shows how to install OpenWRT firmware over the stock firmware on the router and how to configure the settings. He then shows how to install the RTL-SDR drivers and run software like rtl_tcp and dump1090 with opkg and luci. 

Installing OpenWrt and RTL-SDR libs on used router

New Nano 3 RTL-SDR Available from NooElec

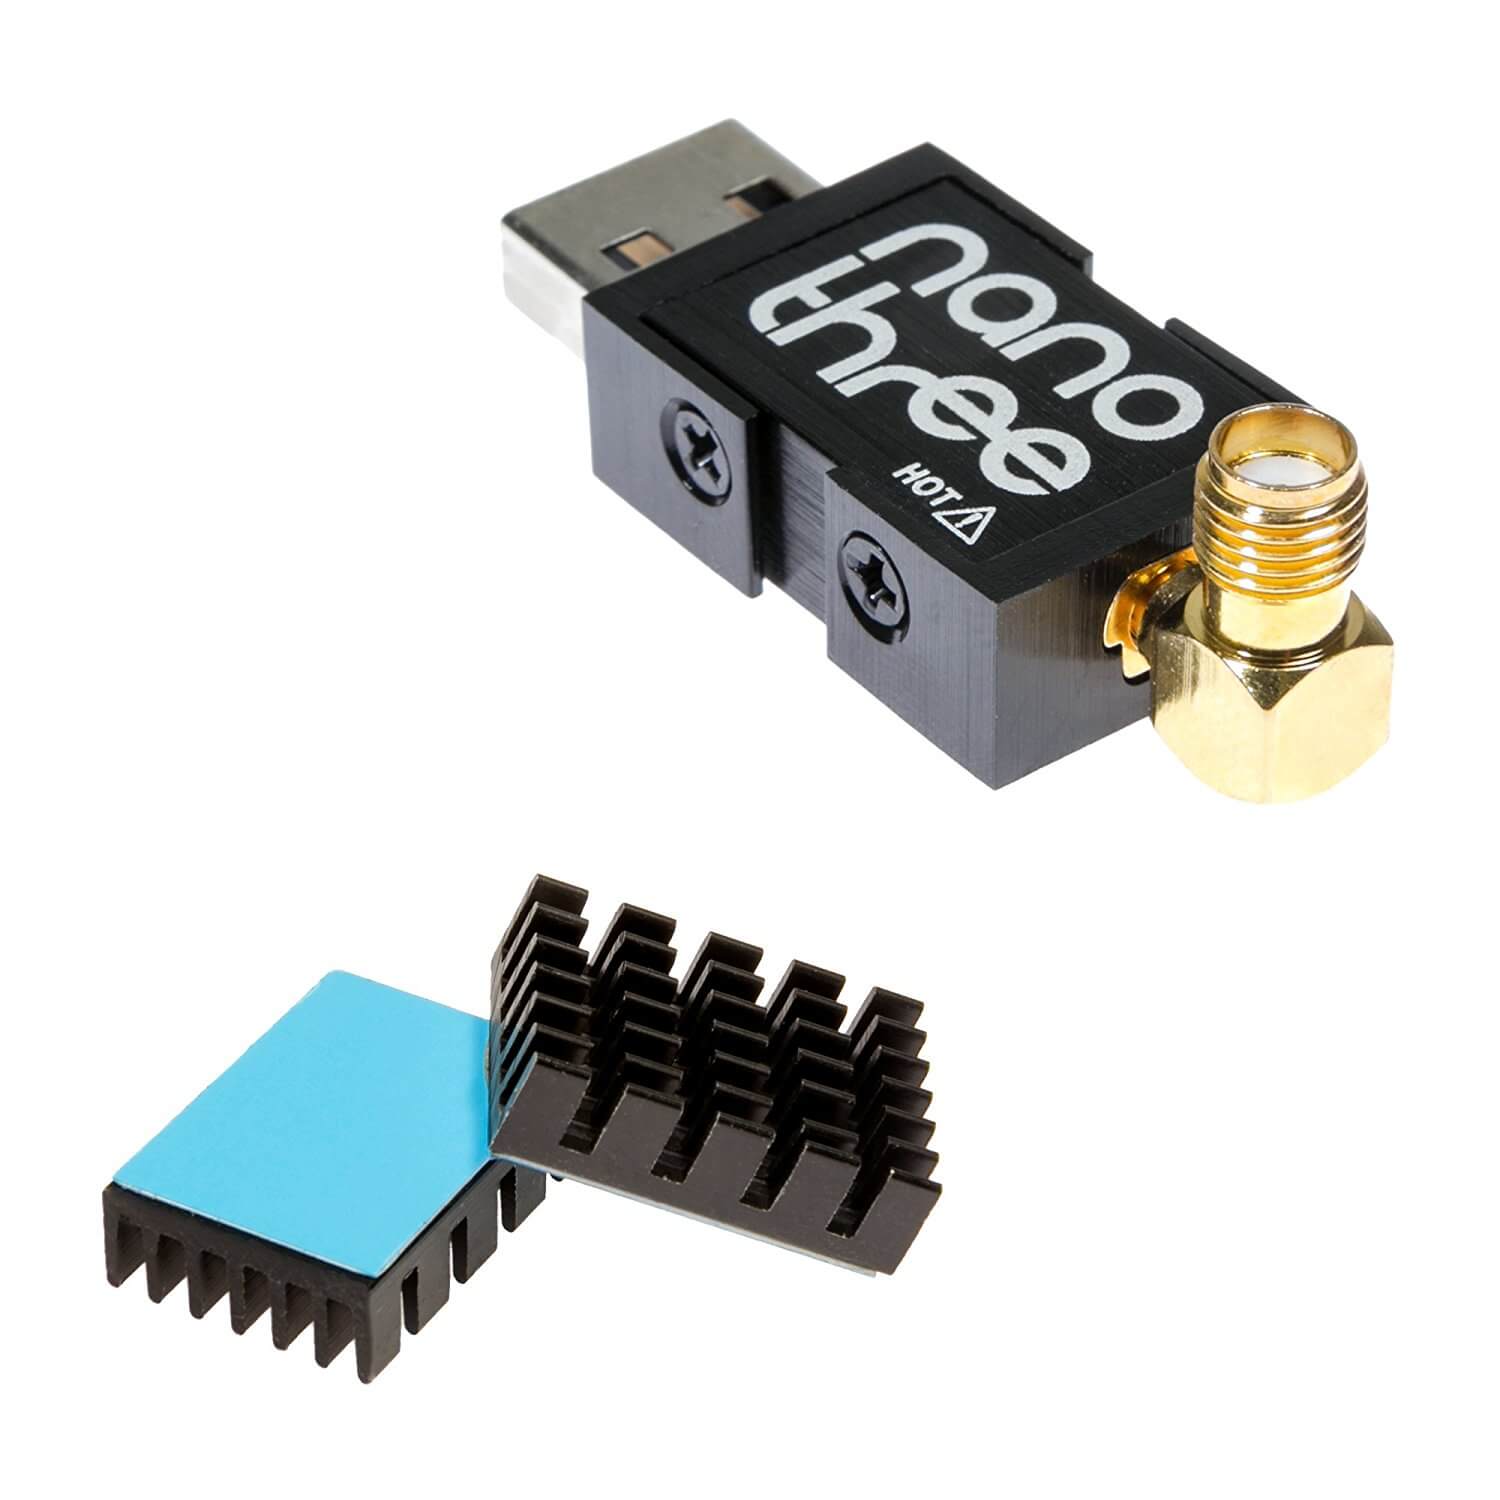
NooElec have just released their new NESDR Nano 3 RTL-SDR dongle for $27.95 USD. This is a new iteration in their line of ‘nano’ sized dongles, which are very small and suitable for use on small devices like Raspberry Pi’s and mobile phones. These nano form factor RTL-SDR dongles are also commonly used with the Stratux project which aims to bring lost cost ADS-B and UAT capabilities to small airplane pilots.

The Nano 3 appears to have a standard nano sized RTL-SDR PCB with TCXO inside, but comes with a new fully enclosed metal case with internal thermal coupling pads for cooling. A small external heatsink is also provided for optional use with the dongle. The dongle also uses a standard MCX connector, but the kit comes with an MCX to SMA F adapter. We’re not sure if the cooling from the small metal case will be enough to solve the L-band PLL lock problem, but perhaps when combined with the modified L-band driver tweak it might be enough. Failing that the external heatsink combined with slight airflow from a fan should be enough.

The NESDR Nano 3 small form factor RTL-SDR

The previous model called the Nano 2, was also redesigned from the generic nano models for better cooling and to be able to use a TCXO. However, some tests by Chris of the Stratux project seem to show that the Nano 2 is quite a bit noisier than the cheaper generic nano dongles, and actually runs about 40 degrees F hotter. Noise is a problem with these small dongles as the noisy digital and switch mode sections are much closer to the RF sensitive parts. Heat is also an issue due to the lack of PCB space for heat dissipation. Hopefully the Nano 3 resolves these issues with the metal case and improved cooling.

There are now several generations and models of these ‘nano’ RTL-SDRs available. All briefly described below:

  1. Generic Nano Dongles:
    1. $16.99 USD + shipping costs.
    2. First nano dongles designed originally for DVB-T TV use. Difficult to find now, no longer seems to be sold apart from one US seller on eBay.
    3. Still a good choice, but the lack of TCXO limits the usefulness for many applications.
  2. NooElec Nano 2:
    1.  $21.95 USD without TCXO, $23.95 with TCXO.
    2. Slight redesign of the generic dongles for better cooling and TCXO. Although cooling and noise benefits are debated.
    3. Good choice if you like the Nano form factor and want a dongle with accurate TCXO clock.
  3. Stratux Dongle (with ADS-B/UAT Antennas):
    1. Two dongles for $40 USD with antennas, or two for $35 USD without antennas. We also wholesaled a few from them and sell them on our store for intl. buyers @ 16.95 USD each incl. shipping.
    2. Redesigned for low power usage and less noise. Uses a switch mode power supply for less power wastage, but designed to be unaffected by any additional switch mode noise. Runs about 60 degrees F cooler than the Nano 2 and 16F cooler than the generic. Does not have an enclosure so is a bit more fragile. Also does not have a TCXO.
    3. Good choice for Stratux or similar projects might struggle with the power requirements of multiple dongles on a Pi3. Doesn’t have a TCXO so mainly useful for frequency insensitive applications like ADS-B.
  4. NooElec Nano 3:
    1. $27.95 USD
    2. Redesigned enclosure with thermal pad coupling and heatsinks. Comes with TCXO.
    3. Untested by us, but we think it’s probably better than the Nano 2. So a good choice if you like the Nano form factor and want a TCXO dongle.

New Airspy HF+ Pics and Sensitivity Test

The Airspy HF+ is an upcoming product from the Airspy team that is intended to be a high performance HF/VHF receiver at a low price. Its frequency range will be DC to 31 MHz, and 60 to 260 MHz and the bandwidth will be about 660 kHz. So why choose the HF+ over the Airspy R2, Mini or SDRplay which all have larger frequency ranges and bandwidths? It seems the focus of the HF+ is to be an extremely high dynamic range receiver. This means that strong signals should almost never overload the receiver making it very good for DXing weak signals (listening to weak signals from very far away). On other receivers once you turn the gain up strong signals can block reception of the weaker ones.

Recently we saw the release of some of the first 3D renderings of the product. Now finally we have a photo of the actual PCB which is shown below. The RF sensitive innards are hidden away within a shielding can, but we know from the product page that inside are the switches, filters, tuner, ADC and 18-bit DDC.

The Airspy HF+ PCB
The Airspy HF+ PCB

Also, over on Twitter, @lambdaprog, lead creator of SDR# and of the Airspy HF+ has uploaded some sensitivity tests. It seems that sensitivity will be at least -136 dBM at 20 meters, as a -136 dBm signal still comes in with 21 dB of SNR. Similar sensitivity results are obtained on the FM Band.


The Airspy team have sent us a sample unit from an early manufacturing test and we hope to have a full review available a few weeks after we receive it.

Installing and Using SDRTrunk on Linux for Live Trunk Tracking with an RTL-SDR

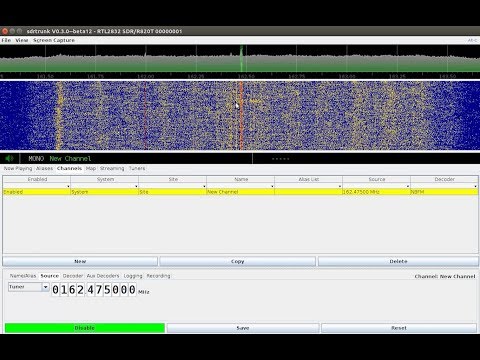
SDRTrunk is a cross platform Java based piece of software that can be used for following trunked radio conversations. In addition to trunk tracking it also has a built in P25 Phase 1 decoder. Compared to Unitrunker SDRTrunk is an all-in-one package, and currently it supports most trunking system control channels, but unlike Unitrunker it still misses out on some systems EDACS and DMR.

Over on his YouTube channel AVT Marketing has uploaded an excellent 6-part video series that shows how to install SDRTrunk and the Java runtime environment on Ubuntu Linux. The sections covered include, installing Java, setting the Java environment variables, installing other SDRTrunk prerequisites such as Apache Ant and the JMBE audio codec for decoding P25, and finally actually using and setting up SDRTrunk. Like all of AVT’s other videos, this is an excellent tutorial that takes you through the entire process from the very beginning so is useful for beginners as well.

Installing SDRTrunk & Java JRE on Ubuntu Linux

If you’re new to trunking: Trunking systems are typically used with handheld radio systems (e.g. those that police, security guards, workmen etc carry around). The basic idea is that each radio constantly listens to a digital control channel which tells it what frequency to switch to if a call is being made. This allows the frequency spectrum to be shared, instead of designating one fixed frequency per user which would be very inefficient. But this system makes it difficult for scanner radios to listen in to, because the voice frequency could change at any time. Therefore software like Unitrunker and SDRTrunk which can decode the control channel is required. In addition many new systems use digital audio like P25 or DMR which requires digital decoders like SDRTrunk or DSDPlus.

Creating an Encrypted ADS-B Plane Spotter with a Raspberry Pi, RTL-SDR and SSL

These days it’s quite easy to share your ADS-B reception on the internet with giant worldwide aggregation sites like flightaware.com and flightradar24.com. These sites aggregate received ADS-B plane location data received by RTL-SDR users from all around the world and display it all together on a web based map.

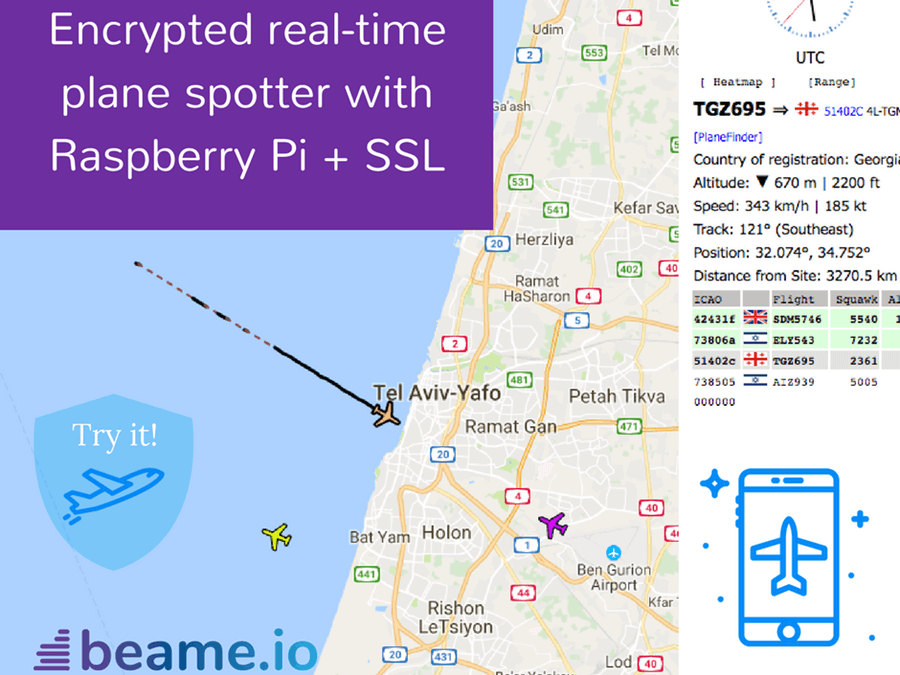
However, what if you don’t want to share your data on these sites but still want to share it over the internet with friends or others without directly revealing your IP address? Some of the team at beame.io have uploaded a post that shows how to use their beame.io service to securely share your ADS-B reception over the internet. Beame.io appears to be a service that can be used to expose local network applications to the internet via secure HTTPS tunneling. Essentially this can allow someone to connect to a service on your PC (e.g. ADS-B mapping), without you revealing your public IP address and therefore exposing your PC to hacking.

On their post they show how to set up the RTL-SDR compatible dump1090 ADS-B decoder on a Raspberry Pi, and then connect it to their beame-instal-ssl service.

Encrypted ADS-B Sharing with the beame.io service.

Detecting Car Keyfob Jamming With a Raspberry Pi and RTL-SDR

It’s been known for a while now that it is possible to break into cars using simple wireless attacks that involve jamming of the car keyfob frequency. Sammy Kamkars “rolljam” is one such example that can be built with a cheap Arduino and RF transceiver chip. One way to secure yourself against wireless attacks like this is to run a jammer detector.

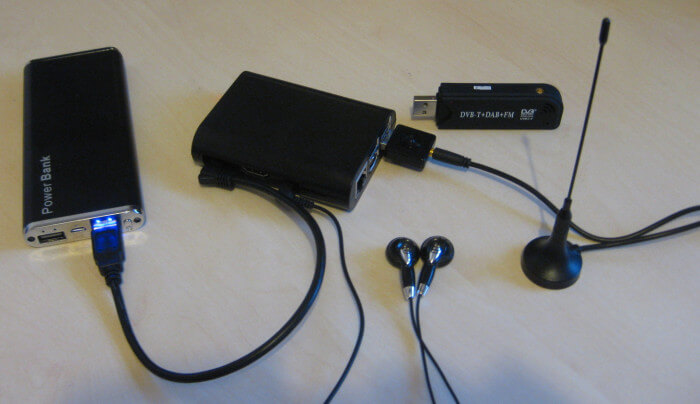
A jammer detector is quite simple in theory – just continuously measure the signal strength at the car keyfob frequency and notify the user if a strong continuous signal is detected. Over on his blog author mikeh69 has posted about his work in creating a wireless jammer detector out of a Raspberry Pi and RTL-SDR dongle. He uses a Python script and some C code that he developed to create a tool that displays the signal strength on an onscreen bar graph and also conveys signal strength information via audio tones. He writes that with a pair of earphones and battery pack you can use the system while walking around searching for the source of a jammer.

Mikeh69’s post goes into further detail about installing the software and required dependencies. He also writes that in the future he wants to experiment with creating large area surveys by logging signal strength data against GPS locations to generate a heatmap. If you are interested in that idea, then it is similar to Tim Haven’s driveby noise detector system which also used RTL-SDR dongles, or the heatmap feature in RTLSDR Scanner.

[Also seen on Hackaday]

RTL-SDR + Raspberry Pi Jammer Detector.

Receiving ADS-B Jetliner Traffic with a Simple Paper Clip

Over on YouTube user icholakov has uploaded a new video showing how easy it can be to build a cheap ADS-B antenna out of a simple paper clip and coax connector. Modern aircraft carry an ADS-B transceiver and antenna which broadcasts the current GPS location of the aircraft. This is used for collision avoidance and air traffic control, but anyone with a receiver like an RTL-SDR can also receive and decode these signals, and plot locally received air traffic on Google maps. We have a tutorial for decoding ADS-B signals available here.

In the video Thomas Cholakov (N1SPY) explains the concept behind the antenna design, which is a standard 1/4 wave ground plane cut to the correct dimensions for ADS-B at 1090 MHz. He cuts 5 pieces of the same length, with one piece used as the active whip element, and four pieces used in the ground plane element. The paper clip pieces are then soldered onto a coaxial connector and then the antenna is ready to be used.

2017: Paper Clip vs. Jetliner Traffic