Tech Minds: Testing Out A New Signals Intelligence Tool Called Intercept
Over on the Tech Minds YouTube channel, Matt has uploaded a video where he tests out 'Intercept', a new tool for RF signals intelligence with RTL-SDRs and other wireless devices. It is open source with code available on GitHub and can be installed on Linux and OSX devices.
Intercept is a tool that combines multiple external decoder tools into one easy-to-access web interface. It is capable of the following:
- Pager Decoding - POCSAG/FLEX via rtl_fm + multimon-ng
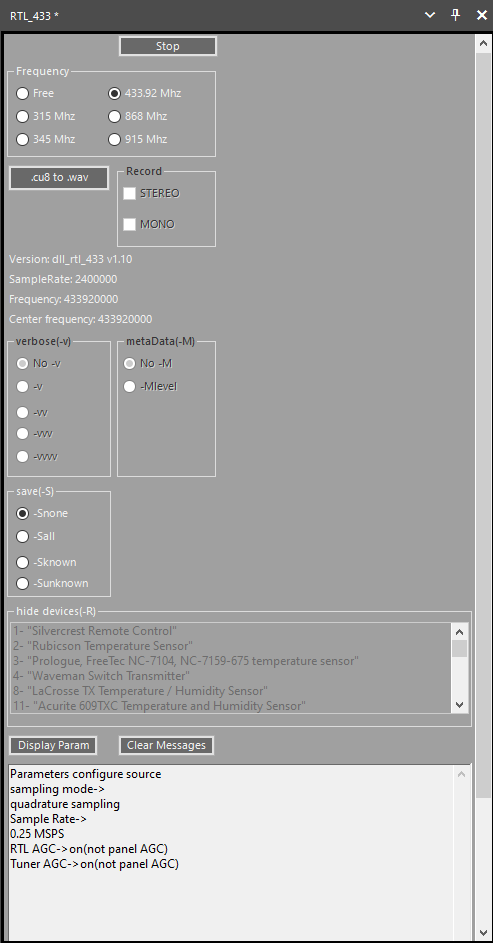
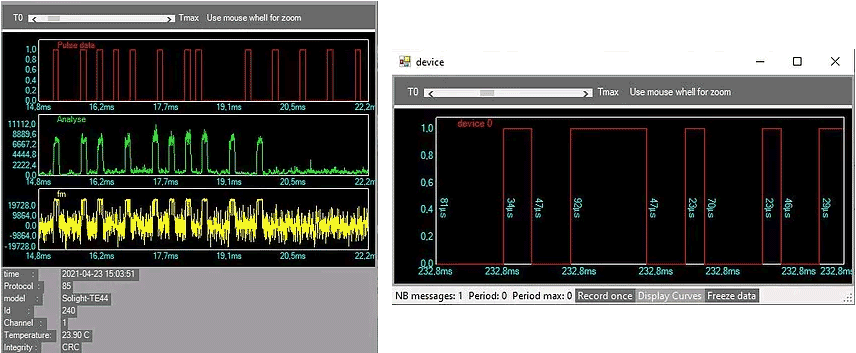
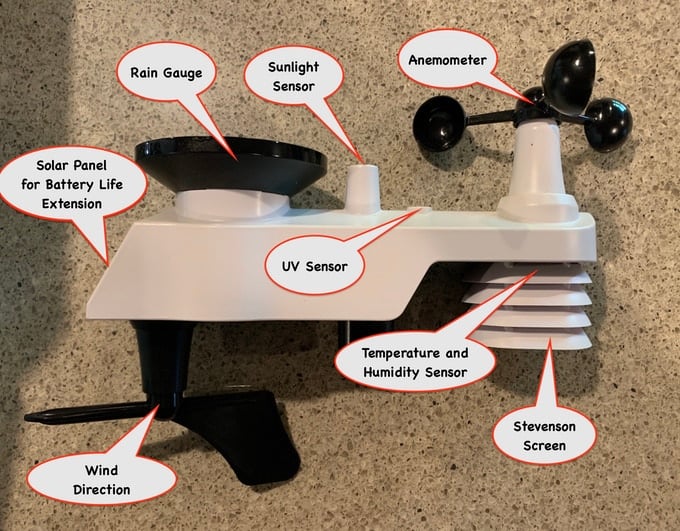
- 433MHz Sensors - Weather stations, TPMS, IoT devices via rtl_433
- Aircraft Tracking - ADS-B via dump1090 with real-time map and radar
- Listening Post - Frequency scanner with audio monitoring
- Satellite Tracking - Pass prediction using TLE data
- WiFi Scanning - Monitor mode reconnaissance via aircrack-ng
- Bluetooth Scanning - Device discovery and tracker detection
We note that features like WiFi and Bluetooth scanning will require a separate WiFi and Bluetooth adapter to be connected. In terms of supported SDR hardware, Intercept supports RTL-SDRs, as well as any SDR supported by SoapySDR.
In the video Matt shows how to install Intercept, and shows it decoding data from the various supported signal types.