Video Demonstrating C-Band AERO Aircraft Tracking
AERO is essentially the satellite based version of aircraft ACARS. AERO's L-band signals contains short ground to air messages with things like weather reports and flight plans. The C-band signals are the air to ground portion of AERO and more difficult to receive as they require an LNB and large dish. However they are much more interesting as they contain flight position data, like ADS-B.
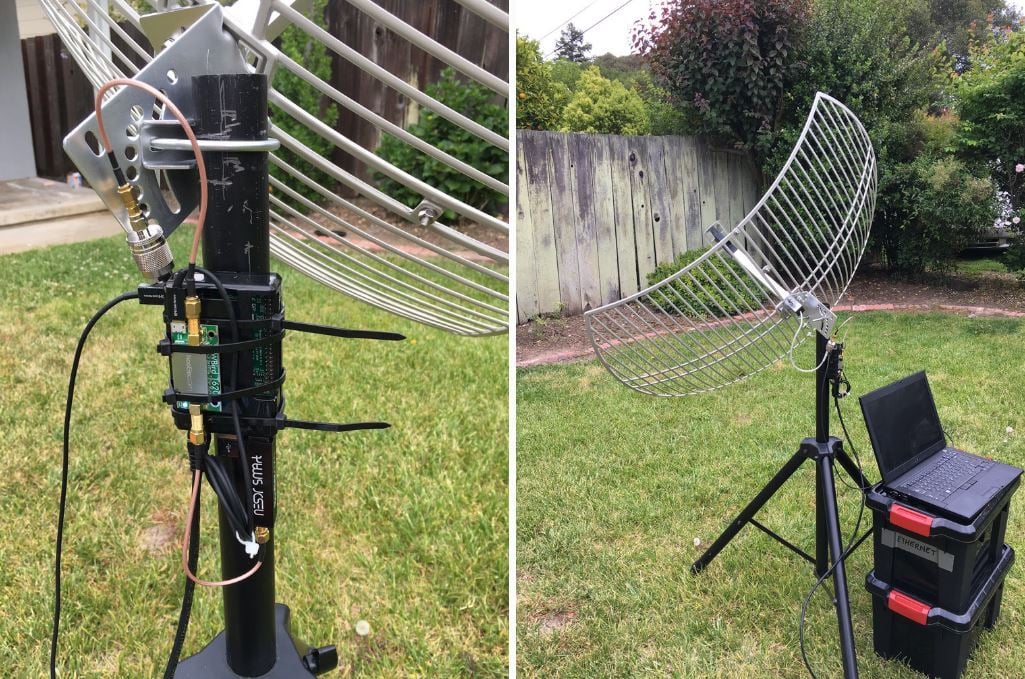
Over on YouTube Tomasz Haddad has uploaded a video of C-band AERO being received from the Inmarsat 3 F2 (Atlantic Ocean Region – East (AOR-E) 15W satellite. He uses a 1.80m motorized satellite dish with Kaonsat KS-N201G C-band LNB, a Prof 7301 PCI satellite card (to power the LNB) and an RTL-SDR V3. The C-band LNB translates the high C-band frequencies down to L-band which is receivable with an RTL-SDR. He notes that the LNB drifts quite a lot as it is not frequency stabilized.
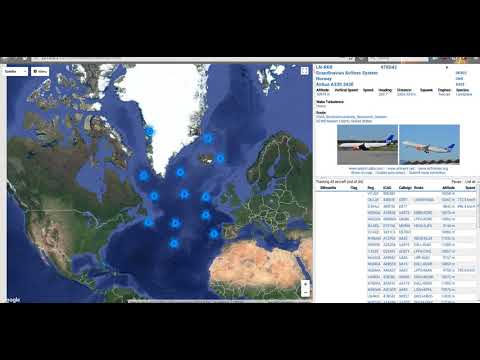
With the signals received by his setup he's able to use the JAERO decoding software together with Virtual Radar Server to plot aircraft positional data using Virtual Radar Server. The plotted aircraft are mostly all in the middle of the ocean or in remote areas, which is where C-band AERO is normally used due to the lack of ground ADS-B stations.