Over on his blog 'Radio for Everyone' author Akos has uploaded three new posts. The first shows how to cheaply weatherproof antenna connections by wrapping electrical/plumbing tape around the connection. He shows and example with the FlightAware ADS-B antenna.
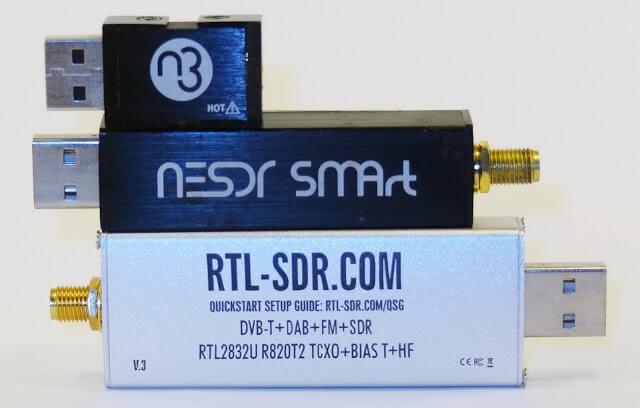
The second post is a review of the relatively new NooElec Nano 3, which is a small form factor RTL-SDR that comes with a TCXO and metal case. Akos shows how the form factor is good for using it with Mobile phones. Akos opens the unit up and shows us how the unit is sandwiched inside the metal case with two thermal pads for improved heat dissipation. Later in the review he also discusses the MCX connector, TCXO and heat.
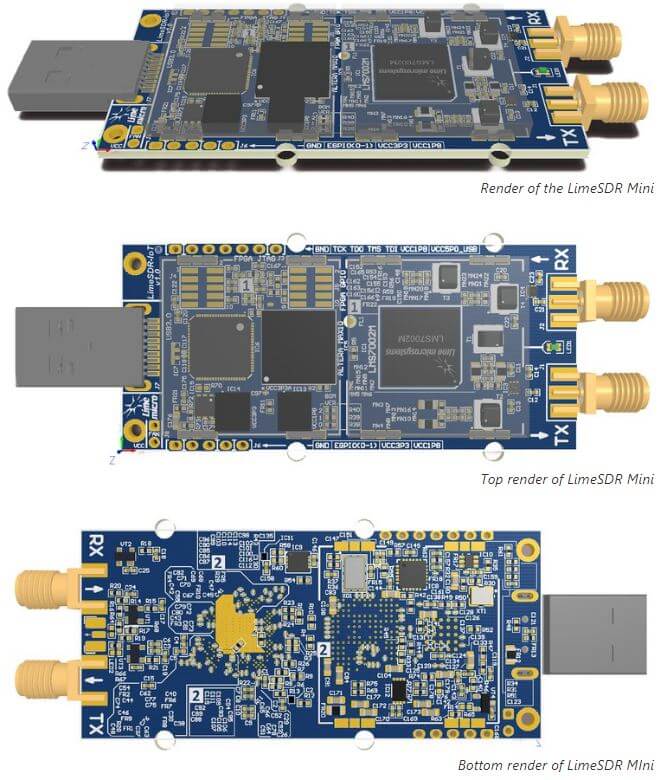
The LimeSDR Mini is a smaller and cheaper version of their LimeSDR which has slightly reduced specifications. The main changes are the slightly restricted frequency range of 10 MHz – 3.5 GHz, and half the maximum bandwidth at 30.72 MHz. The mini also only has 1×1 TX/RX channels.
Recently the LimeSDR was released for crowdfunding on crowdsupply.com and already has raised $165,000 of it’s $100,000 threshold with 12 days remaining. Currently you can back the project for $139 with shipping expected on Dec 31.
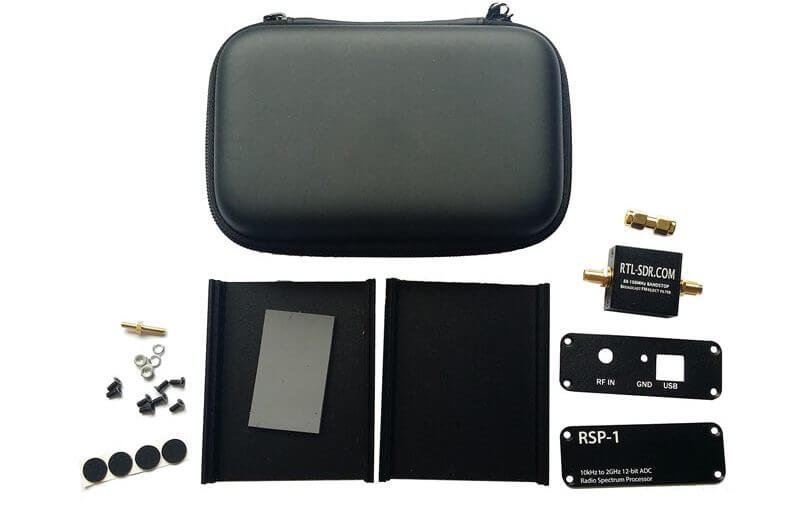
Recently we’ve reduced the price of our RSP1 Metal Enclosure upgrade kit from $39.95 down to $29.95 USD. You can purchase the kit from our store. The kit comes with:
1x Metal Enclosure
1x Carry case
1x BCFM Filter with SMA Male to Male Adapter
1x Accessory set including rubber feet, screws, grounding post.
On Amazon USA there are less than 16 units left, and shipped from China from our store there is less than 85. We won’t be restocking this item for a few months so please get in quick if you are interested.
Thanks to Wolfgang Kaufmann for submitting news about his new software called ‘Meteor Logger’. This tool can be used to count the number of meteors entering the atmosphere which have been detected by a meteor scatter setup using an RTL-SDR or similar SDR.
Wolfgang writes about his software:
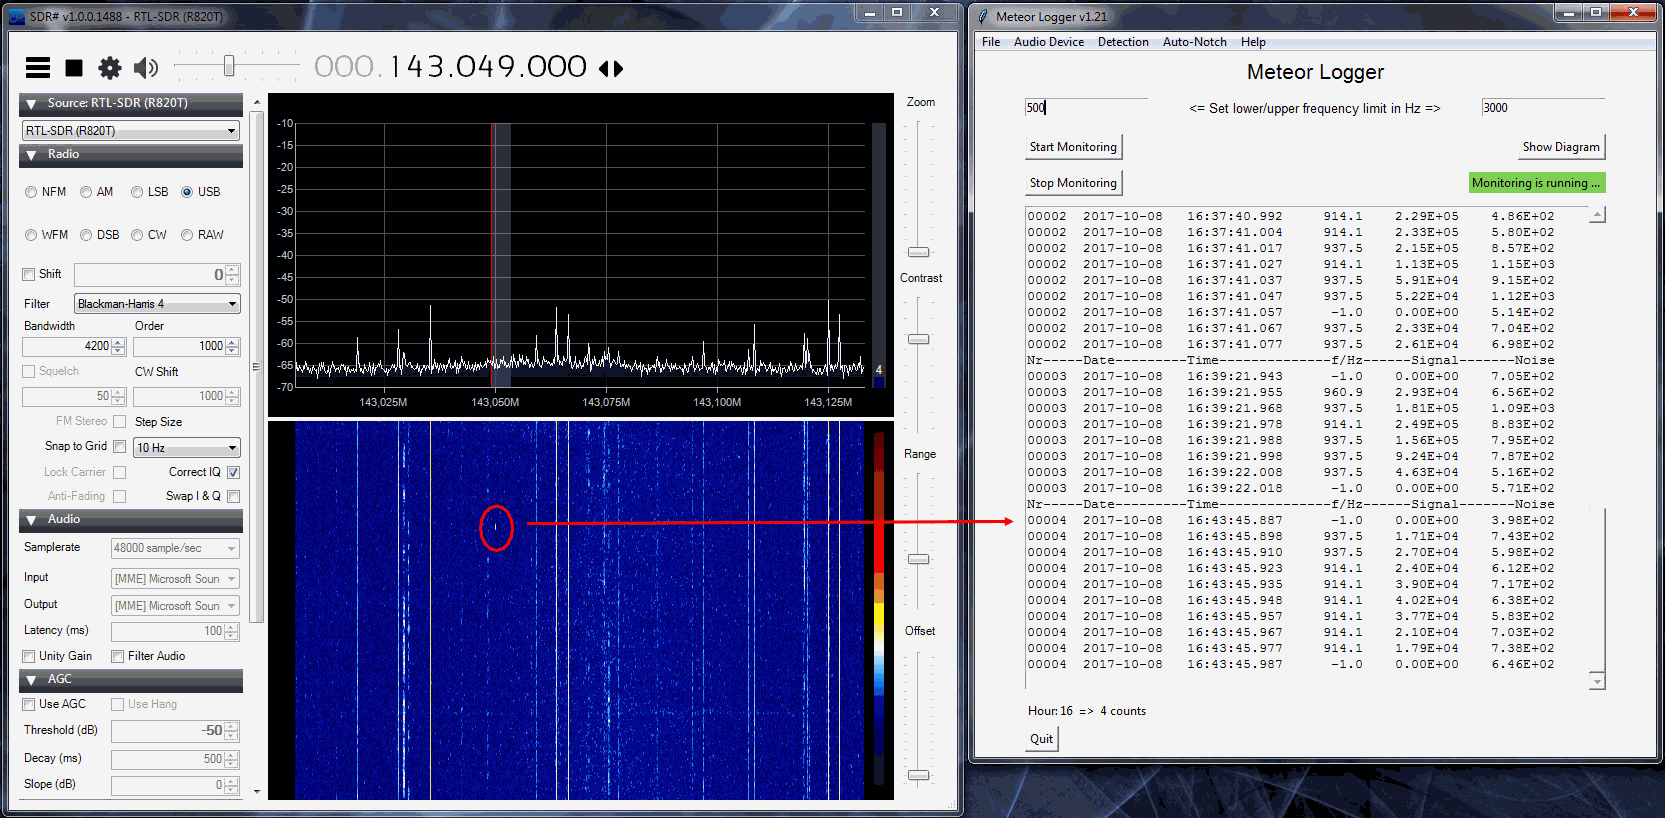
I have developed a new piece of software “Meteor Logger” to detect and log radio meteors from the digital audio stream of a PC-soundcard. It is based on Python 3. It is addressed to those meteor enthusiasts who want get the most information out of forward scattering of radio waves off meteor trails. “Meteor Logger” do not display spectrograms, it delivers an instantaneous and continuous numerical output of the detected signal with a high time resolution of about 11 ms. Thereby a radio meteor signal is not detected on the basis of an amplitude threshold but on its signature in the frequency domain. “Meteor Logger” has a built in auto notch function that may be helpful in case of a persistent strong interference line. From these data not only hourly count rates can be derived but it is also possible to easily study power profiles of meteors as well as Doppler shifts of head echoes.
As receiving front end a RTL-SDR is fine, if you strive after a very high signal resolution you may use a Funcube Dongle Pro. I employed SDR# to run the RTL-SDR. GRAVES-radar is used as transmitter. The added screenshot shows this setup together with “Meteor Logger”.
Additionally I wrote an also Python 3 based post processing software “Process Data” that allows for clearing the raw data, viewing and analysing them and exporting them in different ways (e.g. as RMOB-file for opening with “Cologramme Lab” of Pierre Terrier, see added screenshot).
Meteor scatter works by receiving a distant but powerful transmitter via reflections off the trails of ionized air that meteors leave behind when they enter the atmosphere. Normally the transmitter would be too far away to receive, but if its able to bounce off the ionized trail in the sky it can reach far over the horizon to your receiver. Typically powerful broadcast FM radio stations, analog TV, and radar signals at around 140 MHz are used. Some amateur radio enthusiasts also use this phenomena as a long range VHF communications tool with their own transmitted signals. See the website www.livemeteors.com for a livestream of a permanently set up RTL-SDR meteor detector.
The Airspy HF+ on the other hand is based on a polyphase harmonic rejection mixer design with 18-bit DDC and has a frequency range of DC – 31 MHz and 60 – 260 MHz, with a maximum bandwidth of up to 660 kHZ. It is not yet released, but is expected to be about US $149 shipped from China.
Simon’s screenshots show that despite its low cost the HF+ seems to perform just as well as the more expensive NetSDR.
A few months ago satellite data broadcasting company Outernet created a limited number of prototype receivers that combined an L-band satellite patch antenna, LNA and RTL-SDR into a signal unit. This was never produced in bulk as they found it to be too noisy having the RTL-SDR so close to the antenna, but nevertheless it still worked fairly well.
Over on YouTube max30max31 bought one of these prototype units and made a video about using it for receiving and decoding various L-band satellite signals. In the video he first shows an overview of the product and then shows it receiving and/or decoding some signals like Inmarsat STD-C, AERO and Inmarsat MFSK.
Over on YouTube Tom from Tom’s Radio Radio Room Show (TRRS) has uploaded a video showing the effectiveness of our broadcast AM (BCAM) filters for cleaning up HF reception. In the video he uses an RSP1 to receive the WWV time signal at 5 MHz and shows that there is some AM signals mixing into the audio. After connecting the BCAM filter the AM signal is gone and WWV comes in clearer.
TRRS #1305 - RTL-SDR.COM MW Filter for Shortwave - Works!
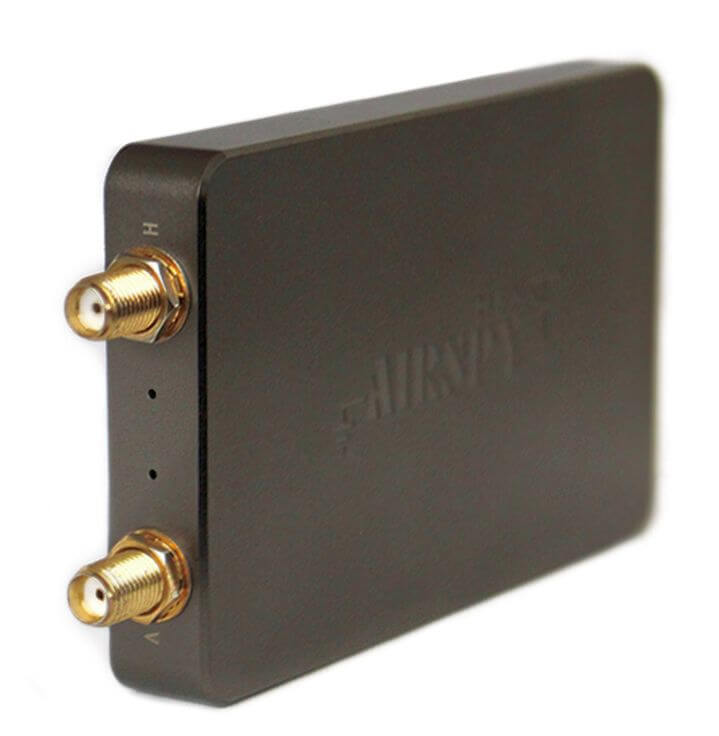
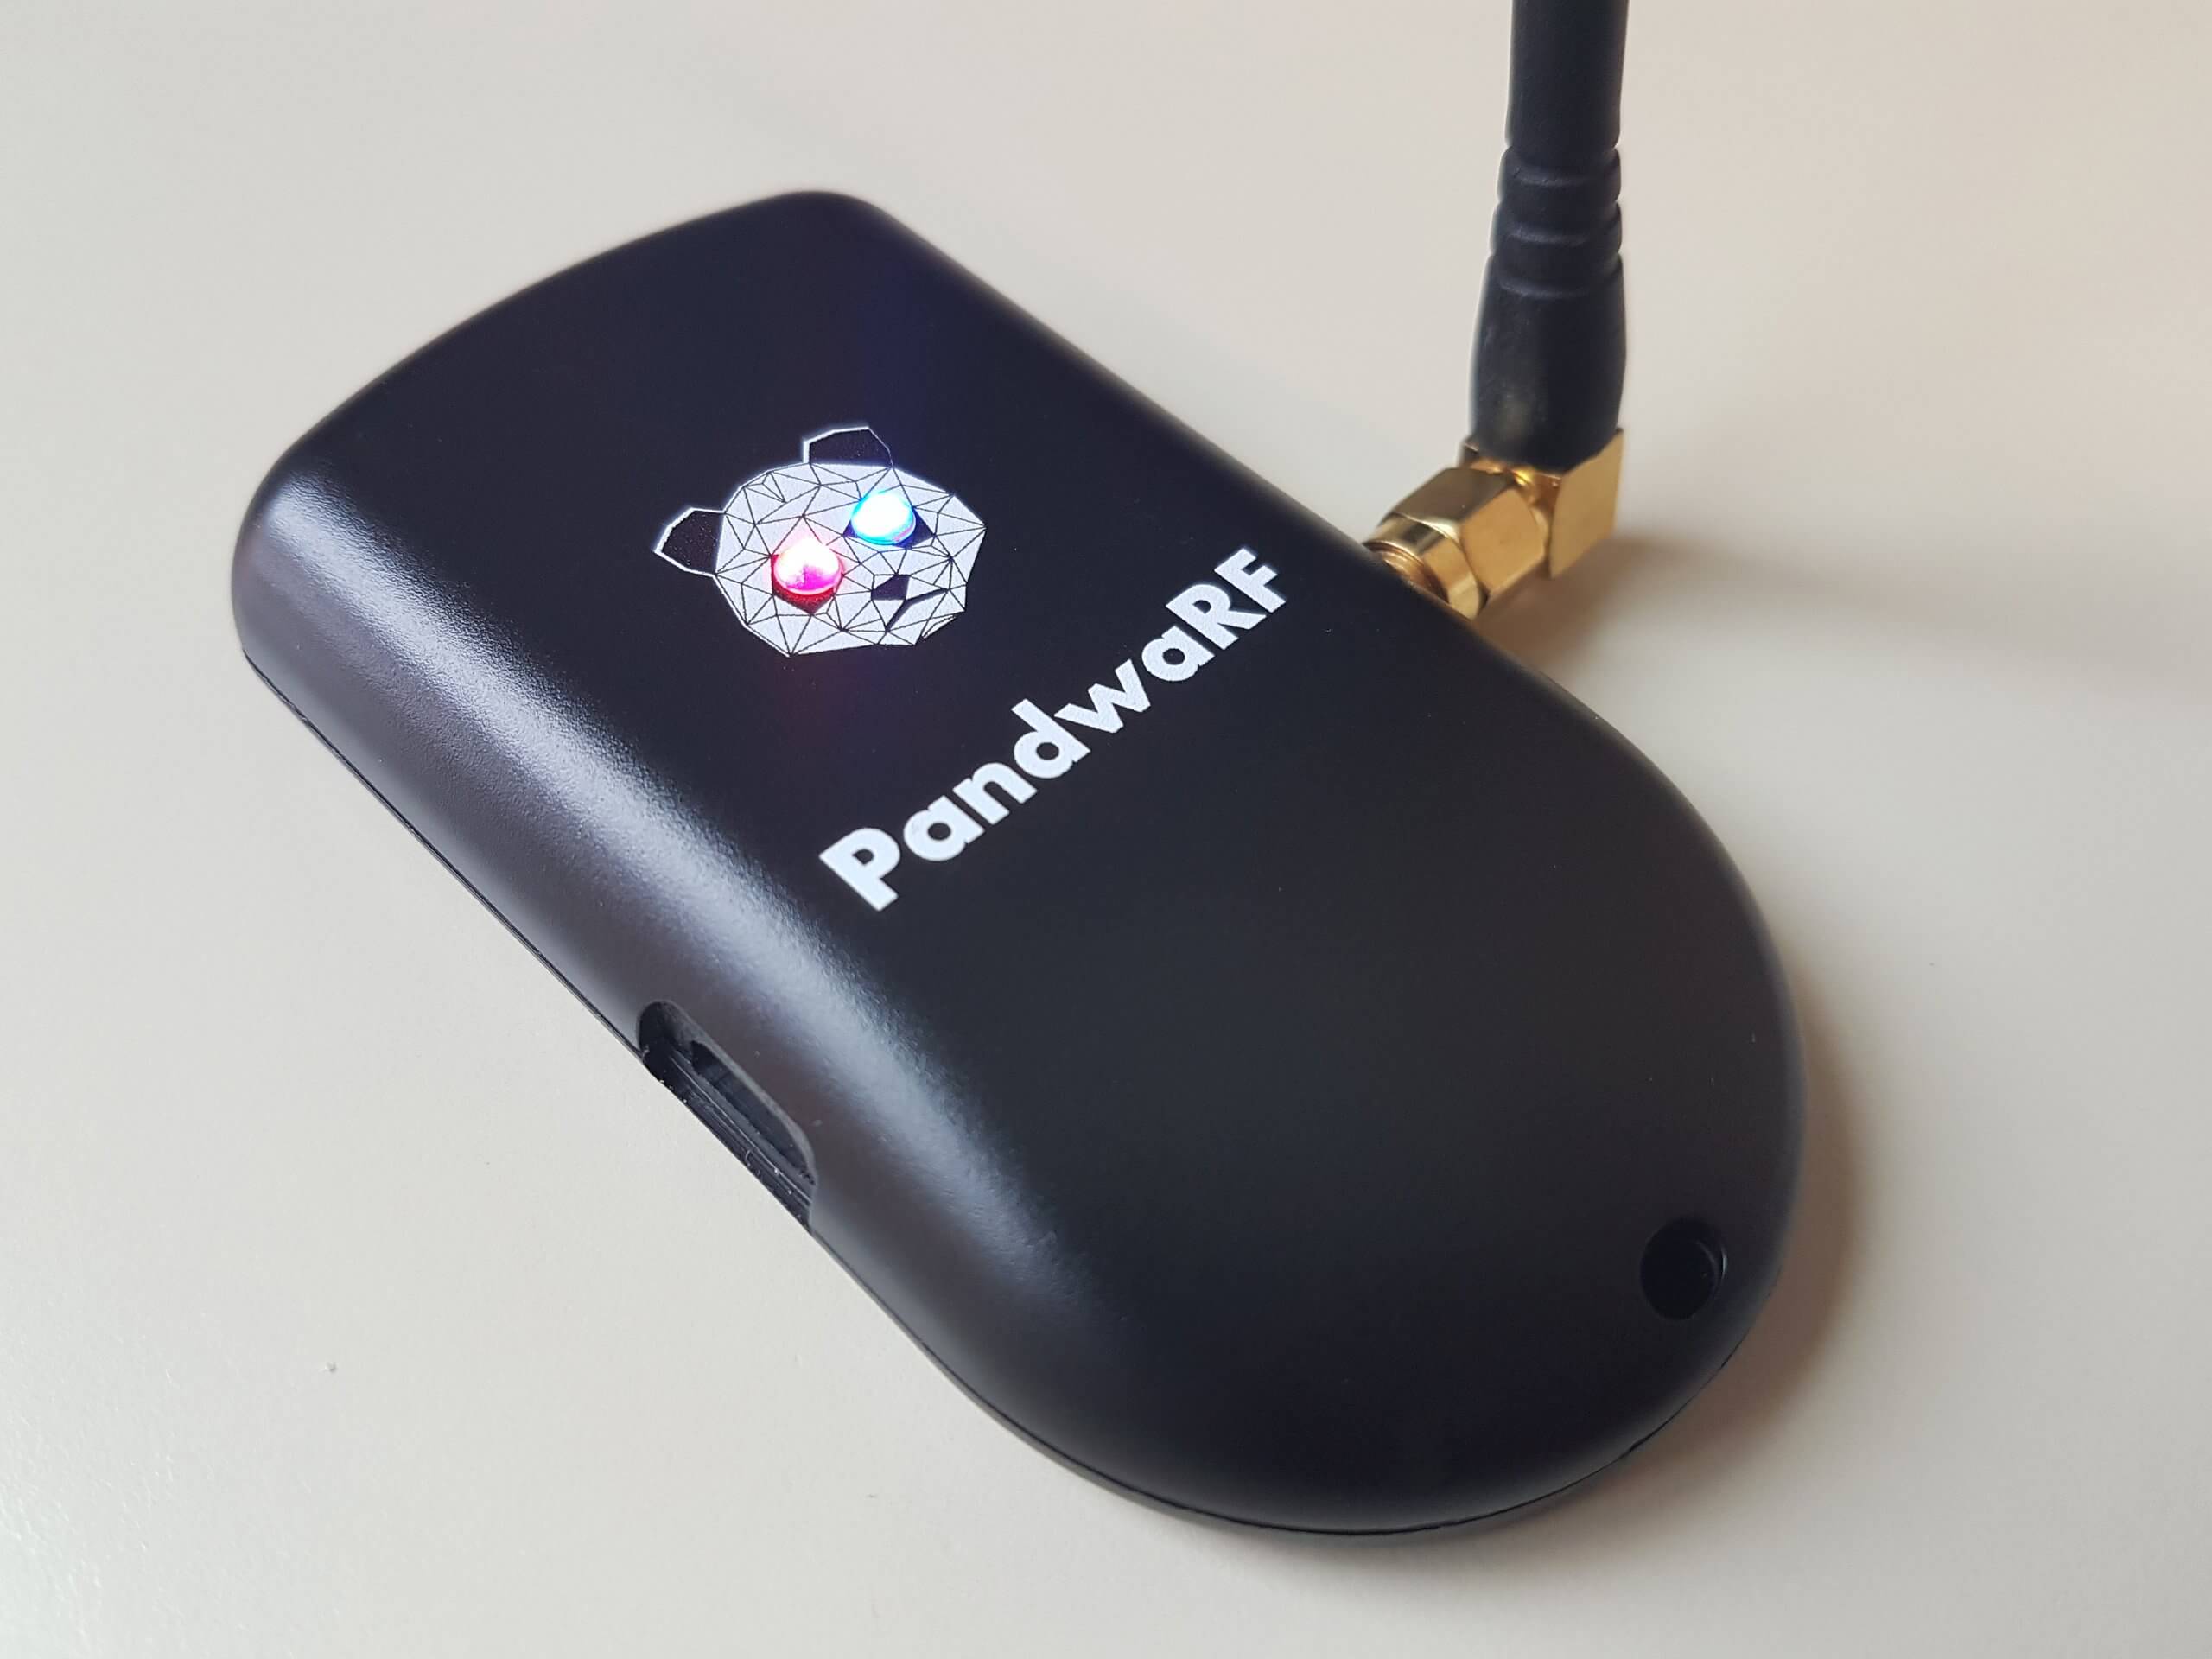
The PandwaRF (formerly known as GollumRF) is an RF analysis transceiver tool that can be very useful for investigating ISM band devices that communicate with digitally modulated RF signals. It can be used for applications such as performing replay attacks, brute force attacks, and other analysis. The RX/TX frequency range of the device is from 300 – 928 MHz, with a transmit power of up to +10 dBm.
The PandwaRF is based on the CC1111 chip which is the same chip used in devices like the Yard Stick One from Great Scott Gadgets (creators of the HackRF). Compared to the YS1 the PandwaRF is essentially the same, but designed to be much more portable, with a built in battery and an Android app that you connect to via Bluetooth. This makes it very useful for taking out in the field as no laptop is required to use it, just a phone or tablet. The PandwaRF can be used just like a YardstickOne when plugged into a PC however.
We should also clarify that CC1111 based devices like the PandwaRF and YS1 are not classed as SDRs. Rather they are RF transceiver chips that can demodulate, decode and transmit a fixed set of digital modulation schemes, such as OOK/ASK, 2-FSK, 4-FSK, GFSK, and MSK. While these devices are not able to receive or transmit any arbitrary signal like an SDR, they make reverse engineering, analysis, replay attacks, brute force attacks etc much simpler for common modulation schemes compared to using an SDR for the same purpose.
Early on in the year PandwaRF sent us a sample of their device for review. Unfortunately during that time their Android software was extremely buggy and we were simply unable to use the device properly. Others reported similar troubles on forums and blog comments. However fast forward to today and it now seems that the Android software is stable and functioning properly.
Replay Attack
PandwaRF Spectrum Analyzer Tool
We first tested the PandwaRF on a simple task which was a replay attack. The goal was to record the signal of a cheap wireless RF alarm, and see if we could replay it back. The wireless alarm is controlled with a keyfob.
First we used the Spectrum Analyzer tool in the PandwaRF app to try and get the frequency of the keyfob. The Spectrum Analyzer tool allows you to see about 1.2 MHz of bandwidth. We assumed the signal would be around 433 MHz. After pressing the button a few times the peak showed up at about 433.9 MHz on the spectrum analyzer. The refresh rate of the spectrum analyzer is quite low, so if the signal is not continuous it’s possible to miss the signal, which is we why we had to try several presses before the signal showed. A standard SDR like an RTL-SDR might be better for this initial frequency searching. We confirmed the frequency to be at 433.893 MHz on an RTL-SDR blog V3.
PandwaRF RX/TX Replay Attack Screen
Next we switched to the RX/TX tool. Here you can enter the frequency of interest and set the expected modulation. We know that this device is ASK/OOK modulated, so we chose this setting. You also need to set the data rate. If you don’t know this value then the app has a data rate measuring tool. So we just pressed on the Measure button, and then pressed a button on the remote until it converged to a data rate of 5,121.
Next you need to set the ‘desired payload’. This is how many bytes long the packet is and determines how long the capture is. As we were unsure we simply set it to 250 bytes to ensure that a longer capture was taken. The PandwaRF will keep on receiving until it receives the desired payload of 250 bytes or is stopped manually. Setting it longer allows us to capture a longer signal, and ensure that the replayed signal is received. For this alarm device it is okay if the same signal is played multiple times in a short time frame.
The final setting is the RX Frame length. This determines how many bytes will be captured before transferring the data to Android. So for example, if you set the desired payload to 100 Bytes, and the RX Frame length to 52 bytes, then in total you will capture 104 Bytes of data. The PandwaRF can only transfer in 14, 33, 52, 71 or 90 bytes, so select one that is closest to a multiple of your desired payload.
Finally we pressed on ‘Sniff’ and pressed the ‘bell’ button on the remote. The PandwaRF detected the signal and recorded the data. Now pressing Xmit replays the signal successfully causing the alarm bell to sound.
Replayed and Original Signal received with an RTL-SDR
Brute Force Attack
Brute force settings
The PandwaRF can also be used as a brute forcing tool. With cheap alarms the alarm code is relatively short, so can be brute forced in a matter of minutes. The PandwaRF already had a preset mode for our cheap Forecum door alarm, so we simply selected this mode and started the brute force. It gave an estimated brute force time of 28 minutes, which is the time it takes to run through every possible alarm code.
More advanced brute force settings
The PandwaRF app currently supports the Idk and PT2262 chipsets, as well as some models of DIO, Extel and Forecum house alarms. If the device that you want to brute force is not yet in their database, then you’ll probably need to do some analysis first on the PC with an SDR. Software like Universal Radio Hacker and DSpectrumGUI are good tools for this. Once you know the structure of the data, then you can program PandwaRF to perform the brute force attack.
Note that their newer ‘PandwaRF Rogue’ product is supposed to be significantly faster at brute forcing. For example the Android software gives us a estimated duration of 28 minutes with the standard PandwaRF, and only 3 minutes with the Rogue.
The Rogue is also able to brute force 32 bit codewords with zero delay in between transmissions. The standard PandwaRF has a minimum delay of 100 ms which can really slow things down. It also allows for function mask bit skipping, enable more brute force patterns and can split the brute force attempt into several steps. Also as we’ve seen from their videos the Rogue has more pre-set commercial devices built into its app.
So if brute forcing is your main use for the PandwaRF then it seems to make sense to get the Rogue. Unfortunately the Rogue is significantly more costly, coming in at 990 euros, vs 145 euros for the standard PandwaRF. Of course you could still use the standard PandwaRF on a PC with tools like rfcat to perform a faster brute force attack as well, just like you would with a YardstickOne.
PandwaRF Brute Force attack as seen by an RTL-SDR
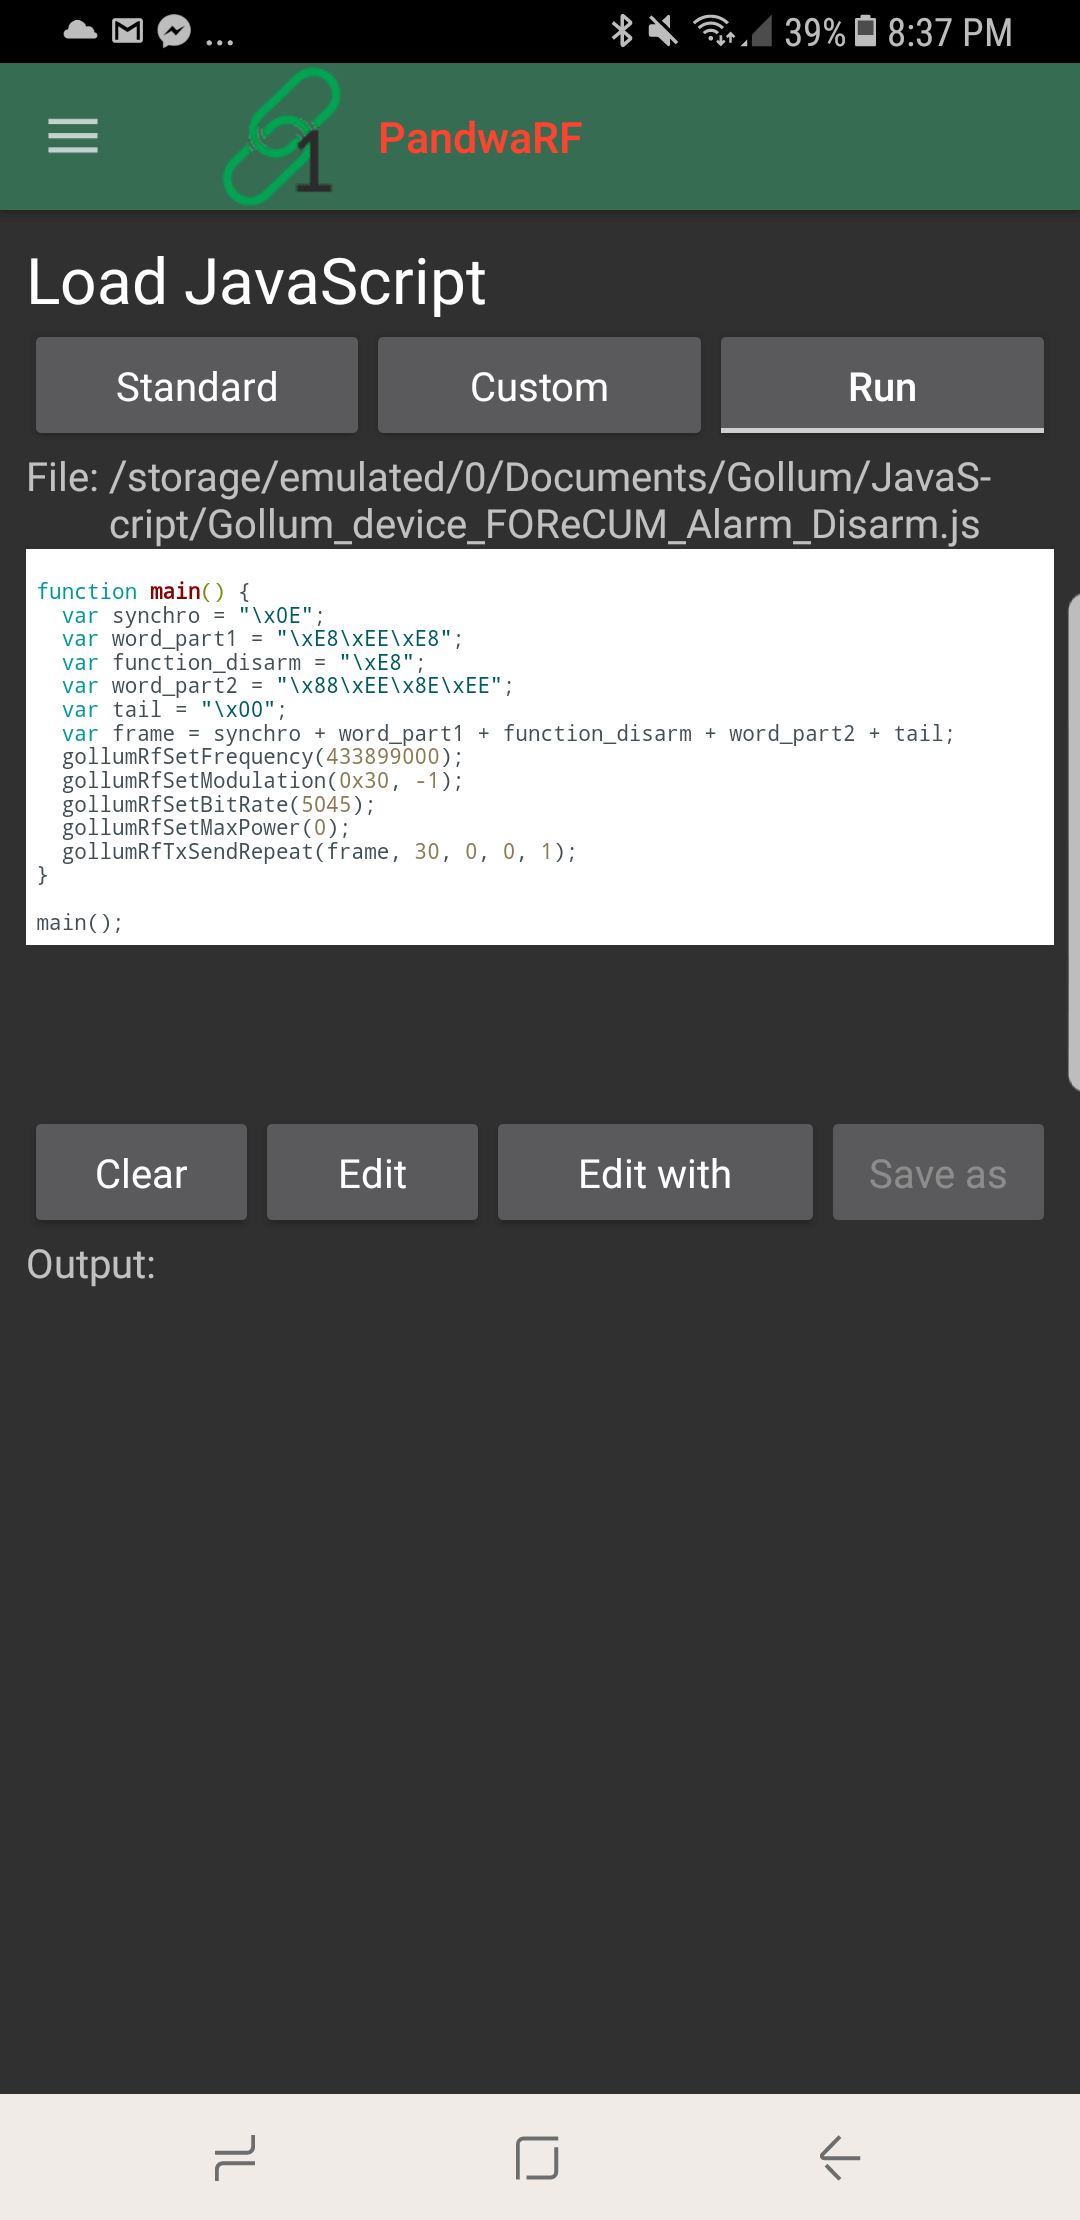
Javascripting
Javascript in PandwaRF
If you need more powerful analysis or TX capabilities, then the PandwaRF can be controlled in Javascript code. For example, you might have already reverse engineered a device, and simply require the PandwaRF to transmit the correct code to replace a remote control. You could also create a jammer with this.
The code runs on the Android device and not on the PandwaRF, so each RF command generates a bluetooth transfer which can be quite slow. They write this is why they have created a specific brute force implementation in the app, so that they can run their native brute force code on the PandwaRF itself, which is must faster than transferring the RF command for every brute force step.
Conclusion
Overall the PandwaRF is a very handy tool for doing replay and brute force attacks while in the field. It can also be converted back into a PC based CC1111 device, like a Yardstick One simply by plugging it into a computer with a USB cable so you’re not missing out on that functionality either.
Compared to the Yardstick One the cost is a bit more, with the Yardstick One costing $99 USD at most outlets, and the PandwaRF costing 145 Euros (~$173 USD). So it is probably only really worth it if you are doing field testing.
That said, now that the PandwaRF software seems stable it is an excellent tool for investigating wireless devices in a simpler way compared to with an SDR. An SDR is still much more powerful, but tools like this simplify the process significantly. The best set of tools for reverse engineering would be a SDR combined with a device like this.
In the future it looks like they plan to implement new features such as De Bruijn (OpenSesame) attack’s and rolling code attacks and we look forward to testing those out.