Scanner School is an online resource that aims to teach subscribers all about radio scanning. They also run a weekly podcast discussing various topics in the scanning hobby. Recently they've had a bit of a focus on software defined radios, with several of the last podcasts being SDR related.
Episode 170 - SDRplay with Jon Hudson
On today’s episode, host Phil Lichtenberger interviews Jon Hudson, the co-creator of the SDRplay devices. They talk about the evolution of radio scanning software, the advantages of SDRplay and SDRuno, where they think the scanner hobby is headed, and more.
What You Need To Know
Jon Hudson is a co-creator of the SDRplay device. SDRplay manufactures both hardware and software. Before about 20 years ago, processing the radio chain was done exclusively on the hardware. Now computers are powerful enough to support doing most of this work with software. SDRplay was founded in 2014. The RSPDX has multiple antennae, which allows users to switch from one antenna to another quickly and easily. Because SDRplay makes their own software for Windows, they take a lot of time to make sure it works seamlessly out of the box. SDRplay acquired a company called Studio One that manufactured software about five years ago. SDRplay is releasing a scheduler, which will function as an audio recorder for a specific channel at a specific time. An advantage of the scheduler is that it allows users to tune in to certain frequencies at a specified time and then turn it off or move on to something else. All session notes with links to the items we talked about can be found on our website at www.scannerschool.com/session170
Episode 169 - SDR++ with Alex Rouma
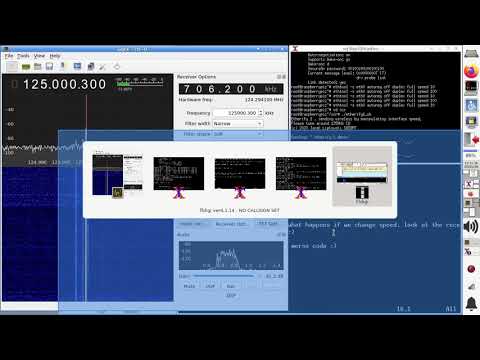
A cross platform, open source, free SDR software!
In this episode, Phil talks to Alex Rouma, author and creator of SDR++. They discuss how Alex got into SDRs, where SDR++ is now and where he hopes it can go, and how you can contribute to this open source software’s development, whether you’re a programmer or not.
What You Need To Know
SDR++ is free, open-source, cross-platform software for your SDR. Alex got into SDRs after watching a video of someone receiving weather satellites, piquing his interest in radio in general. Alex is currently building SDR++ as general purpose SDR receiver software with more modern functionality like multi-VFO and multi-platform support. SDR++ supports anything Alex has or that companies have sent him, including SDR Play, HackRF, RTLTCP, and more. Alex considers the software still in beta, but thinks he’ll have stable code with the features he wants within 3-4 months. He wants to add audio filtering features and more options for the file source. SDR++ is fully modular so you can add plugins as you need them. Alex aims to make the software as automatic as possible. All session notes with links to the items we talked about can be found on our website at www.scannerschool.com/session169
Episode 168 - Using a SDR as Your Scanner
In this episode, Phil talks to listener Greg Weamer about his SDR setup. They get into the history of SDR development, what you can do with an SDR that you can’t do with a hardware-based scanner, and where they think the future of SDRs is heading.
What You Need To Know
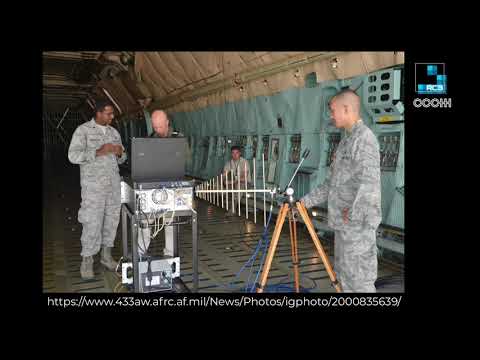
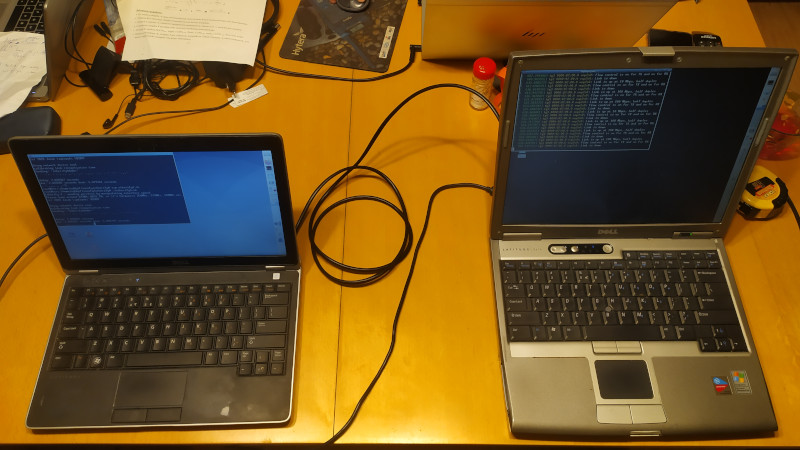
Today, Greg does not have a hardware scanner at all, but only a SDR. His area has simulcast problems that the SDR solves. Greg currently uses about 8 RTL-SDR dongles, including 3 on a Raspberry Pi, some on another Raspberry Pi, an old laptop, and more. Greg also uses Trunk Recorder, which is one of the most difficult things he’s ever configured, but he loves that it monitors every voice channel at the same time. RDIO Scanner is a web interface that takes the feeds from the virtual recorders Greg has going and cues up calls on every voice channel so you don’t miss anything. Because it’s a web interface, he can bring it up on his phone or tablet from anywhere. Greg thinks the next major SDR development will eliminate the need for any fully hardware based radios entirely. An SDR can do things that not a single hardware-based scanner out there is capable of. Greg has used his SDR to tune into his utilities smart meters for his water and gas to track his usage. One of Greg’s favorite things about SDR is that you can see the signals and whether they’re strong or not, whether they’re digital or analog, etc. The ability to visualize the signal lets you find a lot more new stuff to listen to. The flexibility of an SDR and ability to do so many things at once with it means you get the equivalent of several premium subscriptions to other services. All session notes with links to the items we talked about an be found on our website at www.scannerschool.com/session168
Episode 165 - This is Why You Need an SDR
In this episode, Phil walks through the basics of what an SDR is, its history, and how you can get set up with one. The perfect introduction to his upcoming SDR webinar and course.
What you will take away from this week's podcast:
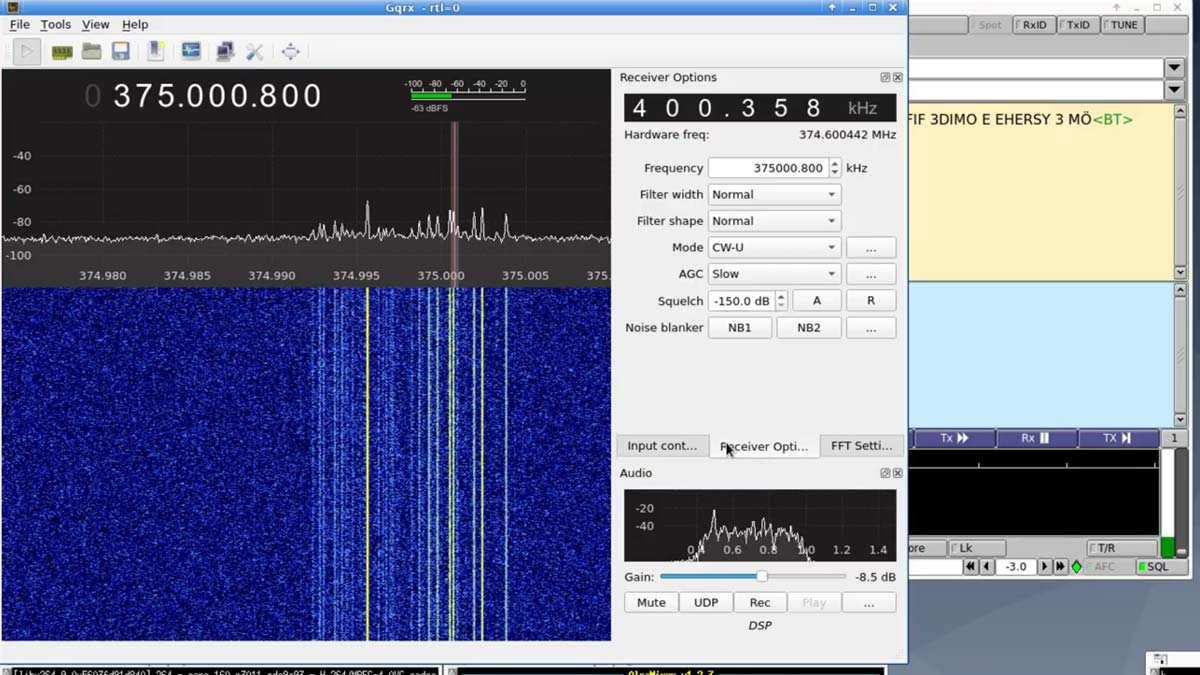
An SDR means that anything normally handled by the hardware of the radio is now handled by the computer, and the physical hardware serves as an interface. The only limitation on the SDR hardware you buy is the frequency range and the amount of RF it can digest. SDR receivers have come a long way since they were first hacked into existence. SDRs used to be difficult to set up, but that’s no longer true. You don’t need advanced computer skills to run SDR software. SDR software can run on PC, Linux, Mac, Raspberry PI, and even Android. An SDR is more flexible and less expensive than a traditional radio. You can turn a $30 USB stick into something as powerful as an SDS200 in an afternoon. All you need to get started is an SDR USB stick, a computer, and the free starter software SDR Sharp. Once you get set up with FM broadcast stations, aviation, and other analog systems, Phil’s SDR course will go into how to set up digital reception. If you download DSD+ Fast Lane or Unitrunker you can monitor trunking systems. All session notes with links to the items we talked about an be found on our website at www.scannerschool.com/session165
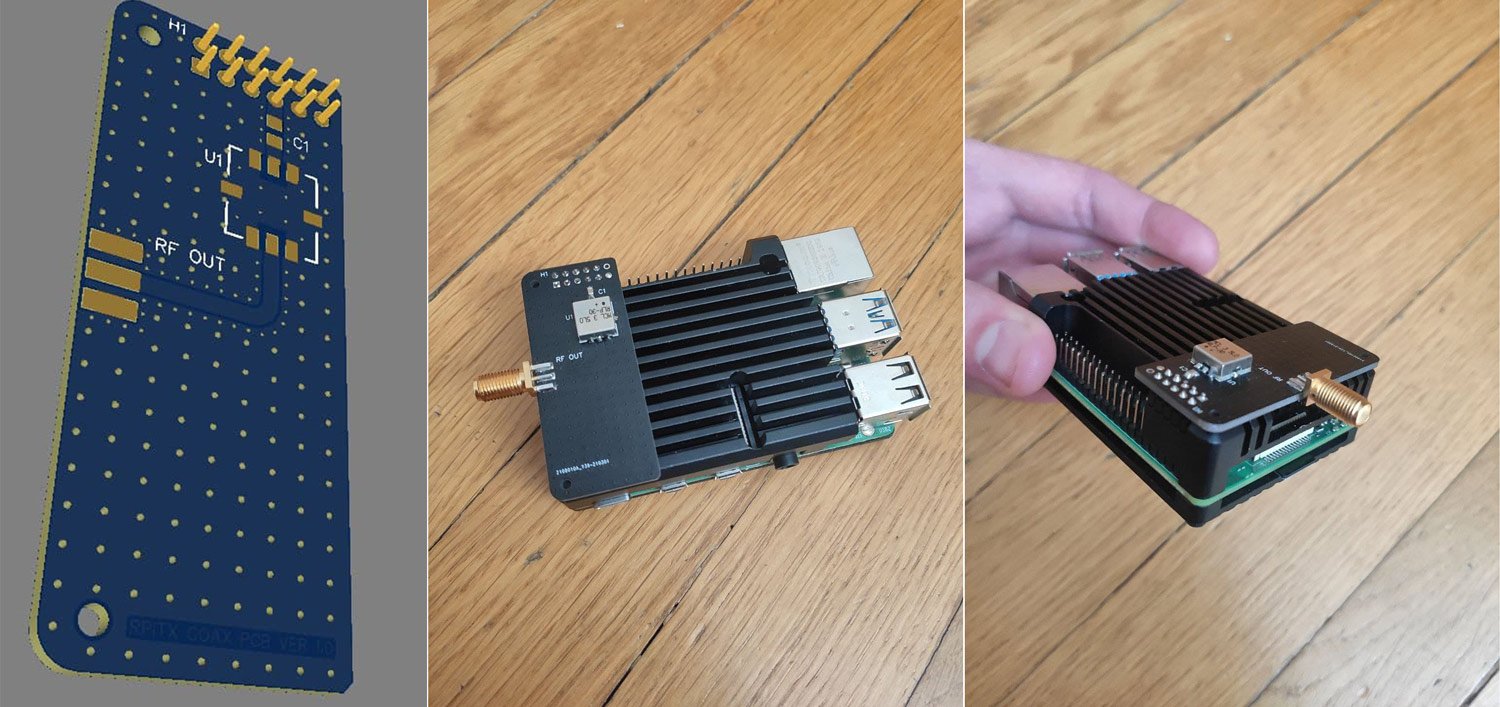
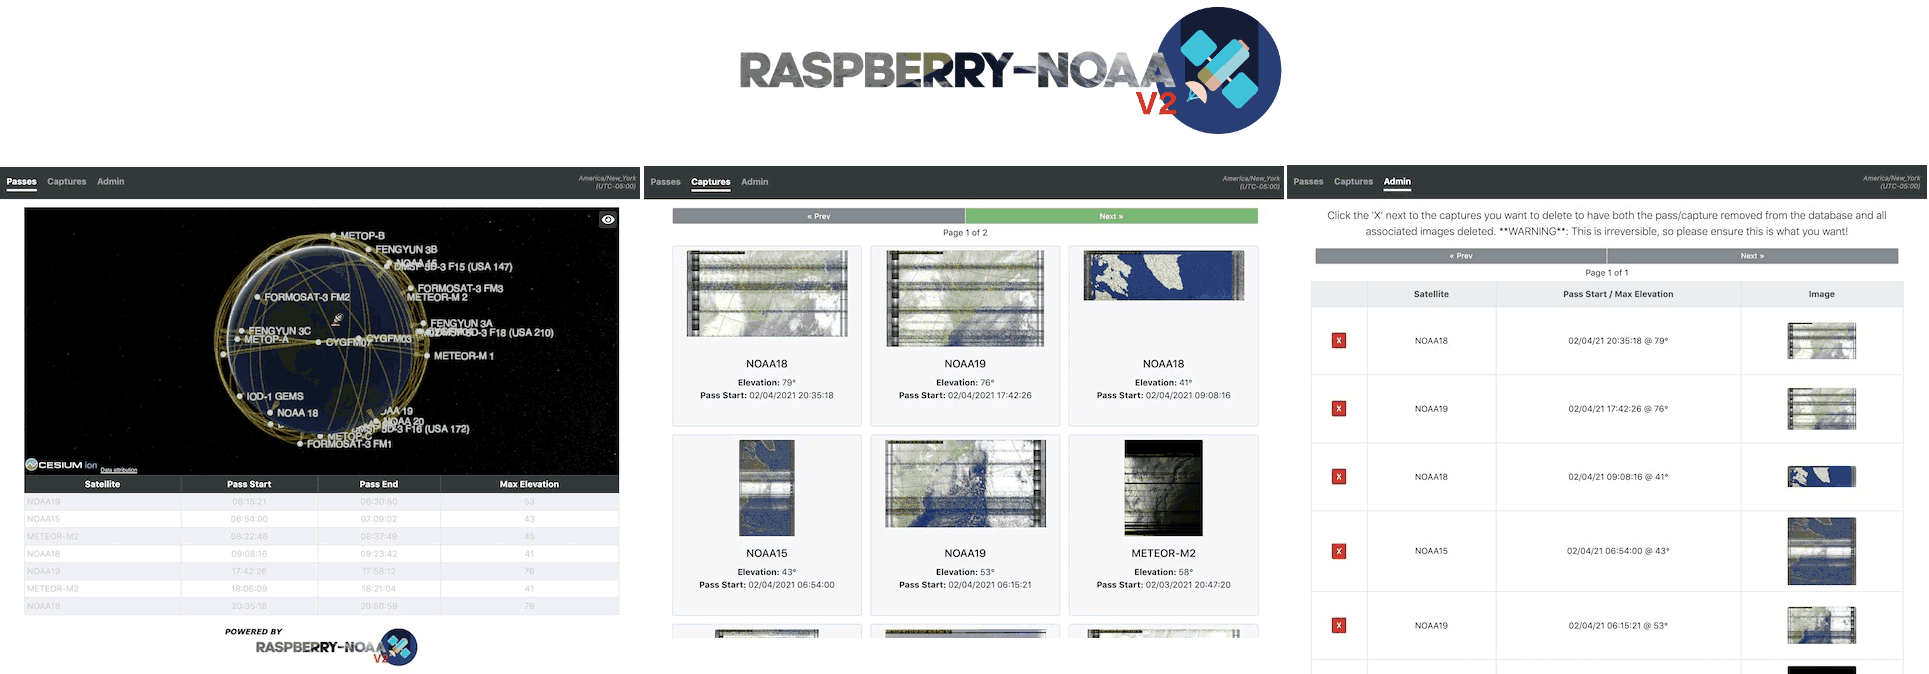
Episode 164 - Raspberry PI and SDR w/ Fuzz the Pi Guy
In this episode, Phil talks to "Fuzz the Pi Guy".
Fuzz has a large YouTube channel and has a ton of SDR and Raspberry Pi Videos.
Fuzz and I discuss how he uses his Software Defined Radios and how he keeps costs down by using a Raspberry Pi as as his computer for many of these projects.
What you will take away from this week's podcast:
SDR stands for Software Defined Radio, where you plug your hardware into power on one end and your computer on the other end so the computer software can interpret the signal. The Raspberry Pi is essentially a low-cost computer to help teach computer science in schools, and is now used for things like hosting Minecraft servers, learning Linux, and running SDR programs. Fuzz has a YouTube channel where he primarily demonstrates Raspberry Pi projects and tips, as well as a wide variety of small electronics content. He’s using a new setup that involves a Raspberry Pi 3 with an RTL-SDR dongle, connected to a 2m 70cm homemade antenna to receive his local Phase 2 frequencies, uploaded to Broadcastify using the new free software OP25. Using this setup, Fuzz essentially created a Phase 2 scanner for under $100. The FlightAware website gives a good introduction to using the Raspberry Pi with an SDR that can get you set up in under 15 minutes. The Raspberry Pi has the best support system out there for any Pi hardware, but Fuzz has been working with the Atomic Pi lately. This setup provides an inexpensive alternative to buying a pricey scanner if you don’t mind troubleshooting and problem solving to get going. All session notes with links to the items we talked about an be found on our website at www.scannerschool.com/session164