Etherify: Transmitting Morse Code via Raspberry Pi Ethernet RF Leakage

Over on his blog SQ5BPF has been documenting a TEMPEST experiment where he's been able to transmit data via RF being leaked from a Raspberry Pi's Ethernet connection. The idea was born when he found that his Raspberry Pi 4 was leaking a strong RF signal at 125 MHz from the Ethernet cable. He went on to find that it was easy to turn a tone on and off simply changing the Ethernet link speed with the "ethtool" command line tool. Once this was known it is a simple matter of creating a bash script to generate some morse code.

Quite amazingly the Ethernet RF leakage is very strong. With the Raspberry Pi 10 meters away, and a steel reinforced concrete wall in between, SQ5BPF was able to receive the generated morse code via an RTL-SDR connected to a PC. Further experiments show that with a Yagi antenna he was able to receive the signal from 100 meters away.

His post explains some further experiments with data bursting, and provides links to the scripts he created, so you can try this at home.

Update - SQ5BPF also notes the following:

The leakage differs a lot with the hardware used. The Raspberry Pi 4 is exceptional and also allows to switch the link speed quickly, so was a nice candidate for a demo, but other hardware works as well.

The first tests were done on some old laptops I had laying around, and they leak as well. Maybe someday I will publish this, but everyone of them behaves differently.
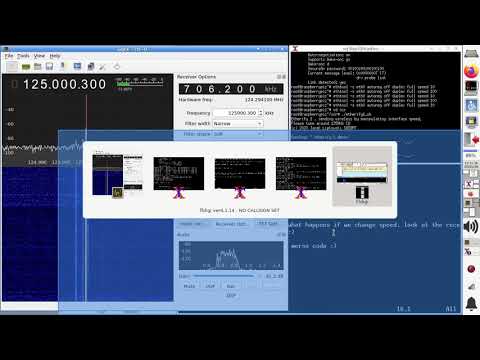

Etherify 1 demo receiving via SDR and decoding via fldigi

Tech Minds: SDRplay Interviews, Design Lab and Manufacturing Tour

In this week's Tech Minds video Matthew interviews the SDRplay team and also takes a tour of their design lab and PCB manufacturing facility. SDRplay is a manufacturer of low cost wideband software defined radios, with the cheapest starting at US$109.

The video starts with an interview with Jon Hudson from the SDRplay sales team who gives an overview of the entire SDRplay product line up, also explaining how the products have been iterated on over time. Jon also talks about the SDRuno software and team members in the company.

The next interview is with Andy Carpenter who is the head of SDRplay software development. Andy talks about SDRuno and how it came to be acquired and improved by SDRplay. They go on to discuss some recently added SDRuno features such as the plugin environment as well as the upcoming feature roadmap.

The final part of the video is a tour of the equipment used at the SDRplay design lab, and a tour of the UK based PCB manufacturing facility contracted by SDRplay. 

How It's Made - Software Defined Radio - SDRPlay

Frugal Radio: SDR Guide Ep 6 – Trunk Tracking Public Safety Systems with UniTrunker and SDRTrunk

In this episode of Frugal Radio's ongoing SDR Guide videos Rob demonstrates how he uses Unitrunker and SDR Trunk with SDRs like an RTL-SDR to monitor Public Safety networks in his area. Rob writes:

This is a video demonstrating how I use UniTrunker and SDRTrunk with Software Defined Radios to monitor multiple Public Safety networks in my area.

There is some information on how trunked systems work, and you can hear how my SDRs produce better P25 audio on a Simulcast (LSM) system than some scanners.

I use a couple of RTL-SDR v3s and an Airspy R2 in this episode.

2020 SDR Guide Ep 6 : Trunk tracking Public Safety systems with UniTrunker and SDRTrunk

RF Fingerprinting ADS-B Signals for Security

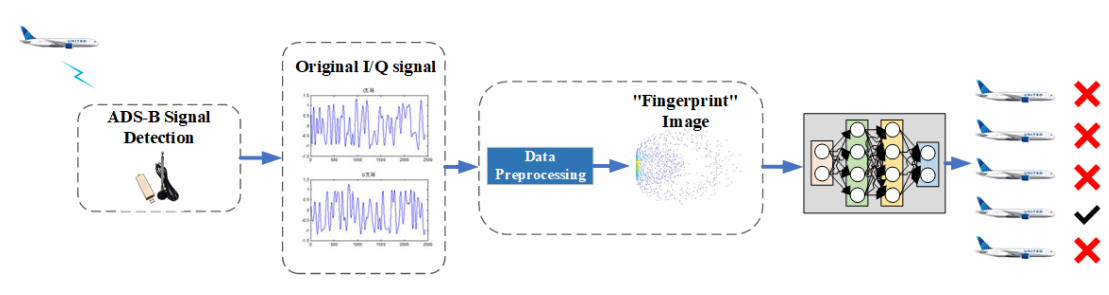
At this years ICNP 2020 IEEE conference a paper titled "Real-World ADS-B signal recognition based on Radio Frequency Fingerprinting" (pdf file) was presented by researchers from Harbin Engineering University in China. The idea presented in the paper is to use RF "fingerprinting" techniques to uniquely identify and confirm that the ADS-B signal originates from the correct aircraft source.

RF fingerprinting works on the premise that every transmitter has small manufacturing variances that result in slightly different signals be transmitted, resulting in a unique "fingerprint" that can be traced to a particular transmitter. The idea here is to use these fingerprints to ensure that a known aircraft is indeed transmitting an ADS-B signal and the signal is not being transmitted from a fake spoofer. ADS-B is completely unencrypted and not authenticated, so spoofing of ADS-B signals may be a real security threat.

In the teams research they use an RTL-SDR to collect ADS-B signals from five different aircraft. They then use that data to create "Contour Stellar Images" and train a deep learning neural network which after training accurately identifies which aircraft a signal comes from.

Aircraft ADS-B Fingerprinting

In previous posts we've seen the idea of fingerprinting used by Disney research and others to identify electronic devices, to authenticate RF IoT devices and to identify handheld transmitters via CTCSS fingerprints.

GOES Weather Satellite Images on an E-Ink Display

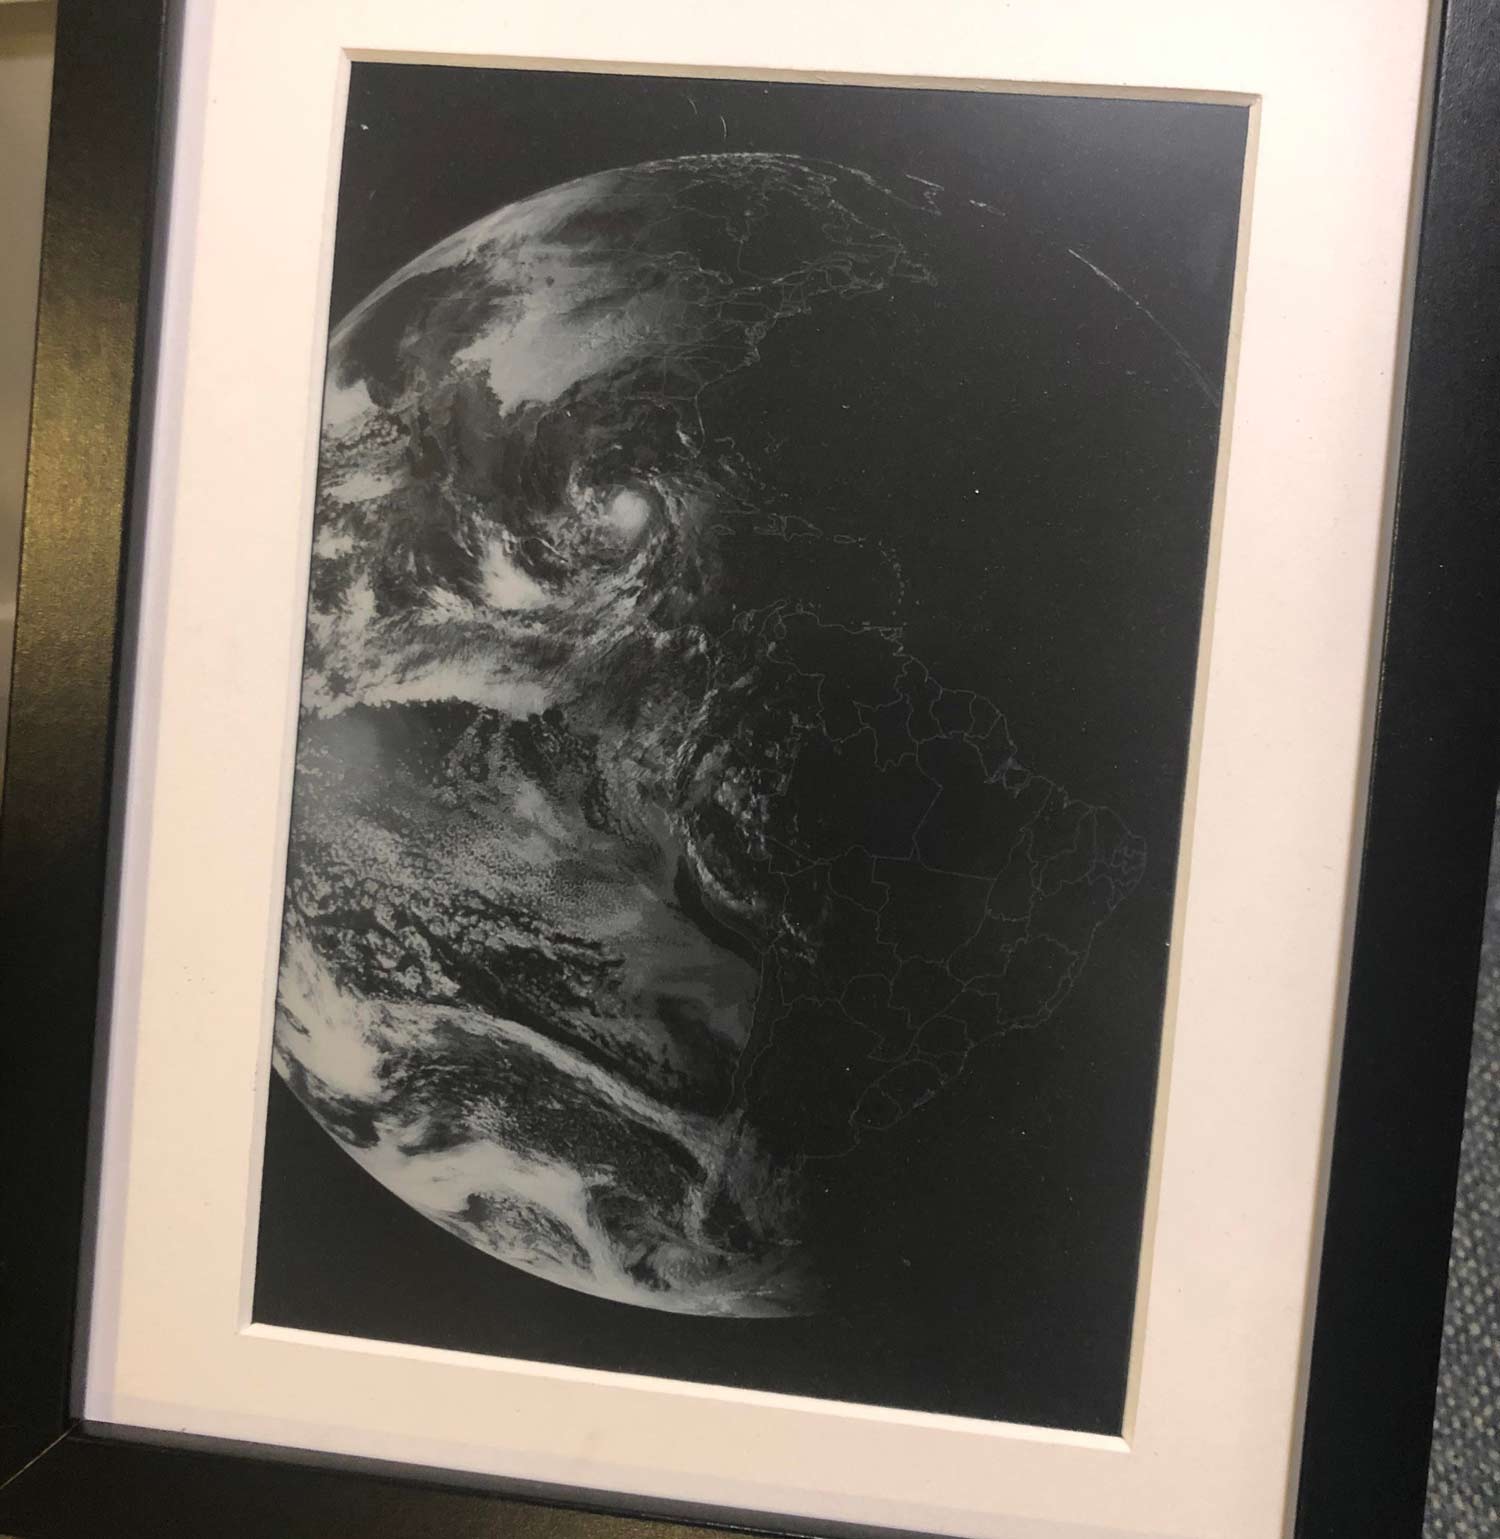
Thank you to a few users who have submitted links to u/ThePhotoChemist's Reddit post showing his e-ink display for his live GOES-16 weather satellite images. The post doesn't go into much detail about the setup, however it seems that he is using a Raspberry Pi, and displaying the images via a 9.7 inch E-Ink display which he notes does not come cheaply. He also notes that the resolution is quite low, and that it's limited to 16 shades of grey, however the images do still look good on it. The display is mounted into a picture frame which makes a very nice display piece.

If you're interested in receiving live GOES (or GK-2A) weather satellite images with an RTL-SDR we have a tutorial available here

An e-ink display with live GOES images from space

Happysat Reviews the QO-100 Bullseye LNB

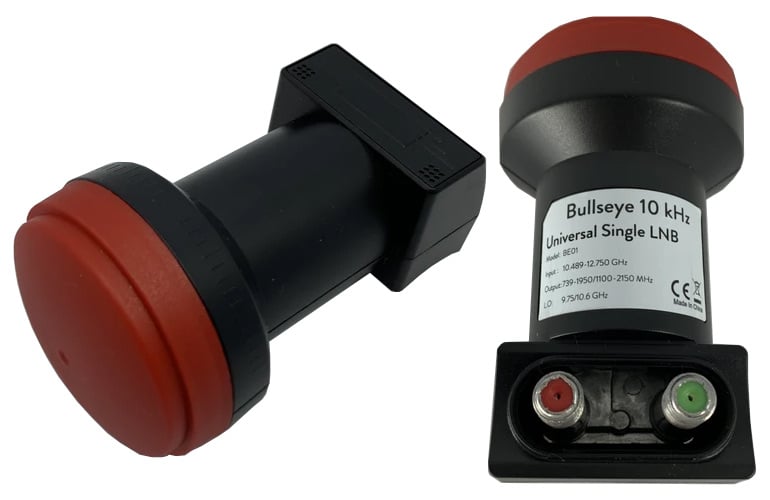
Thank you to Happysat for reviewing the QO-100 Bullseye LNB which we have available in our store, eBay and Aliexpress. The Bullseye LNB is an ultra stable TCXO (temperature compensated oscillator) based LNB which makes it very good at receiving the narrowband signals on the QO-100 amateur geostationary satellite.

Standard LNBs that are sometimes used for QO-100 are not designed for narrowband signals and hence do not have temperature compensated oscillator which can result in the signals drifting in frequency significantly as the ambient temperature fluctuates. Happysat also notes that the extra stability seems to have increased signal strength on the more wideband DATV reception as well.

First test's on Es-Hail Narrow SSB transponder compared to my old regular sat-tv LNB clearly is showing more signal stability overall.

It does need some time for both the tuner and LNB to get stable, but that's only a few minutes.

Weather conditions shows less "drifting" of the pll where the old LNB was very sensitive of temperature changes, clouds before the sun did have immediately effect on the signal stability.

Some days with storms reception was impossible on SSB Narrow band.

Winter is coming over here so it gets a lot colder and more storms, but I don't expect any problems with this LNB.

Wideband testing DATV reception also shows a more stable signal although its a wider signal then narrowband, it also did increase the signal, e.g. a signal lock happens much faster.

More information about Happysat's setup and his use of the Bullseye QO-100 LNB can be found on his QO-100 website.

Other reviews of the Bullseye LNB include a YouTube video from TechMinds and F4DAV's in depth review on his website.

The Bullseye LNB for QO-100

Andreas Spiess Shows how to Properly use a NanoVNA V2

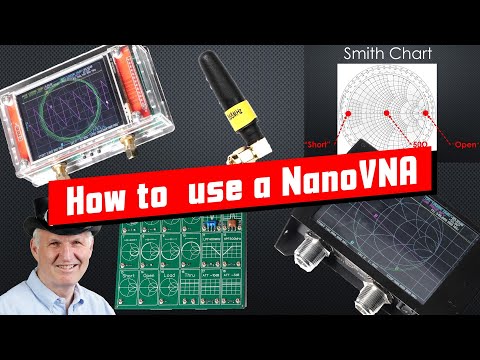
Over on his channel popular electronics YouTuber Andrea Spiess has uploaded a tutorial video showing how to properly use a NanoVNA V2. The NanoVNA V2 is a vector network analyzer which can be used to measure and tune things like antennas, filters and cables. In the video Andreas aims to explain the differences between the VNA, Spectrum Analyzer and VSWR meter, what you can measure with a VNA, how to read the VNA results, the limitations of cheap VNAs, why and how to calibrate, and a review of the overall quality.

Andreas explains these concepts in a very easy to understand way, so this video is a great start if you've ordered a NanoVNA.

#359 How to properly use a NanoVNA V2 Vector Network Analyzer & Smith Chart (Tutorial)

The $49 tinySA Spectrum Analyzer

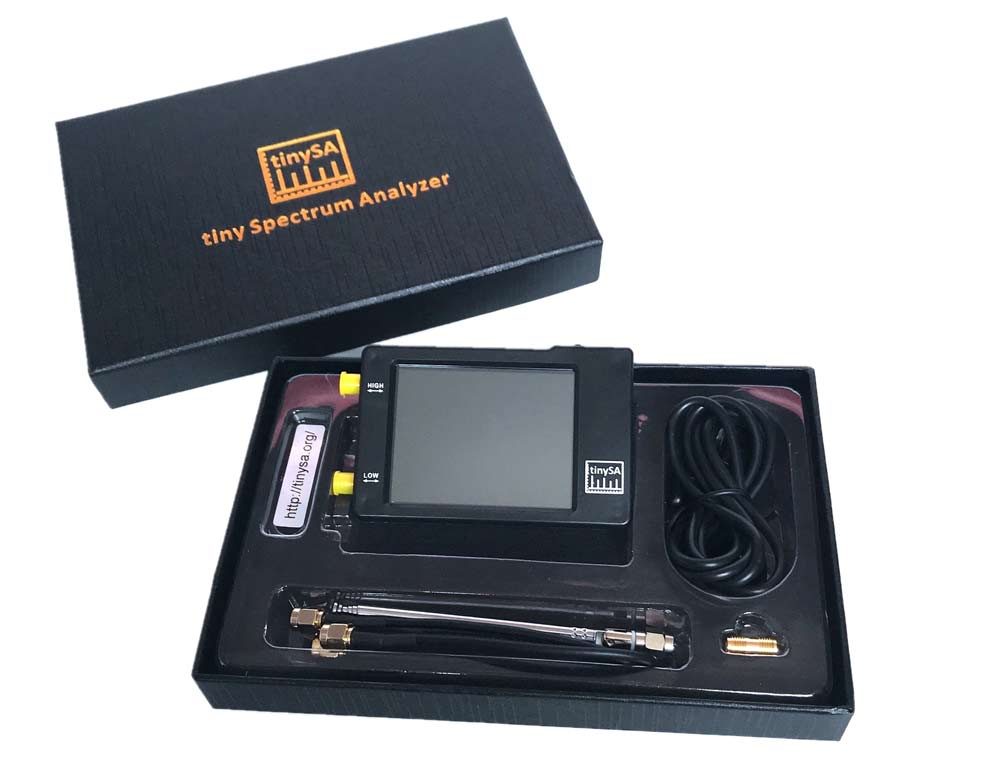
Thank you to a few readers for suggesting a post about the "tinySA". The tinySA is a low cost standalone spectrum analyzer which was made recently available from Chinese manufacturer "Hugen" who was the manufacturer that popularized the original NanoVNA. It can be found on Aliexpress for about $49 shipped worldwide. R&L also have US based stock available. The official specs from tinysa.org/wiki read:

  • Spectrum Analyzer with two inputs, high quality MF/HF/VHF input for 0.1MHZ-350MHz, lesser quality UHF input for 240MHz-960MHz.
  • Switchable resolution bandpass filters for both ranges between 2.6kHz and 640kHz
  • Color display showing 290 scan points covering up to the full low or high frequency range.
  • Input Step attenuator from 0dB to 31dB for the MF/HF/VHF input.
  • When not used as Spectrum Analyzer it can be used as Signal Generator, MF/HF/VHF sinus output between 0.1MHZ-350MHz, UHF square wave output between 240MHz-960MHz.
  • A built-in calibration signal generator that is used for automatic self test and low input calibration.
  • Connected to a PC via USB it becomes a PC controlled Spectrum Analyzer
  • Rechargeable battery allowing a minimum of at least 2 hours portable use

A spectrum analyzer allows you to view a defined slice of the frequency spectrum on a graph. It does not allow for demodulation of signals. We note that SDRs like the RTL-SDR could be used as a spectrum analyzer too with software like QSpectrumAnalzyer and Spektrum, however the advantage of the tinySA is that it is a standalone package with it's own screen that can easily be used in the field. Unlike an SDR extra computing devices like a computer or smartphone are not required.

Over on YouTube IMSAI Guy has been uploading a few videos reviewing the tinySA. From his videos he found a few issues including a slow update rate, harmonics and high phase noise. However, later he finds that most of the harmonic issues disappear as long as the input signal level is kept below -30dBm. In some more recent videos he also finds a fault with the attenuator chip on one of his tinySA units and repairs it by replacing the chip.

The tinySA set